Choose one focus that is easy to develop
A museum and cultural relics history handwritten newspaper does not need to cover too many dynasties or too many exhibits. A clear single focus usually creates a better result. You can introduce one relic that impressed you most, describe a museum visit, or build the page around the idea of “history told by relics.”
- For younger students, one relic plus three key facts is enough.
- For a richer page, use relic introduction, historical background, and personal reflection.
- If the assignment needs more history, add a simple timeline without making it too difficult.
This way, the handwritten newspaper feels like a thoughtful school project instead of a pile of copied facts.
Section ideas you can use directly
You do not need too many sections. Four or five blocks are usually enough for a clean and balanced page. A practical structure can be:
- Main title area: such as “Walking into the Museum” or “A Relic and Its Story.”
- Relic profile: name, era, material, function, and appearance.
- History behind it: what it tells us about its time period or people.
- My museum reflections: what you noticed, learned, or liked most.
- Small history facts: customs, daily life, tools, or simple dynasty knowledge.
If you have extra space, you can also add a short note about protecting cultural relics and visiting museums politely.
How to write relic text in a student-friendly way
Use short sentences instead of long copied paragraphs. Each block should focus on one idea so the whole page stays easy to read.
Sample for a relic profile
This relic has a simple and ancient appearance. Although it stands quietly in a display case, it helps us imagine how people lived in the past. It also shows the craftsmanship and aesthetic ideas of its time.
Sample for the story section
A relic is not just an old object. It may be connected to food, clothing, tools, rituals, or work in ancient life. Learning its story is like opening a small window into history.
Sample for personal reflection
After visiting the museum, I realized that history is not far away. The exhibits seem quiet, but each one carries a story. Looking closely at their shape, patterns, and use makes the visit much more meaningful.
Layout ideas beyond drawing only museum buildings
Many students fill the page with gates, roofs, and walls, but relic elements often match the topic better. Try these layout ideas:
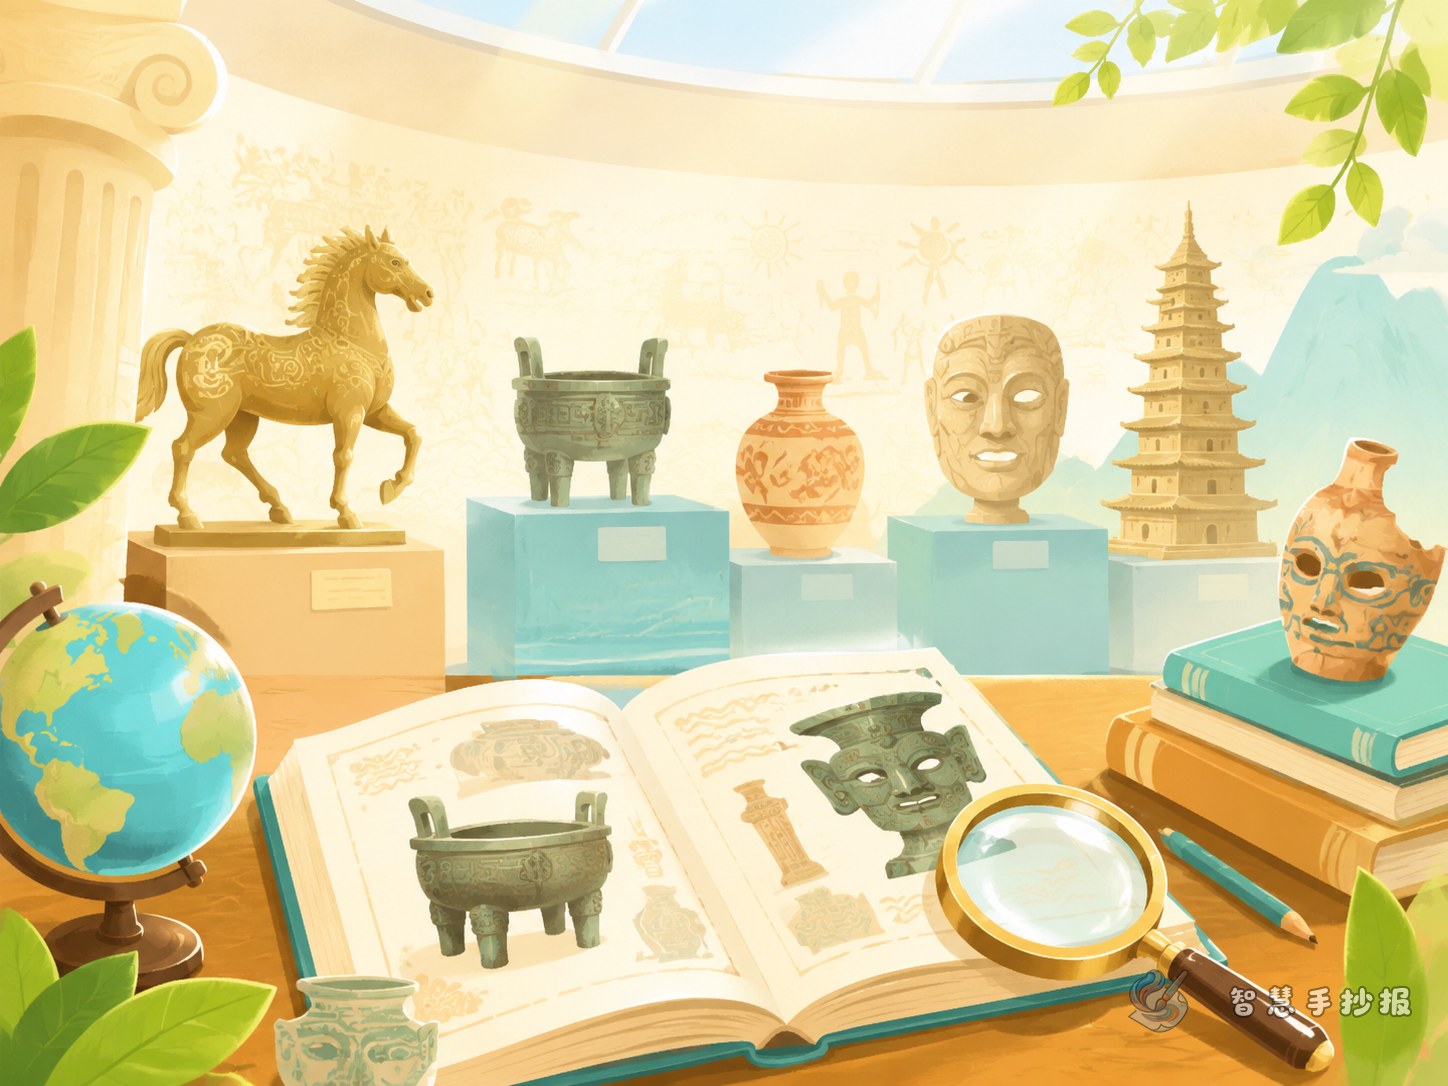
- Use scroll, display case, or label shapes for text boxes.
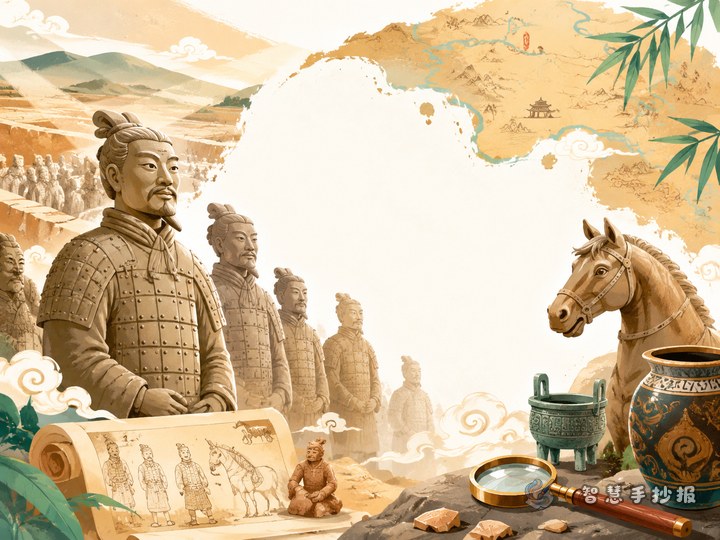
- Connect era, relic, and story with a timeline.
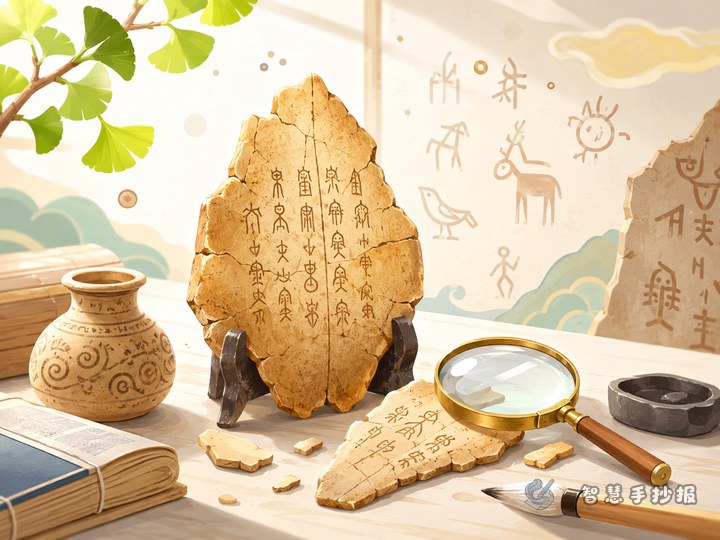
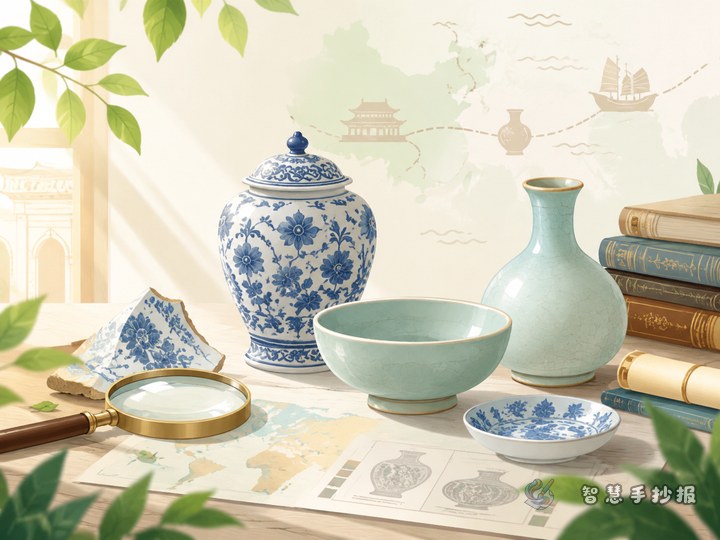
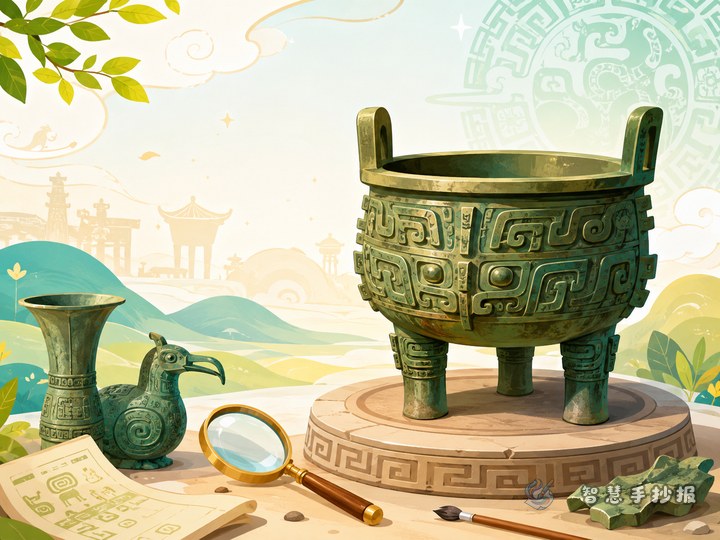
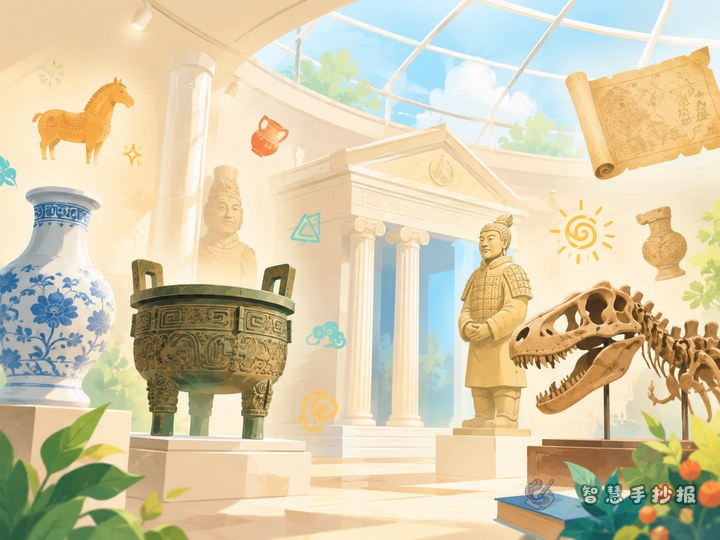
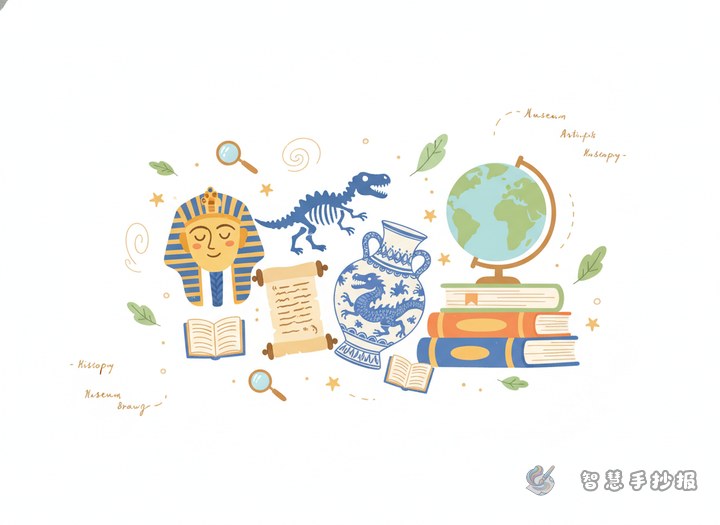
- Decorate corners with icons such as bronze shapes, pottery motifs, books, seals, or magnifiers.
- Use soft historical colors like beige, brown, green, or brick red.
Make the title bold and keep the body text neat. Leave some blank space so the page does not feel crowded.
Good content directions for students to collect
If you are not sure what to write, choose from these simple directions:
- What the relic is: name, shape, material, and use.
- Which era it comes from: explain briefly and clearly.
- What it tells us: ancient life, technology, aesthetics, or customs.
- What you learned: respect history, protect relics, and value traditional culture.
Keep each text block short and focused. Two or three sentences per section are often enough.
Final check before finishing
Before copying the final version, check four things: whether the theme is focused, whether the text is too long, whether the sections are easy to recognize, and whether the decorations are taking too much attention away from the content. The best museum-themed handwritten newspaper is not the one with the most words, but the one that clearly shows what you want to introduce and why it matters.
If you already know your topic but still need help arranging the title, sections, and page style, you can continue planning in the Wisdom Handwritten Newspaper WeChat mini program.