Start with a question children really notice
“Why do shadows get longer and shorter?” is a strong topic for a light and visual science handwritten poster because it comes from everyday scenes such as the playground, a sunny road, or a lamp at night. A simple opening sentence can be: A shadow forms when an object blocks light and creates a darker area on the ground or on a wall.
Good poster titles include Chasing Shadows to Learn About Light, How Shadows Change During the Day, or Can a Shadow Grow Taller? These titles make the science topic feel lively and easy to understand.
Short writing materials for the poster
Shadow facts
- A shadow needs a light source, an object that blocks light, and a surface where the shadow appears.
- When the light source is low, the shadow is usually longer.
- When the light source is high, the shadow is often shorter.
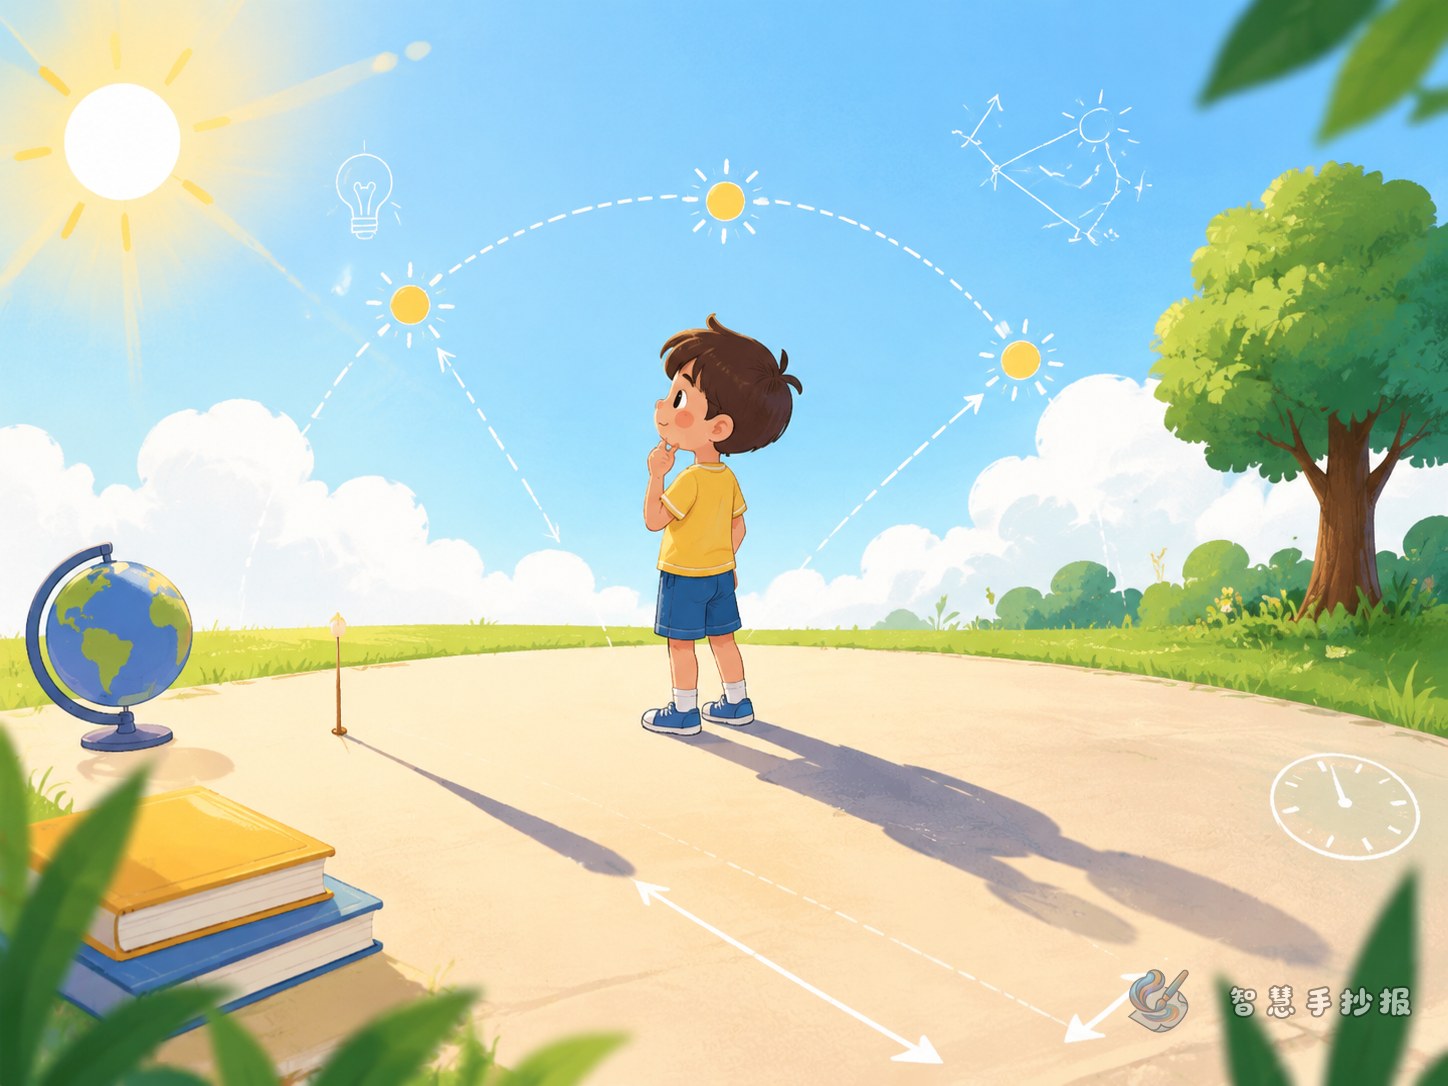
- The Sun’s position changes during the day, so the direction and length of a shadow also change.
- Some shadow edges look sharp, while others look soft. This can be affected by the size and distance of the light source.
Observation sentence
In the morning, the Sun is low and shadows are long. At noon, the Sun is higher and shadows become shorter. In the late afternoon, shadows grow long again. By recording shadow length and direction, we can see how the position of light changes.
Turn the science idea into a clear layout
A good layout can use a timeline from morning to evening. On the left, draw a child or a tree with a long morning shadow. In the center, draw a short noon shadow. On the right, draw a long evening shadow. This makes the scientific idea visual instead of only written.
- Top left: Place a large title with a sun, a flashlight, or a small shadow drawing.
- Main area: Draw three comparison pictures labeled morning, noon, and evening.
- Side column: Write why shadows change and add a simple experiment.
- Bottom area: Add an observation table with time, shadow direction, and shadow length.
A simple experiment for students
Prepare a flashlight, a pencil, a sheet of white paper, and some clay. Stand the pencil on the paper and shine the flashlight from different heights. Watch how the shadow changes. Then shine the light from the left and from the right to see how the shadow direction changes. The conclusion can be: A shadow usually appears on the opposite side of the light, and a lower light source makes a longer shadow.
Safety reminder: When observing shadows outdoors, do not look directly at the Sun. Look at the shadow on the ground instead.
Colors and details that make the poster easier to read
This topic works well with light yellow, sky blue, orange, and gray. Use warm colors for the Sun and light rays, gray for shadows, and white or pale blue for text boxes. Arrows can show the direction of light, dotted lines can mark the edge of a shadow, and labels such as “light source,” “object,” and “shadow” help readers understand the drawing quickly.
To finish the layout more efficiently, you can open the Smart Handwritten Poster WeChat mini program, choose a light science topic, set up the title area and content boxes, and then add your own shadow observations to make the poster more personal.