Start with a clear focus: build the poster around one treasure
The easiest way for students to make a museum treasures poster is not to list too many relics, but to choose one featured artifact and two or three supporting items. This keeps the topic clear and gives the page a strong visual center. A title like “Museum Treasures I Want to Share” or “A Famous Treasure in the Museum” works well.
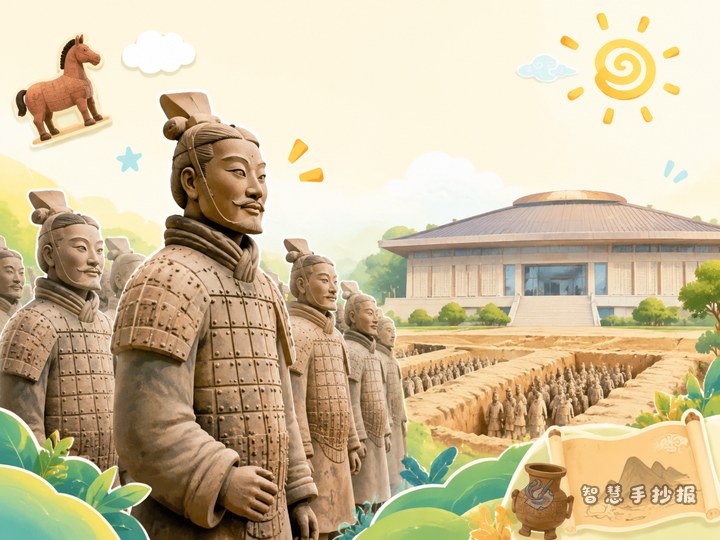
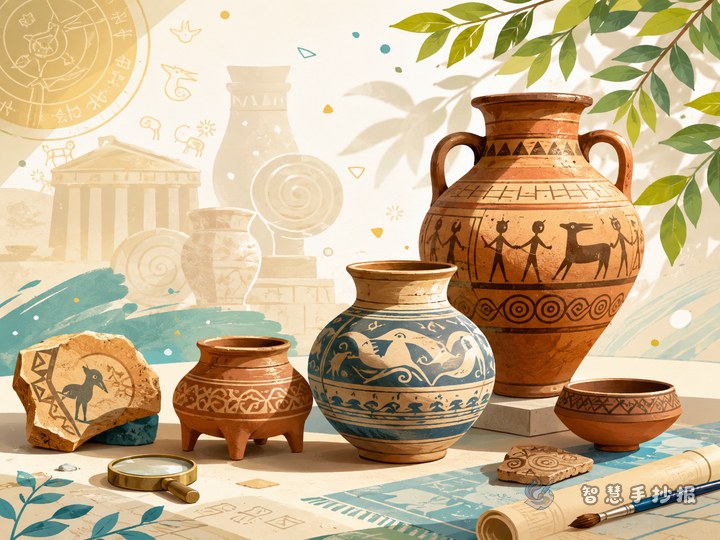
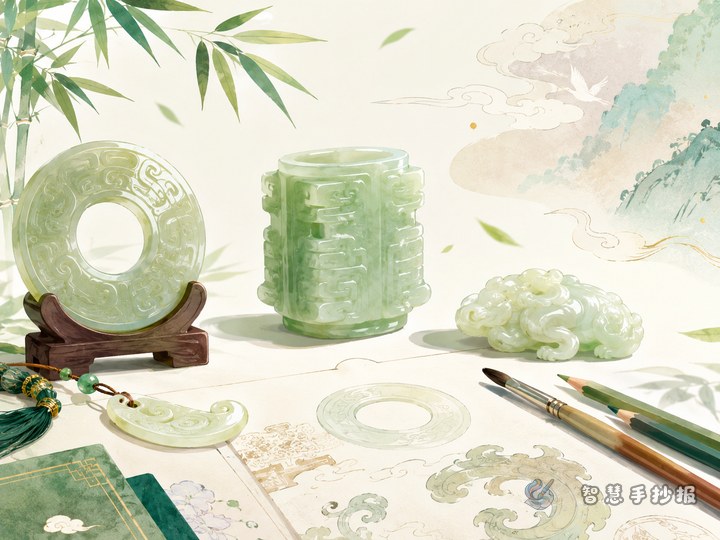
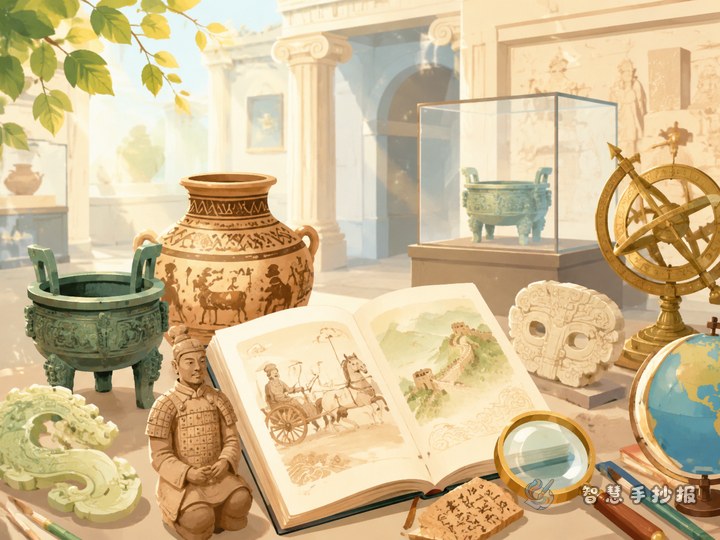
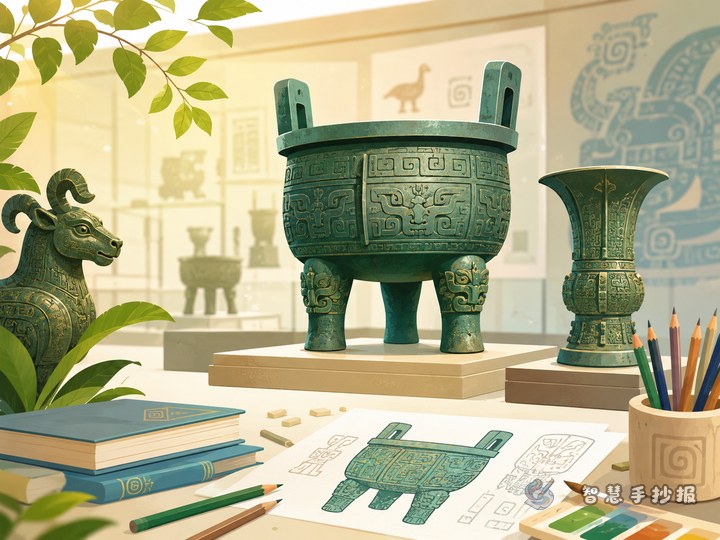
You can choose a well-known item with a recognizable shape, such as porcelain, jade, terracotta figures, gold objects, paintings, or ancient daily tools. The supporting artifacts can help explain the period, use, craftsmanship, and cultural meaning.
Useful sections to include on the poster
Section 1: Quick artifact profile
- Name of the artifact
- Historical period or dynasty
- Material
- Shape and appearance
- Where it is collected or displayed
This section works well near the top or center because it gives readers a fast overview.
Section 2: Why is it so valuable?
You can explain its value through history, craftsmanship, rarity, and cultural meaning. For example, it may show how people lived in the past, reflect advanced skills, or help historians understand an earlier time.
Section 3: The story behind the treasure
This is often the most interesting part. You can connect the artifact to a dynasty, an important event, ancient customs, trade, or daily life. Keep the language simple so it fits a student poster.
Section 4: Museum visit tips
- Speak softly while visiting
- Do not touch exhibits or display cases
- Follow the route and wait your turn
- Read labels carefully and take notes
This section makes the poster feel complete and links the topic to real museum visits.
Ready-to-use writing ideas
Opening idea: A museum is like a treasure house of time. Every artifact quietly tells a story from the past. Famous museum treasures are not only beautiful to look at, but also full of historical meaning.
Value paragraph idea: Precious artifacts are physical evidence of history. They help us understand ancient life, art, and wisdom. By looking at their shapes, patterns, and materials, we can learn history in a more direct way.
Ending idea: Visiting a museum is more than looking at old objects. It is a way to talk with history. Learning about museum treasures helps us appreciate cultural heritage and encourages us to protect and pass it on.
Layout ideas that make the page look organized
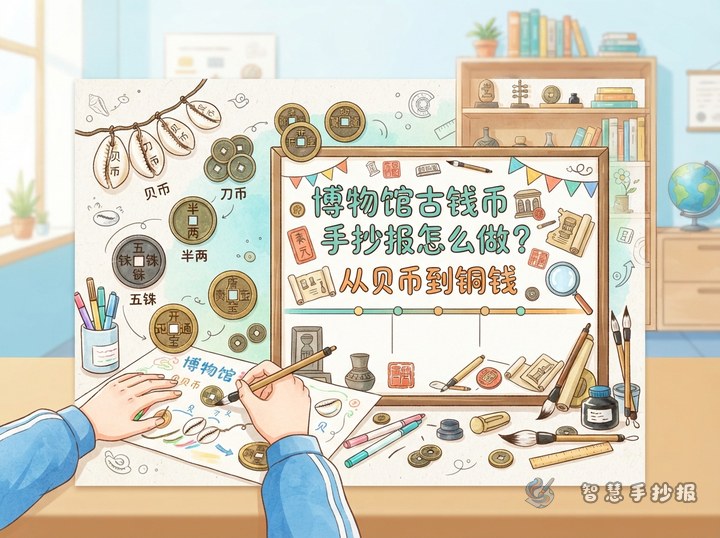
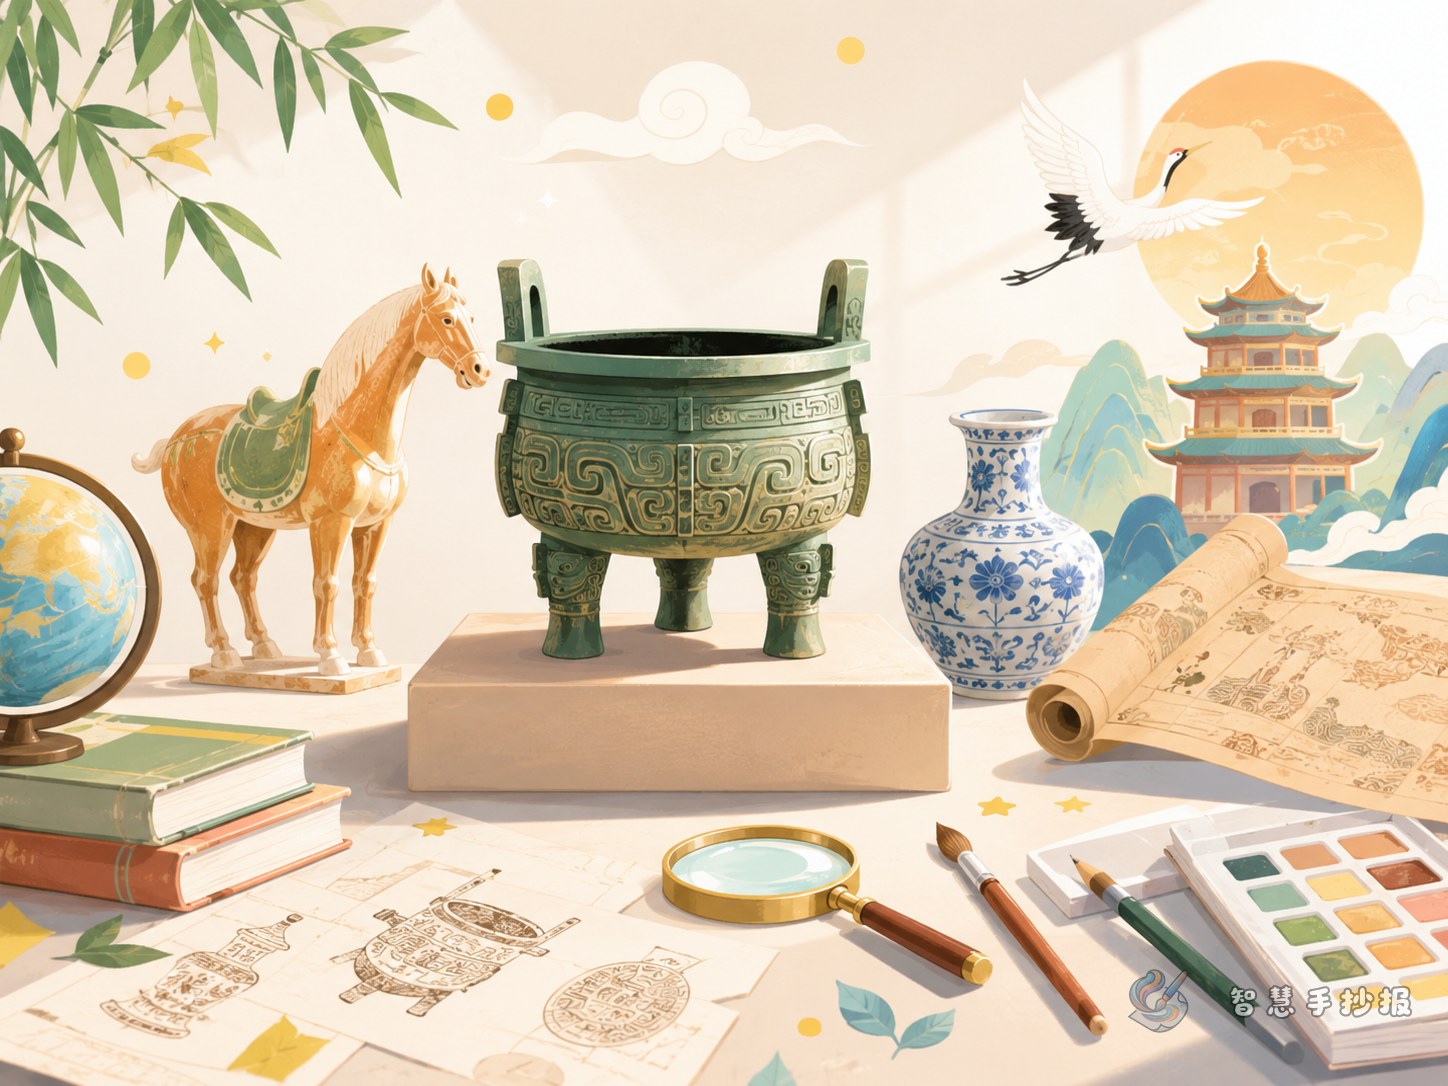
A good layout is a large center title with sections around it. Put the main title and a drawing of the featured artifact in the middle, then place the profile, value, story, and museum tips around it. This makes the key idea easy to understand at a glance.
- Use calm colors like dark red, navy, or gold for headings
- Add borders inspired by museum roofs, scrolls, cloud patterns, or ceramic motifs
- Use small decorations such as stamps, tickets, magnifying glasses, or display-case outlines
- Keep body text clean and not too colorful
If layout feels difficult, sketch the sections on scrap paper first. If you want help organizing titles, sections, and poster ideas faster, you can continue in the Smart Handwritten Newspaper WeChat mini program.
Simple tips for elementary students
- Choose an artifact that is easy to describe and easy to draw.
- Keep each section short, about three to five lines.
- Highlight key words like period, use, and value with colored pens.
- Do not worry about detailed drawing; focus on the overall outline.
- Check at the end that the theme is clear, the writing is neat, and the content is complete.
A good museum treasures poster does not need too many facts. What matters most is a focused topic, a clear structure, and a neat presentation. If you explain what the artifact is, why it matters, and what we can learn from it, your poster will already be strong and impressive.