Make the Bridge the Visual Center
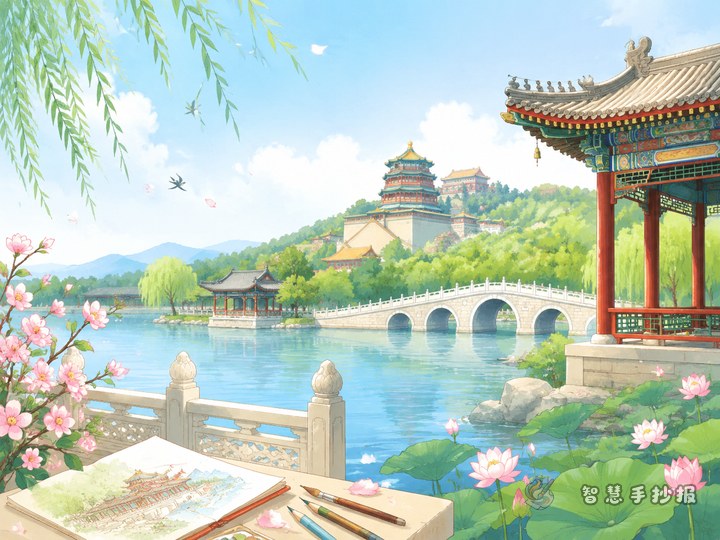
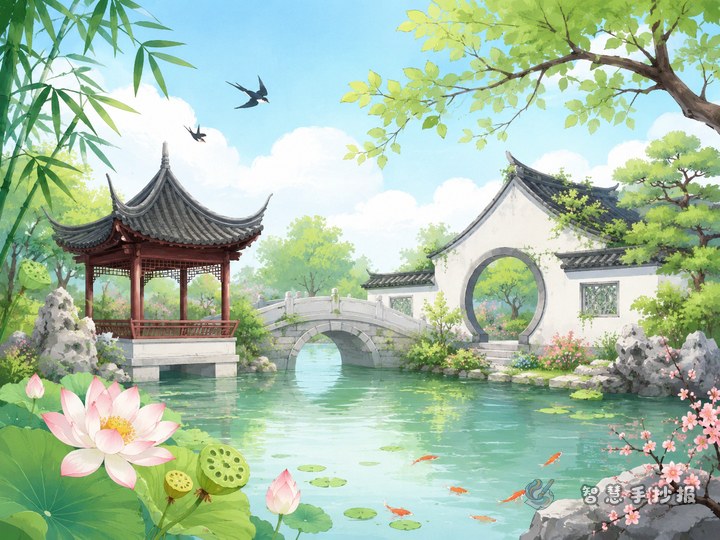
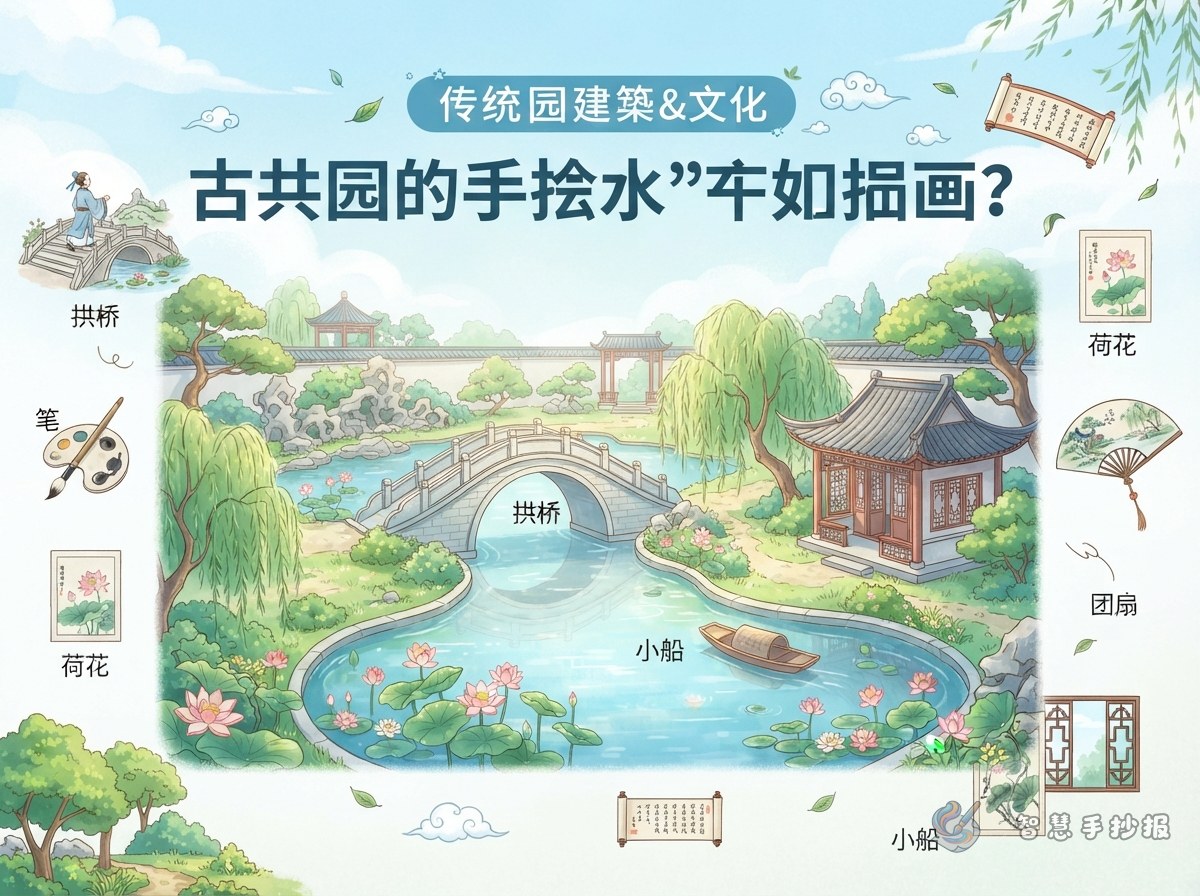
Instead of focusing on one famous garden, this handwritten newspaper can explore the relationship between bridges and water in classical gardens. A bridge is not only used for crossing; it also connects the water, buildings, plants, and views. Draw a small arched bridge in the center or lower part of the page, and place the title above it to create a clear visual focus.
Lightly sketch a winding shoreline or water surface before adding details. The bridge should not fill the whole page. Leaving room for water, rocks, and plants will make the composition feel more spacious and layered.
Four Sections for Exploring Bridge and Water Scenery
- Bridge shapes: Introduce arched and flat bridges, and describe how their lines, railings, and reflections change the view.
- The role of water: Explain how water reflects buildings, plants, and the sky while making the garden feel lively and open.
- Small scenes beside the bridge: Add pavilions, rocks, lotus leaves, willows, or moon gates to show what visitors might see while walking through the garden.
- My observation: Write about your favorite bridge shape or imagine a garden route to give the page a personal touch.
Ready-to-Use Writing Material
Opening: “A bridge connects two shores, but it also connects buildings with nature. In a classical garden, a bridge is more than a path. It is a graceful line that brings water, reflections, plants, and distant scenery together.”
Fact card: “Some garden bridges rise high above the water, while others lie close to the shore. Their different heights and curves create different views. As people cross a bridge, their sightline changes and new scenery appears.”
Closing line: “To understand a garden bridge is to discover how a small entrance can lead to a much richer landscape.”
Use Lines and Colors to Show the Water
Choose light blue, blue-green, cream, and brown as the main colors for a calm garden atmosphere. Use cream or light gray for the bridge and dark brown for the railings. Do not fill the water with one solid blue color. Add a few curved lines for ripples and draw a soft reflection beneath the bridge. A small number of rocks, lotus leaves, and grasses along the shore will add detail without taking attention away from the bridge.
The title can follow a gentle curve, echoing the shape of the bridge. Divide the writing into two to four small boxes. Wavy lines, window-lattice patterns, or stone-bridge borders can make the boxes match the theme while keeping the text easy to read.
A Simple Making Plan
- Decide on the title, bridge position, and direction of the water before drawing the rough layout.
- Place the fact card, writing material, and observation section with enough empty space around each part.
- Use black or dark brown lines to outline the bridge, railings, rocks, plants, and water ripples.
- Apply colors consistently and check that the page is balanced and the writing remains clear.
To try different bridge shapes, color combinations, and layouts, you can continue creating your page in the WeChat mini program “智慧手抄报” and add your own observations by hand.