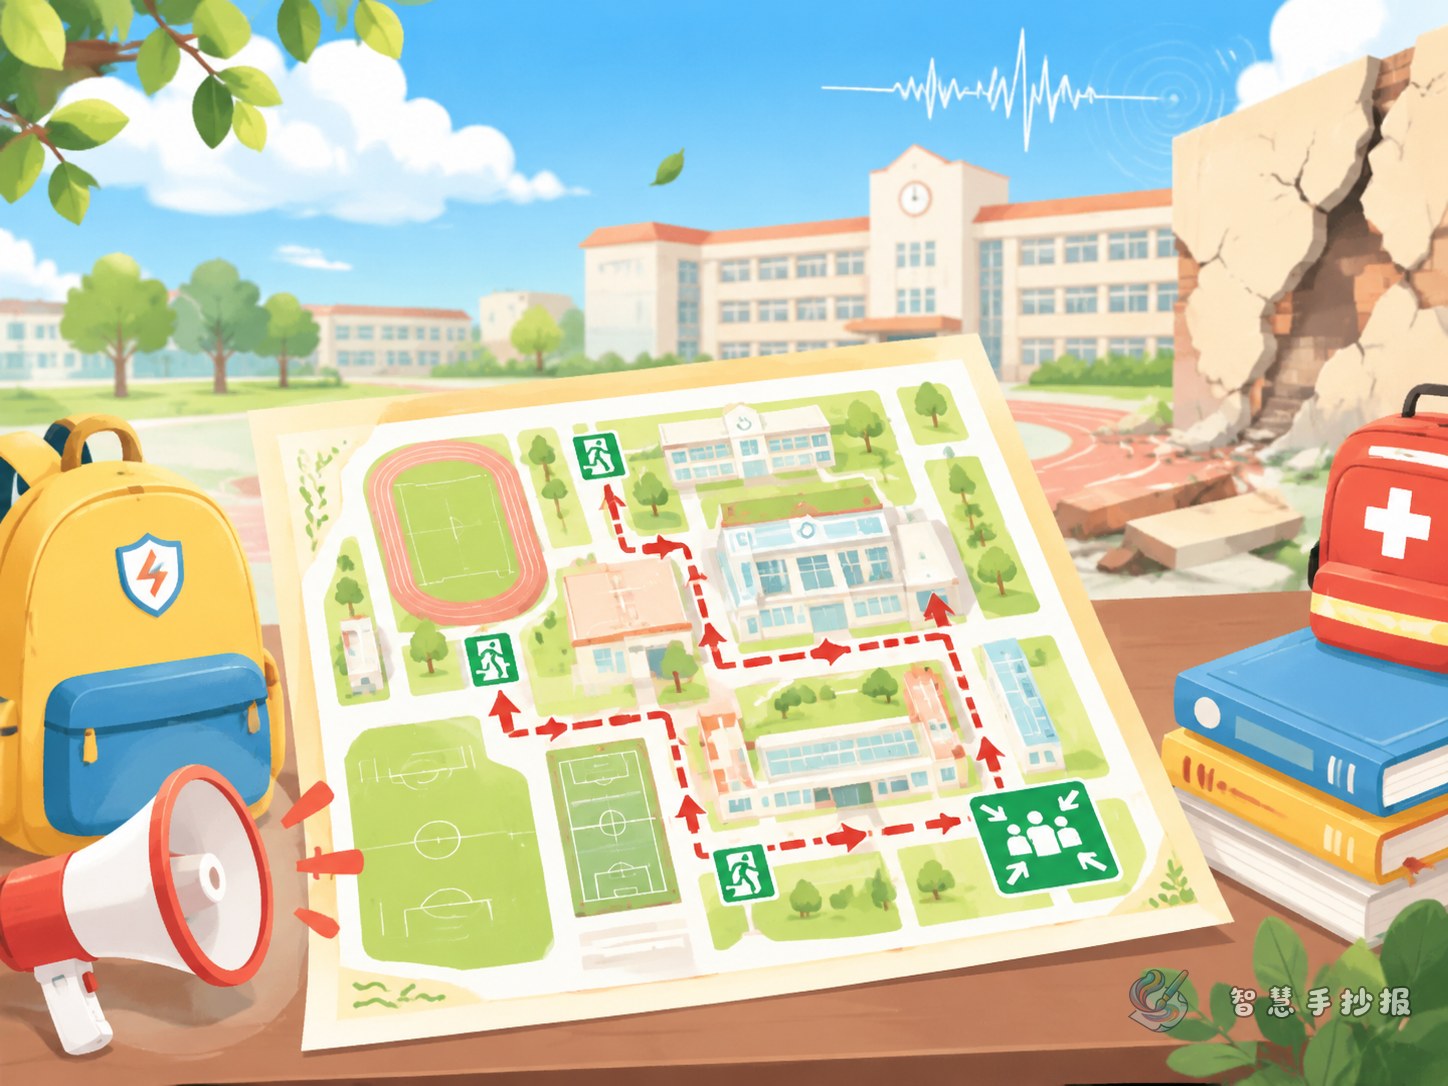
Start with a route map students can understand quickly
The best version of this poster is not a wall of text. It should let readers see where to go during an earthquake at school. Draw a simple school scene, such as a classroom, hallway, stairs, playground, and assembly area. Use arrows to connect each place and show the safest evacuation direction.
You can title the center area School Earthquake Escape Route Map and make it the visual focus. Add short labels instead of long explanations so younger students can read it easily.
Useful text materials to write beside the map
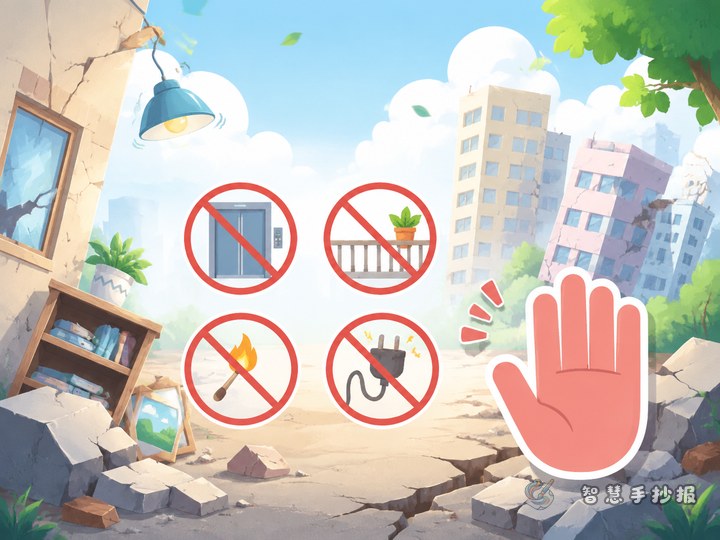
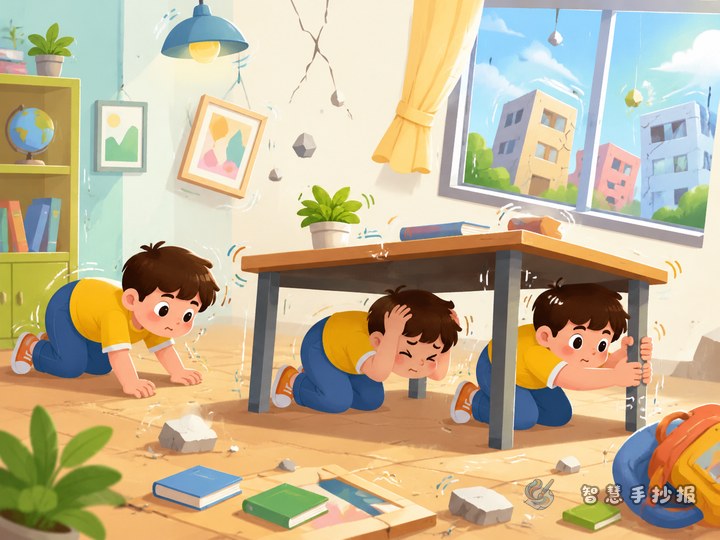
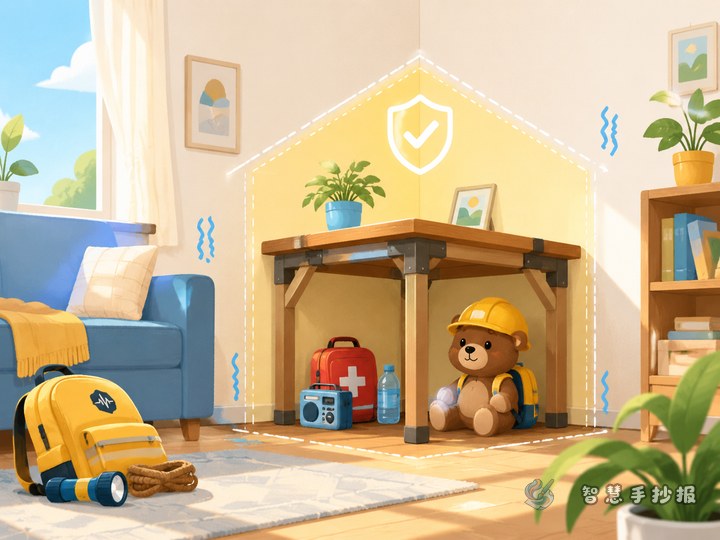
- In the classroom: Stay calm, protect your head, avoid windows, and wait for instructions.
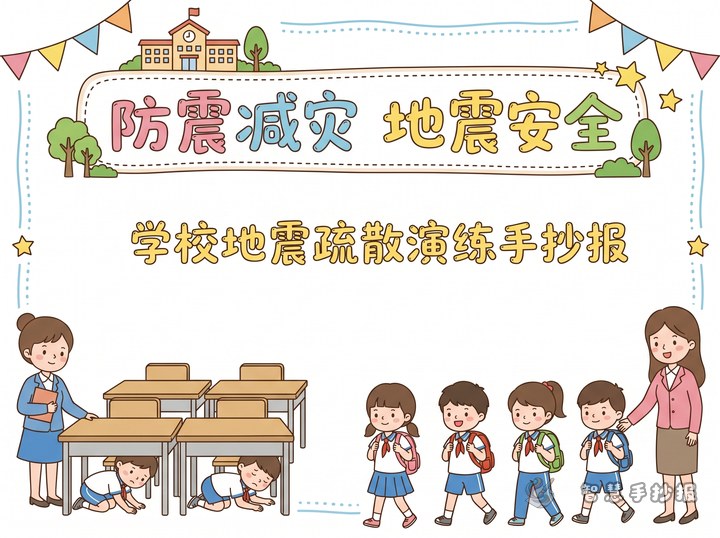
- When leaving the room: Do not push, do not run wildly, and follow the teacher in order.
- On the stairs: Hold the handrail and keep to one side.
- At the assembly area: Line up by class, count people, and wait for further notice.
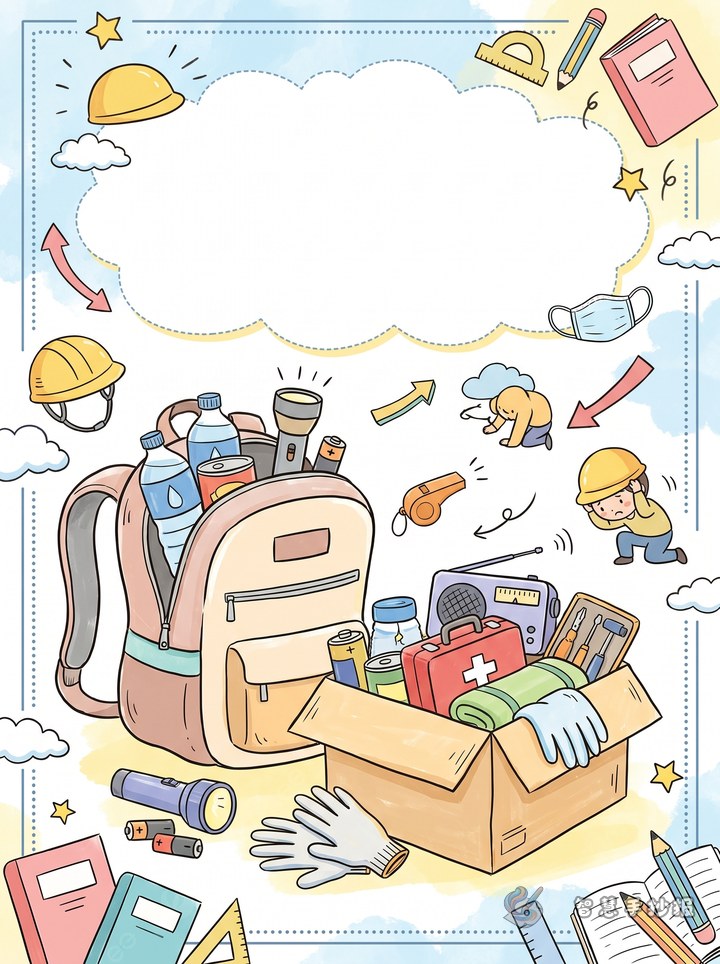
These short lines are practical and easy to fit into small boxes around the poster.
Three smart columns for a balanced layout
If you want the page to look rich without feeling crowded, divide it into three parts.
- Left side: Mini tips for classroom and hallway safety.
- Center: Main evacuation route map with arrows and area names.
- Right side: Playground assembly rules and reminders after evacuation.
This structure helps readers read from left to right and understand the process clearly.
How to make the poster look more vivid
Use blue and green as the base colors, then add orange or yellow for warning areas and arrows. Draw small icons such as exit signs, whistles, helmets, school gates, and class signs. Borders can use waves, shields, or simple geometric lines to match the safety theme.
Handwritten titles should be bold and neat. Important action words like protect, evacuate, and assemble can be enlarged for emphasis.
Easy finishing tips for students and parents
Before finalizing, check whether the route map is easy to follow and whether the text is short enough to read quickly. Avoid writing too much about earthquake science. This topic works best when it focuses on route guidance, school order, and simple safety reminders. If you want to continue arranging sections and beautifying the page, you can also use the WeChat mini program of Zhihui Shouchaobao for more poster-making inspiration.