Why a Science Experiment Makes a Strong Teamwork Theme
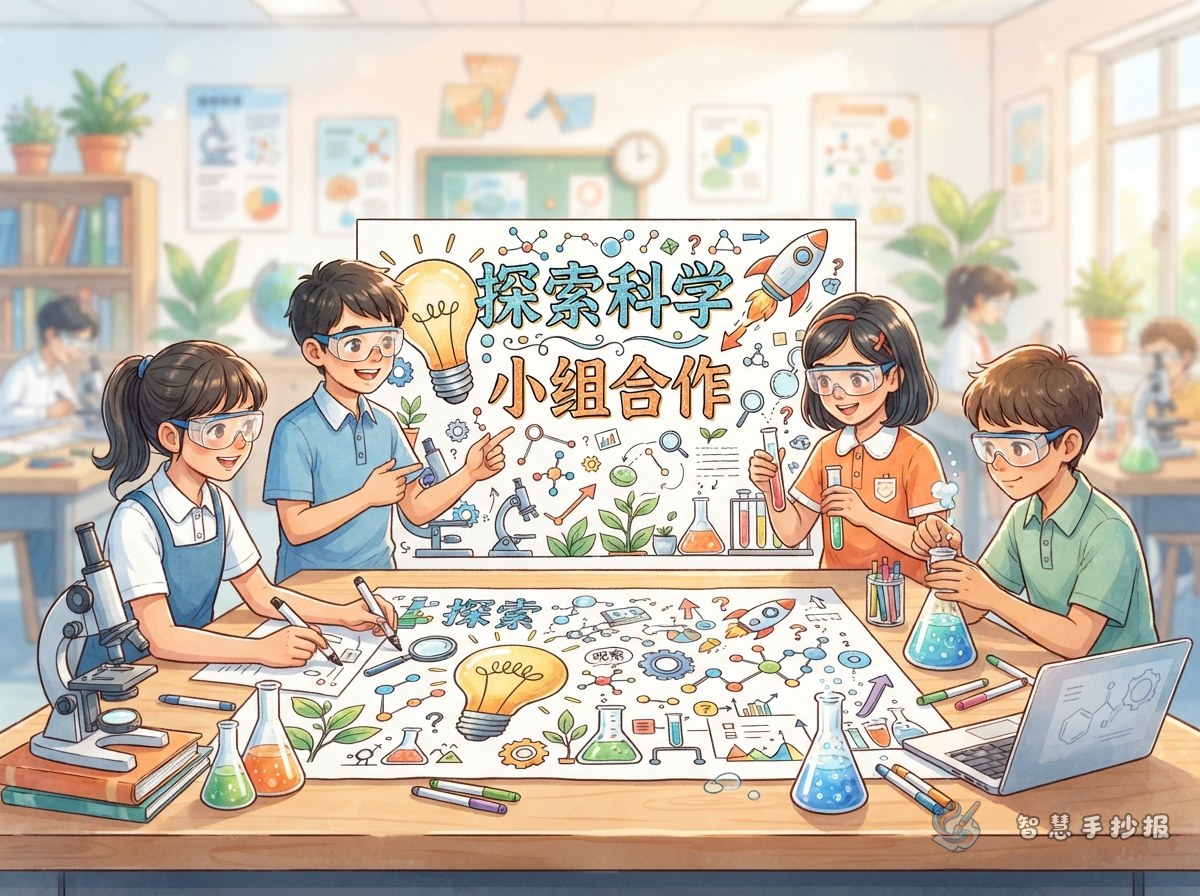
In a science lesson, hardly anyone finishes an experiment alone. Someone collects the equipment, someone reads and records the results, someone watches for changes, and someone explains the conclusion to the class. These real moments fit the theme of peer support and teamwork perfectly.
Writing “we should all be united” sounds empty, but an experiment has a time, an action and a conversation. That makes the poster feel real and much easier to illustrate.
Small Moments of Cooperation You Can Write About
If you are not sure where to start, pick two or three of these scenes:
- Before the experiment: who brings the equipment, who reads the steps aloud, who reminds the group about safety.
- During the experiment: one pupil steadies the stand while another pours the liquid slowly.
- Checking the record: a partner notices a wrong number and asks for it to be read again.
- When it goes wrong: nobody blames anyone; the group thinks back over the steps together.
- After it works: the group shares its conclusion with another table and listens to their ideas.
Two or three sentences per scene, plus one small action, is enough to show how cooperation happens.
Use the Experiment Steps as Your Layout Skeleton
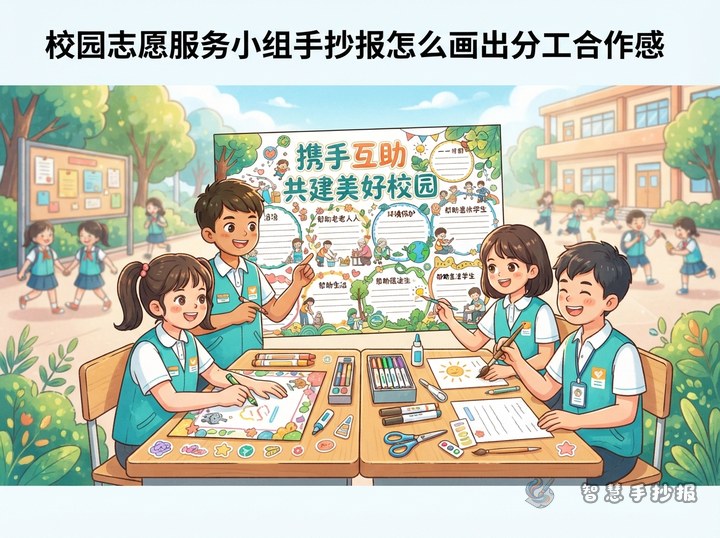
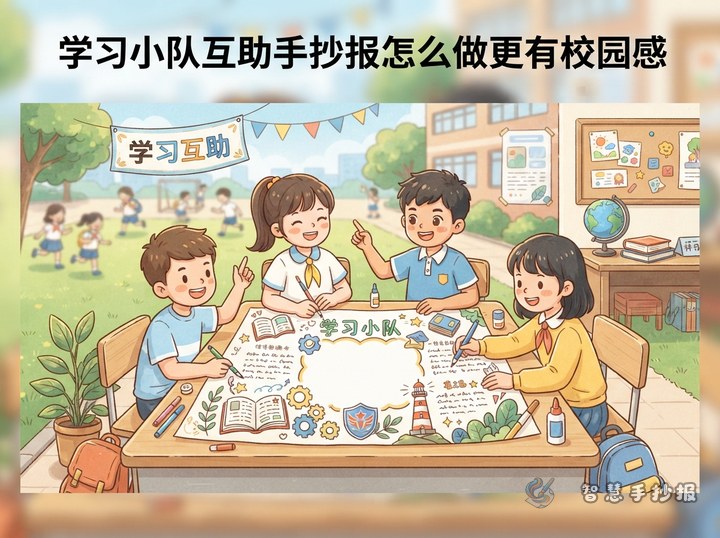
The biggest risk is turning the whole poster into one long paragraph. Draw a horizontal arrow to stand for the experiment steps and let it guide the reader across the page.
- Title area: across the top, for example “Working Together in the Lab”.
- Job card: upper left of the arrow, with four short lines for materials, recording, observing and reporting.
- Observation notes: upper right, drawn as a small notebook or box with two or three findings.
- Cooperation story: lower left, telling one real moment of working together.
- Safety or motto corner: lower right, in a speech bubble with a simple icon.
The boxes do not all have to be the same size. A little unevenness looks livelier, but keep every line of text inside a box so the page stays tidy.
Short Lines and Text You Can Copy
Poster text does not need to be long. A short line plus one small box is often enough. Try these, then rewrite them in your own words:
- One person records, one observes, one thinks — together they make a complete experiment.
- Share the work, share the success.
- Check the numbers together, discuss the conclusion together.
- If the experiment fails, never blame a partner; try again and learn more.
- You hold the stand, I read the scale — we fit together perfectly.
For a motto corner, well-known sayings such as “Many hands make light work” are easy to read and hard to get wrong.
Colours, Drawings and Breathing Space
Science themes suit clean colours: sky blue, pale green, lake blue and a little white. It looks fresh and matches the feel of lab equipment.
- Doodles: beakers, test tubes, measuring cylinders, magnifiers and clipboards all work as simple line drawings in the corners.
- Borders: dotted, wavy or fine dot lines feel lighter than thick black frames.
- White space: leave room around the title and between boxes so nothing looks squeezed.
- Emphasis: trace important words in a second colour or place them on a pale background.
A Simple Order for Making the Poster
- Write down the theme and the boxes you plan to use on a piece of scrap paper.
- Sketch the title area and boxes lightly in pencil and check the proportions.
- Copy your text into the boxes, keeping the spacing even.
- Add the arrow lines, lab-equipment doodles and small decorations.
- Outline, colour, and finally check for spelling mistakes or empty boxes.
If you want to save time on the layout, open the Smart Handwritten Newspaper mini program in WeChat, choose a teamwork layout for reference, block in the title and boxes first, then fill in your own text and drawings.