Turn bean sprout growth into a poster that tells a story
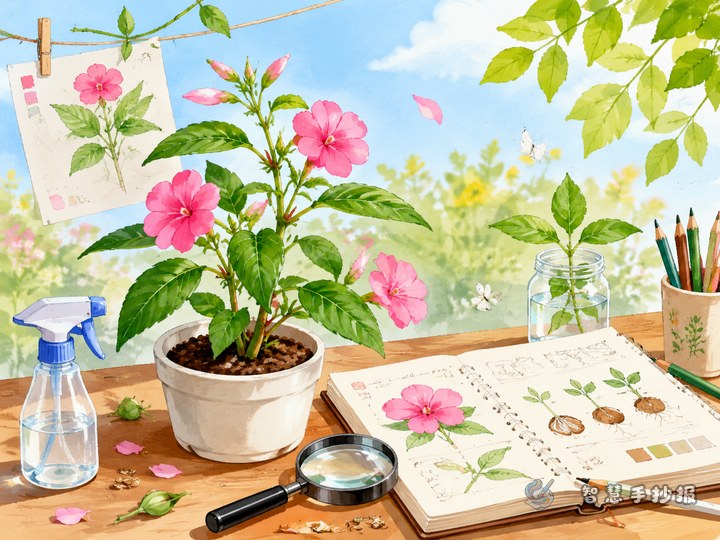
Bean sprout planting is one of the easiest and most successful school plant observation topics. When making a poster, the key is not to make it complicated. Instead, show how a bean slowly becomes a sprout. If the content follows a daily record, the poster will feel organized and lively.
A simple title works well, such as “My Bean Sprout Growth Record” or “A Bean’s Sprouting Diary.” These titles sound natural and fit a school project nicely.
What to include in a real observation record
The planting beginning
- Materials: green beans or soybeans, a clear cup, tissue or cloth, and water.
- Method: soak the beans first, then place them in a container and keep them moist.
- First impression: the beans are small, firm, and darker in color.
The sprouting process
- Day 1: the beans absorb water, become larger, and feel softer.
- Day 2: some beans crack open and tiny white sprouts begin to appear.
- Day 3: the sprouts become more visible, and small roots can be seen.
- Day 4 to Day 5: the sprouts grow longer and straighter, and some may begin to look pale green.
- Day 6 to Day 7: the bean sprouts continue to grow taller, and small leaves may begin to open.
If space is limited, each day only needs one short sentence and one key change. That is enough to make the poster feel complete.
Useful sections for the poster
- Planting steps: explain soaking, placing, watering, and observing.
- Daily observation box: write the changes by date.
- What I discovered: mention that moisture helps seeds sprout.
- Care tips: keep the container clean and avoid too much water.
- What I learned: growing plants teaches patience and careful attention.
These sections make the work feel like a real school planting poster instead of a general science article.
Ready-to-use observation sentences
- The beans became much bigger after soaking in water.
- Today I saw small cracks in the bean skins.
- A tiny white sprout came out like a little tail.
- The bean sprouts grew a little every day.
- I found that keeping them moist is very important.
- Watching a plant grow helped me notice small changes in life.
Students can also add a feeling sentence, such as “I was excited to see the sprouts grow taller today.” This makes the poster sound more personal and authentic.
Keep the layout simple but clear
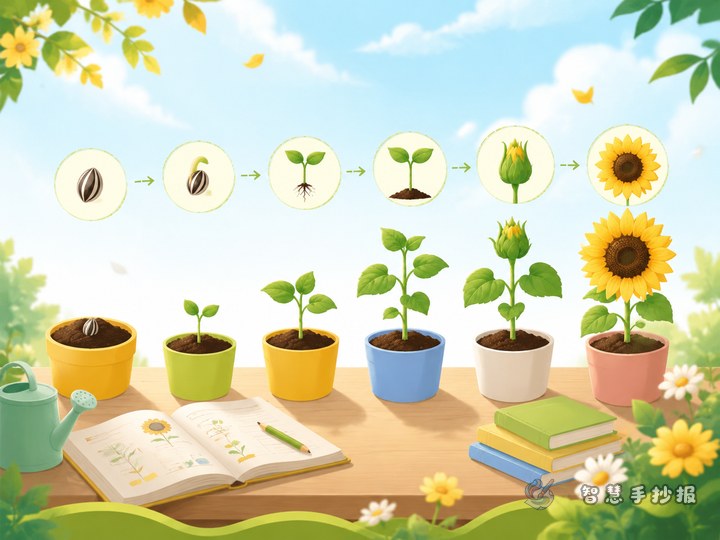
This topic works especially well with a timeline design. You can place dates in a row or column and match each date with one short record. Another good choice is a four-part layout: title, planting steps, daily notes, and reflections.
For decoration, use leaves, drops of water, bean pods, or small flower pots. Soft green, light yellow, and pale blue create a fresh and natural style. Do not crowd the page with too much text. Clean spacing makes the poster easier to read.
How to make the poster stand out
The best keyword for this kind of poster is real. Instead of only writing facts about bean sprouts, show what you planted, what you saw, and what changed each day. Even a short record can look impressive if it is specific and sincere.
After organizing the writing, you can continue polishing colors, titles, and layout in the WeChat mini program to make the poster more attractive for classroom display.