Start with a clear focus: turn garlic sprout growing into a process-based poster
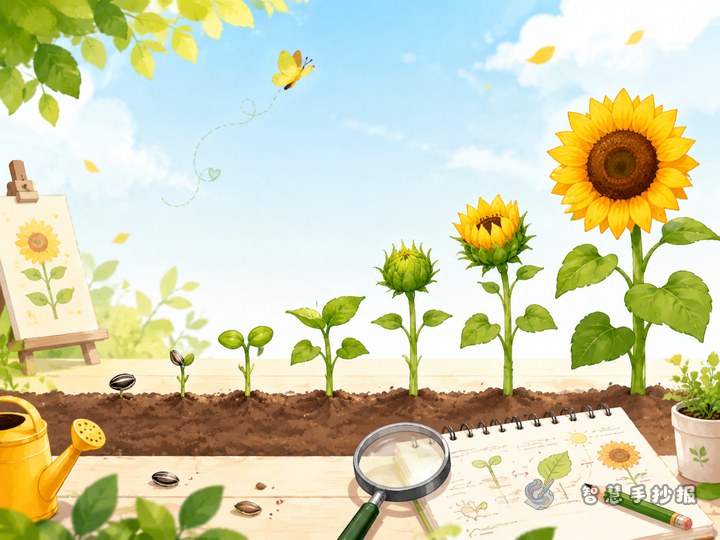
A garlic sprout observation hand-copied newspaper works best when it shows a full process: before planting, during growth, and after observation. Instead of listing facts only, students should include what they actually planted and noticed each day. That makes the work more authentic and more suitable for a school gardening project.
Possible titles include “7-Day Garlic Sprout Growth Observation”, “My Garlic Sprouts Grew Taller”, or “Water-Grown Garlic Sprout Project”. In the center, students can draw garlic bulbs, green shoots, a cup, or a small pot to make the topic easy to recognize.
Useful sections students can write directly
1. Garlic sprout profile
- Plant name: garlic sprout
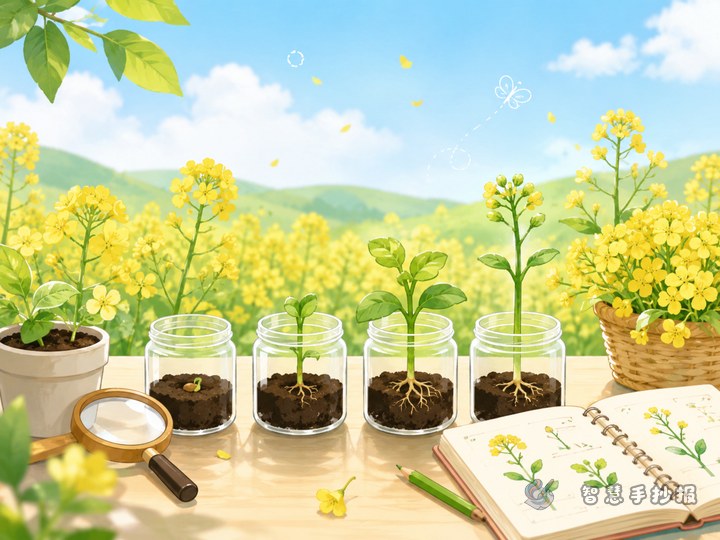
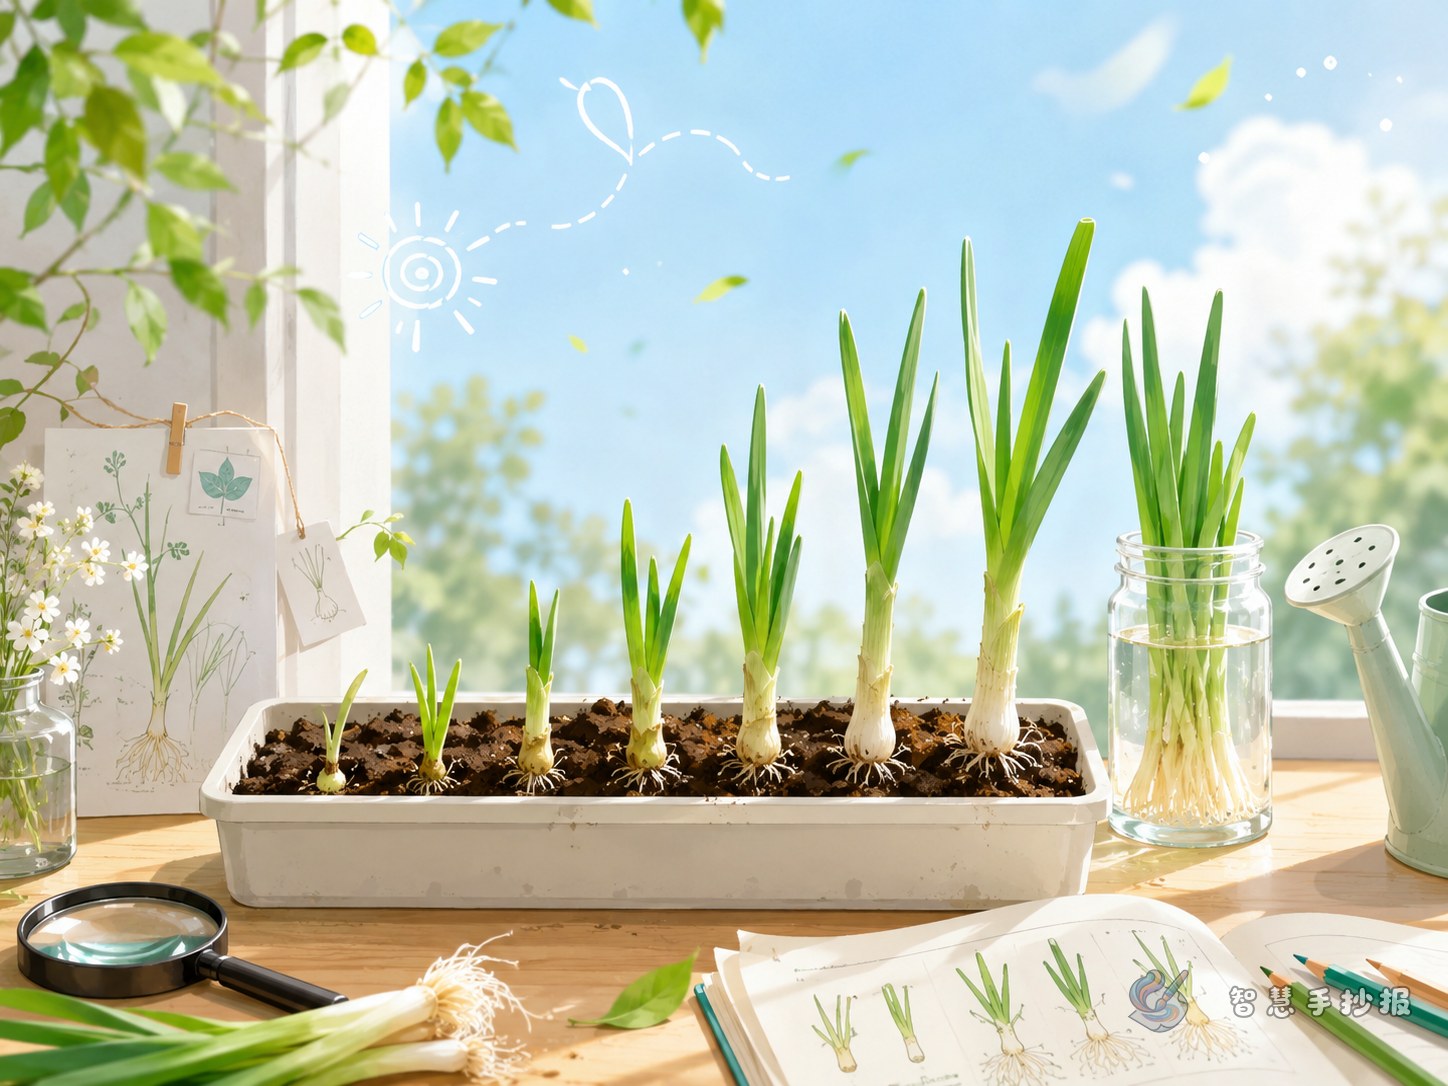
- Planting method: water culture or soil culture
- Observation period: 7 days, 10 days, or two weeks
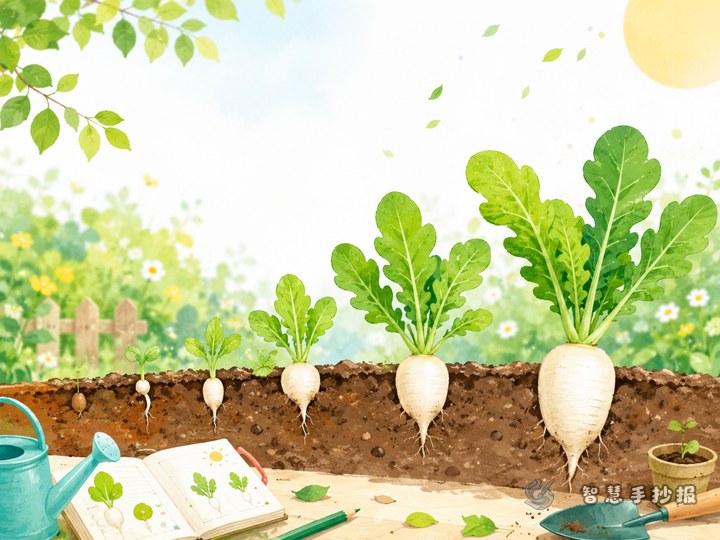
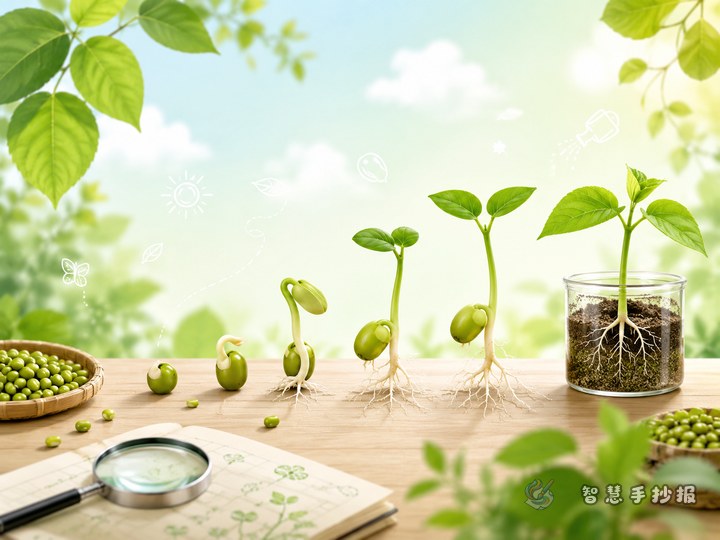
- Main points to observe: roots, buds, leaf length, color changes
2. My planting steps
- Prepare a whole garlic bulb, a shallow tray or small pot, and water or soil.
- Place the garlic with the root side facing down.
- For water growing, let only the bottom touch a little water; for soil growing, place it lightly into the soil.
- Put it in a bright and airy place with gentle sunlight.
- Observe every day and record height, color, and root growth.
3. Sample observation notes
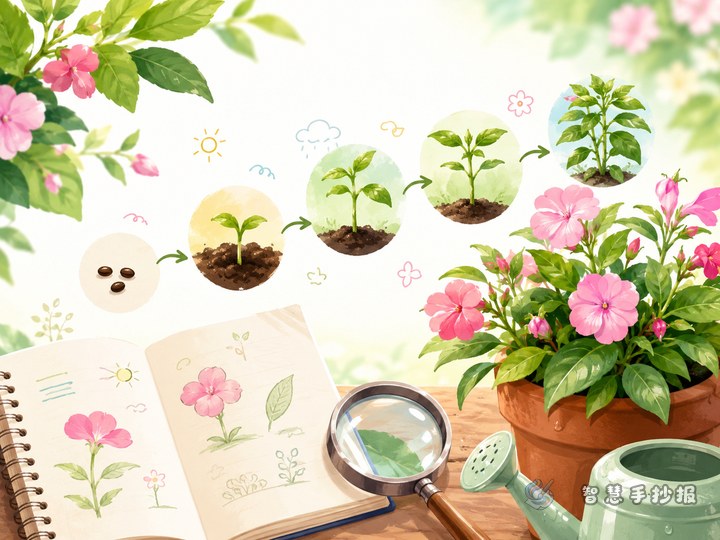
Day 1: The garlic bulb looks complete, with no obvious change yet. Day 3: White roots begin to appear at the bottom, and a small green bud shows at the top. Day 5: The sprouts are clearly taller, and the leaves are getting longer and greener. Day 7: The garlic sprouts stand upright and may even be ready for light trimming. This kind of record is simple and clear, perfect for a timeline section.
Easy writing materials to enrich the poster
The poster does not need difficult science language. Choose practical content closely related to growth observation:
- What garlic sprouts need: water, air, suitable light, and proper temperature.
- Why they grow roots and buds: garlic bulbs store nutrients and begin to sprout in the right environment.
- What I discovered: plants change little by little every day, so continuous observation matters.
- What I learned: plant growth needs patience and careful care.
If there is extra space, students can add a short reflection such as “I learned that plants do not grow all at once. They change a little every day.”
Keep the layout neat and full of observation feeling
This theme looks good in a top-and-bottom layout or a left-right column layout. Put the big title on top, the growth process in the middle, useful sections on both sides, and observation notes or conclusions at the bottom. Light green, pale yellow, and white are ideal colors because they match the plant theme and look fresh.
- Left side: planting steps
- Right side: daily observation
- Bottom: what I learned and care tips
- Decorations: garlic cloves, leaves, water drops, small flowerpots
Fancy lettering is not necessary. A larger title and neat body text will make the work cleaner and easier to read.
Small details that make the poster better
Teachers and parents usually prefer posters that show real observation and personal discovery. So do not only copy facts. Add what you saw, what changed, and what you learned. If students want to improve the title, layout, or content sections, they can continue creating in the Zhihui Shouchaobao WeChat mini program.