Choose a clear observation storyline first
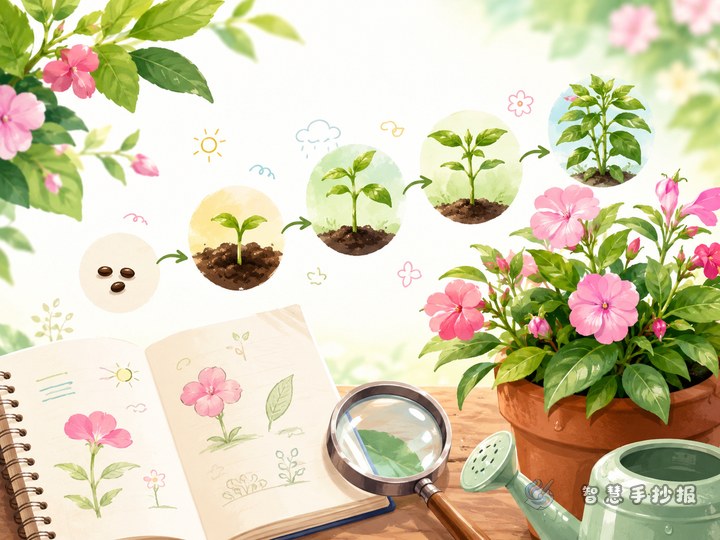
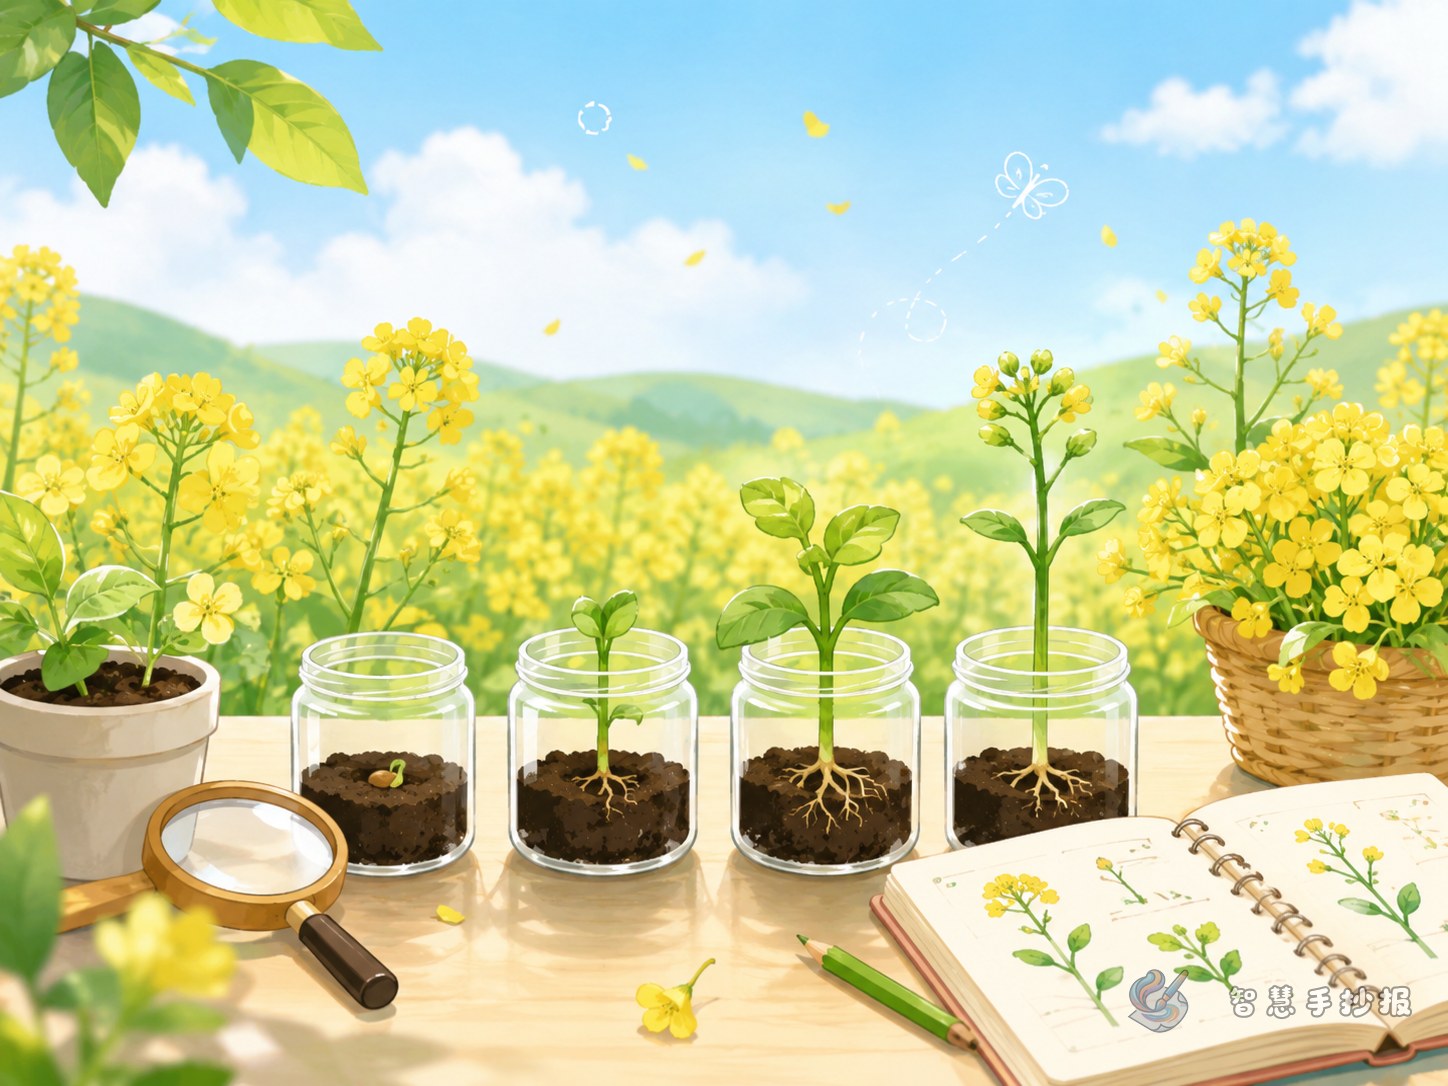
Rapeseed is a great topic for a handwritten poster because its growth stages are easy to notice. You can build the poster around “Rapeseed Planting Observation” and show a simple sequence: sowing, sprouting, leaf growth, stem development, and blooming. This makes the page feel organized and full of real process details.
For the title area, add small flowers, leaves, pots, rulers, or date labels to make the poster look lively and hands-on.
Best sections for a rapeseed observation poster
- Planting steps: Introduce seed preparation, loosening soil, sowing, watering, and sunlight.
- Growth diary: Record changes by day or week, such as height, leaf number, and color.
- What I discovered: For example, “It grew faster with more sunlight” or “Too much water made the soil too wet.”
- Plant facts: Briefly explain that rapeseed is a common plant with clear leaf and flower changes.
- My harvest from labor: Write what you learned from caring for the plant patiently.
Ready-to-use writing material
Opening lines
To learn how a plant grows, I planted several rapeseed seeds. After school each day, I carefully observed them and wrote down every small change.
Stage notes
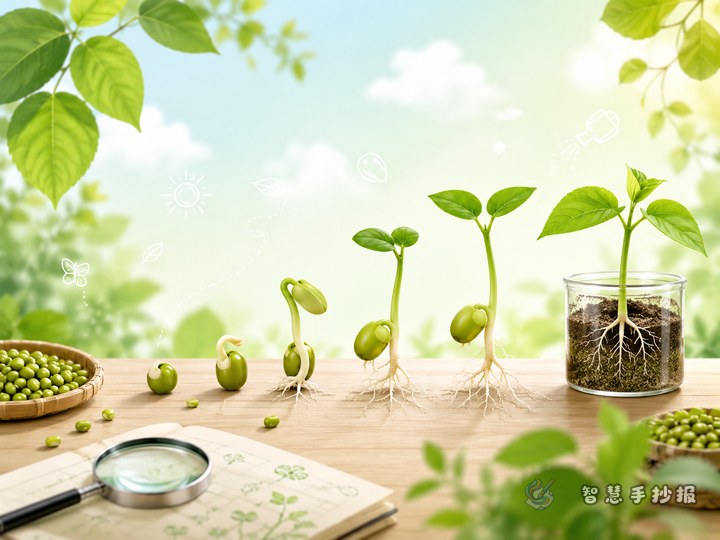
During the first few days after sowing, nothing obvious appeared on the soil surface. A few days later, tiny green sprouts pushed through the soil. As time passed, more leaves grew and the stems became taller. If the plant is cared for well, bright yellow flowers may appear later.
Personal reflection
This planting activity taught me that plants need sunlight, water, air, and patient care. By observing one small plant closely, I discovered many interesting secrets of nature.
A layout idea that looks neat and vivid
A good structure is “big title in the center + timeline on the left + knowledge box on the right + reflection area at the bottom”. This helps separate observation records from science notes and keeps the whole poster balanced.
- Use green and yellow as the main colors to match rapeseed leaves and flowers.
- Create a timeline with small plant sketches for each growth stage.
- Use leaf-shaped or rounded boxes for facts and notes.
- Decorate blank spaces with bees, butterflies, buds, and flowers for a spring feeling.
Small details that make the poster better
Instead of only writing “it grew taller” or “it sprouted,” try more specific descriptions such as “the leaves became wider,” “the stem stood straighter,” or “the color changed from light green to darker green.” If you have real notes, add dates, weather, and watering details to make the poster feel more authentic.
If you want to improve the layout, refine section titles, or keep making your poster more easily, you can continue in the Zhihui Shouchaobao WeChat mini program.