Match the Adhesive to the Decoration
Common additions to a school handwritten poster include cutout titles, printed pictures, information cards, border strips, and small icons. Their sizes and paper weights differ, so one adhesive may not work well for every element.
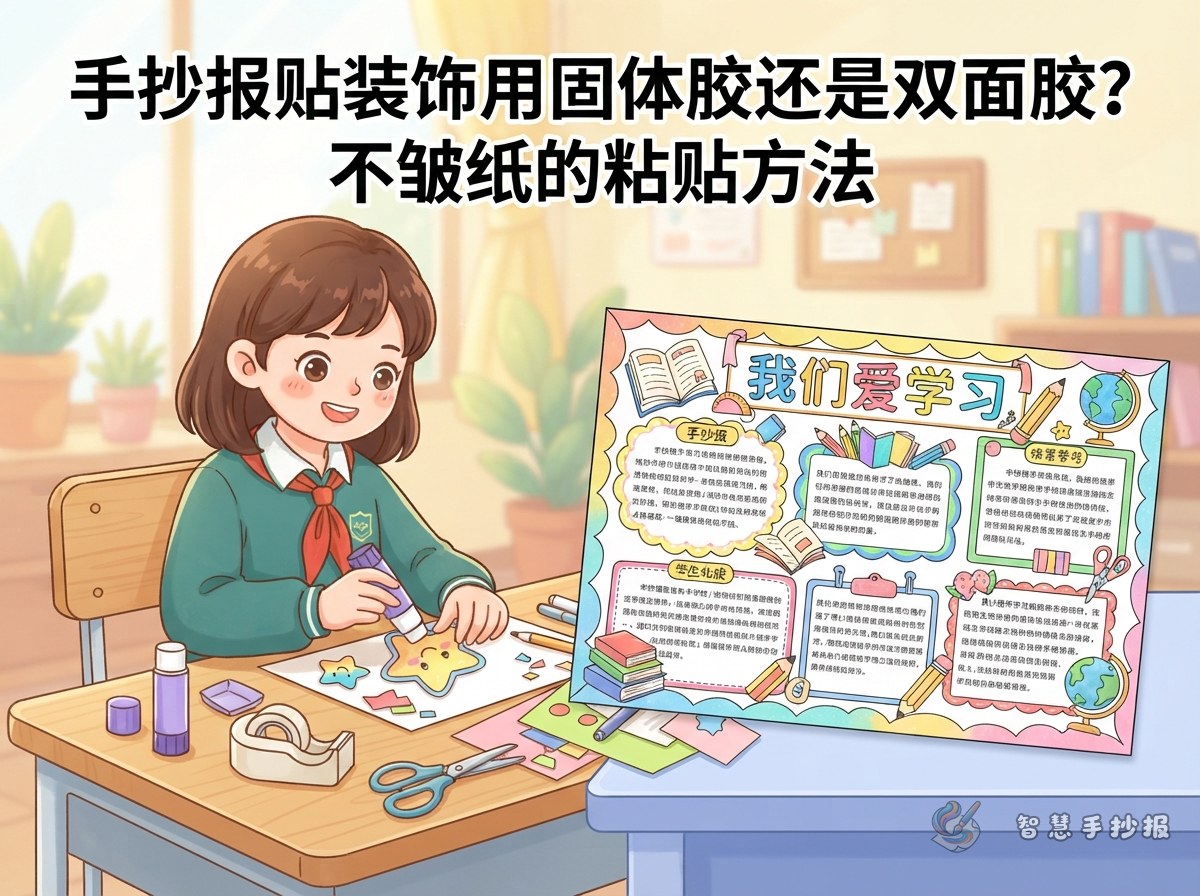
- Glue stick: Best for printer paper, small labels, and lightweight cutouts. It is relatively dry and easy to control, but it must reach the corners.
- Double-sided tape: Useful for large title cards, long border strips, thicker cardstock, and pieces that need to remain flat. Narrow tape applied in short sections is usually enough.
- Liquid glue: Suitable for a few small three-dimensional decorations. Use tiny dots because spreading it over thin paper can cause warping.
Build the Layout Before Anything Is Attached
Do not glue each decoration as soon as it is cut out. Lightly divide the poster into a title area, text sections, and illustration spaces. Place every cutout on the page without adhesive, then check whether the sections feel crowded, the title overlaps any writing, or the outer edges need more breathing room.
For a festival poster, try a cutout title at the top, two information sections on the sides, and a short message card at the bottom. For a science poster, place one main illustration near the center and arrange sections such as “What We Observe,” “How It Works,” and “What We Can Do” around it. Decorations should support the topic rather than fill every empty space.
A Clean Attachment Sequence
- Complete the writing, outlining, and broad areas of color, then let all ink and paint dry.
- Cut out the title cards and decorations, trim rough edges, and test the adhesive on scrap paper.
- Mark the planned positions lightly. Attach the largest elements first, followed by small icons and borders.
- Apply glue stick thinly from the center to the edges. With double-sided tape, expose a small section first and press the rest down after checking alignment.
- Cover the completed area with clean paper and place a flat book on top briefly to improve contact.
Short Text for Helpful Poster Cards
Small decorations can carry useful messages instead of serving only as filler. A craft-tip card might say, “Plan first, attach second. Use less adhesive and press every corner.” A safety note could read, “Put scissors away after use and close glue containers promptly.” A final checklist can include, “Is the title easy to see? Is the writing clear? Are the decorations secure? Is the page clean?”
Keep each text card focused on one idea and limit it to a few short lines. Its color may match the title, but readability should remain the priority.
Fix Wrinkles, Glue Marks, and Crooked Pieces
- Minor wrinkles: Stop rubbing the wet area. Let the adhesive dry completely, cover the section with clean paper, and press it flat.
- Glue beyond an edge: Avoid wiping it back and forth. Lift the excess gently with the corner of clean paper, then hide any remaining mark with a coordinated border.
- A crooked decoration: Do not pull it off suddenly. Add a border line, corner motif, or small label so the angle becomes part of the design.
- A lifted corner: Place a tiny amount of glue stick underneath with a toothpick, or secure it with a very short piece of double-sided tape.
If the title style, number of sections, or placement of decorations is still uncertain, continue planning the layout in the Smart Handwritten Poster WeChat Mini Program. A clear layout makes it easier to prepare the right paper and adhesives without repeatedly removing attached pieces.