Sort Your Supplies by Stage, Not by Brand
A handwritten poster is not a contest of how many pens you own. What matters is whether you have something workable at each stage of the process:
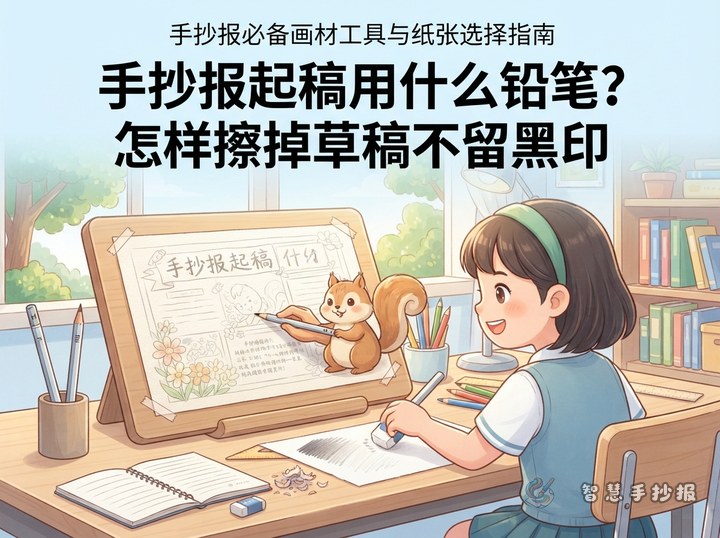
- Drafting: a pencil and eraser for blocking out areas and writing light guide lines.
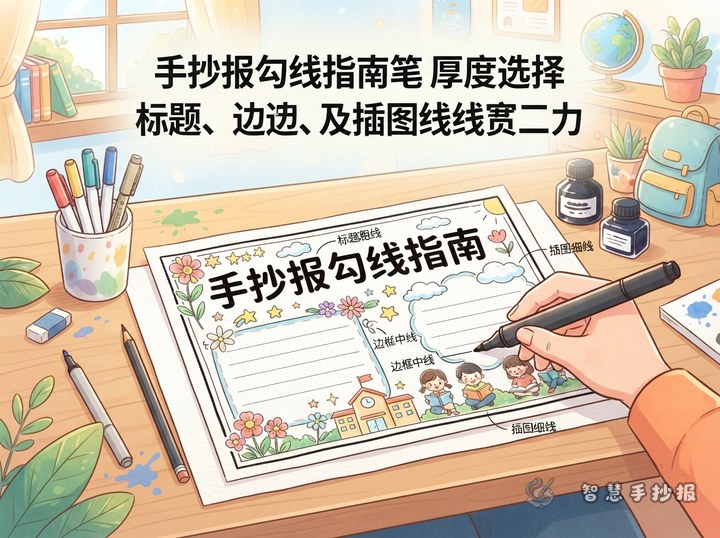
- Outlining: a black fineliner for borders, titles and figure edges.
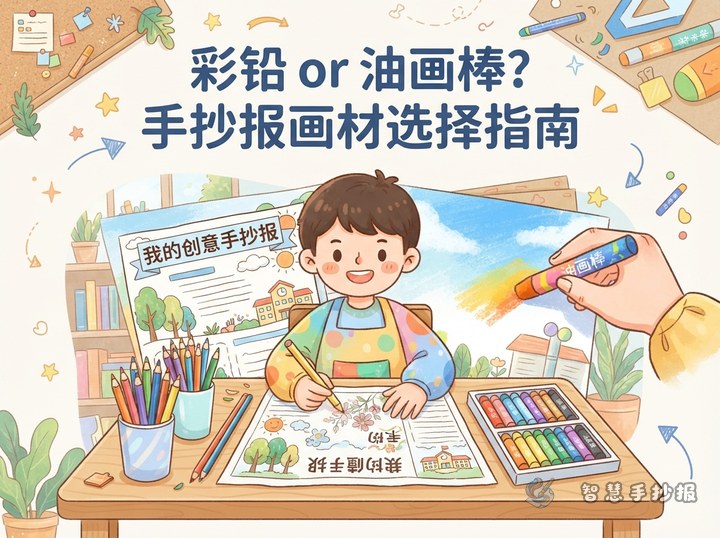
- Coloring: markers, colored pencils or oil pastels for fills and backgrounds.
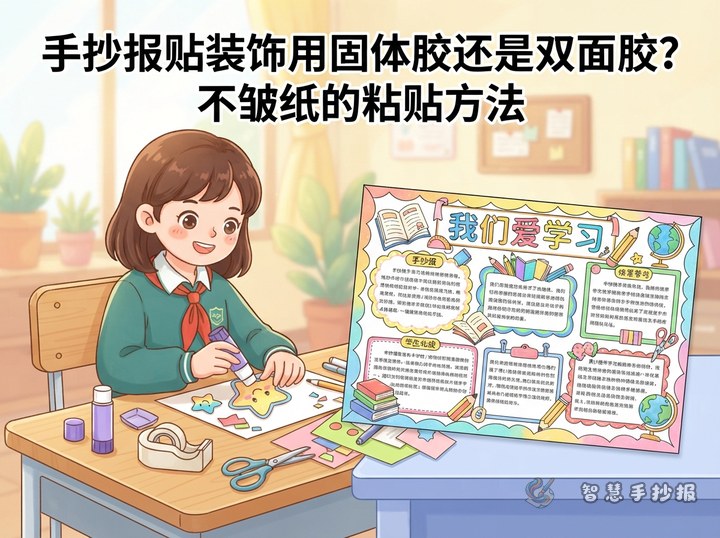
- Gluing: a glue stick or double-sided tape for text strips and small decorations.
- Helpers: a ruler and scissors for straight lines, spacing and trimming.
Once you check these five stages, it is easy to see what is actually missing.
The Eight-Item Starter Kit
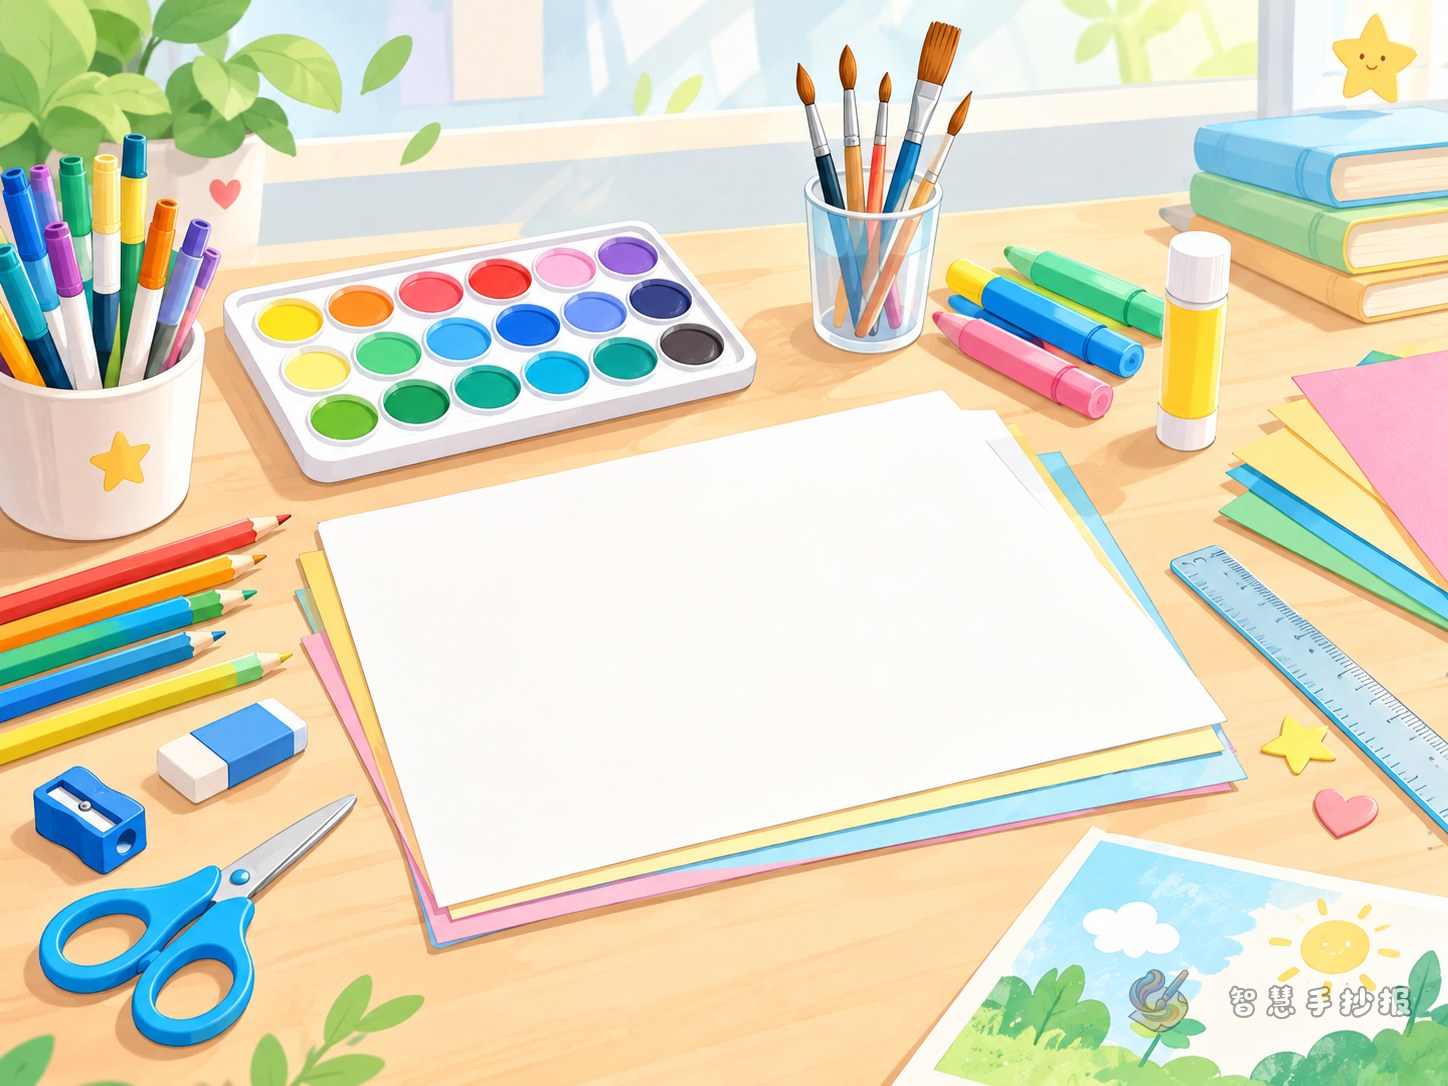
If this is your first poster, this list is enough to finish a complete piece:
- HB or 2B pencil for light draft lines and title outlines.
- Soft eraser that lifts cleanly without smudging the paper.
- Black fineliner, about 0.5 mm for borders, headings and line art.
- Twelve-color marker or colored pencil set, which is plenty for practice.
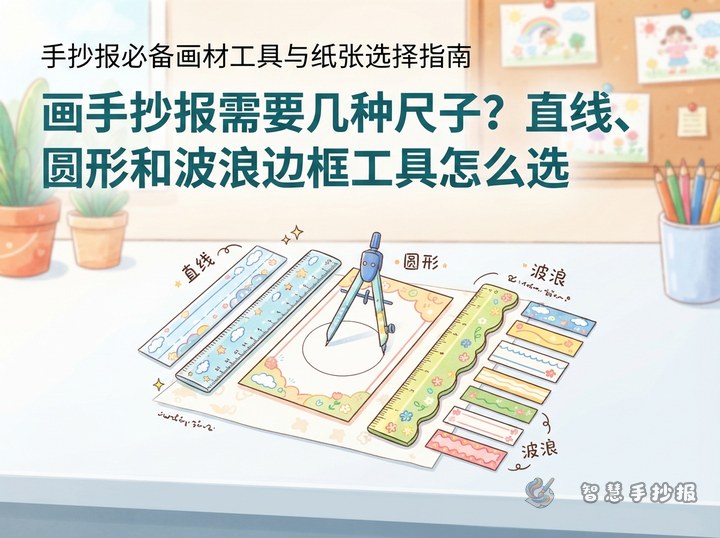
- Clear 20 cm ruler so you can see the grid underneath.
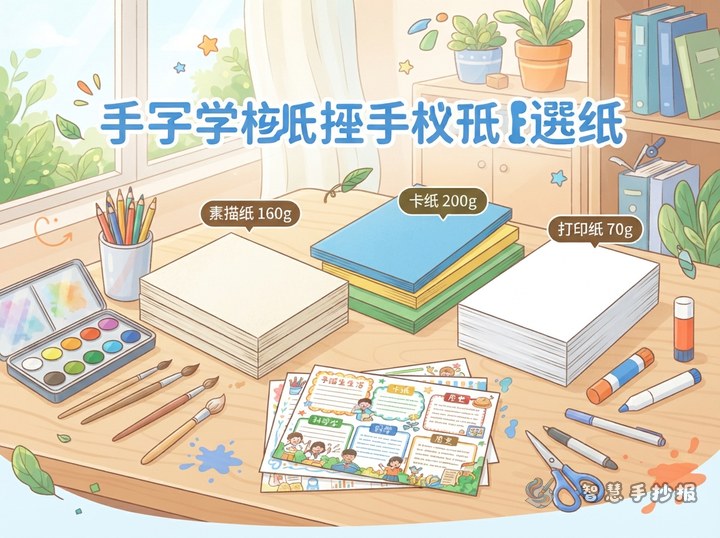
- A4 or A3 paper, depending on how much content you plan to include.
- Glue stick or double-sided tape for attaching text strips.
- Rounded safety scissors for trimming and cutting small shapes.
Things You Already Own That Do the Job
There is no need to buy a whole art set for one assignment:
- No compass? Trace a cup rim, tape roll or bottle cap for natural circles.
- No markers? Layer colored pencil strokes in one direction to build depth.
- No fineliner? A thin watercolor pen can outline, but test it on scrap paper first to check for bleeding.
- No colored card stock? Fill white paper with color, then cut it into strips or squares.
- No double-sided tape? A thin layer of glue stick keeps paper flatter and reduces bubbling.
Add Tools Gradually, Not All at Once
Grades 1 to 3
Choose tools with thicker barrels and smooth color payoff. Markers and oil pastels deliver results quickly, and slightly heavier A4 paper survives mistakes better than thin sheets.
Grades 4 to 6
Colored pencils for gradients, fine fineliners for patterns and markers for large areas make a real difference. If you make more than five posters a term, consider adding colored card stock, a white gel pen or a cutting mat, and skip anything you would not use twice.
Plan the Layout Before You Draw
Many students get stuck right here. A reliable order is: mark the page margins, lightly divide the sheet into a title area, a text area and an illustration area, decide how many columns you need and how many lines each holds, then start outlining and coloring. Write the final text last so a mistake does not ruin the artwork.
If the layout is hard to picture, or you need ready-made section ideas and text material, open the Smart Handwritten Poster mini program in WeChat, pick a theme, and settle the structure first. Then finish the outlining and coloring with the tools you already have.