Start by deciding what the poster should show
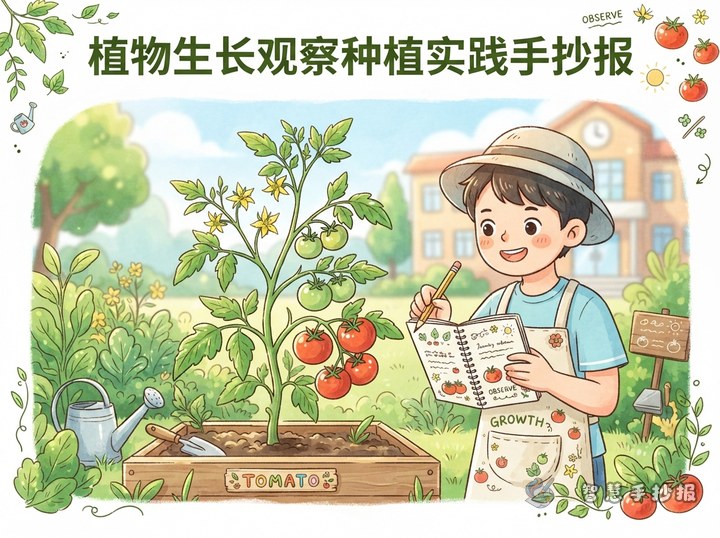
A mung bean growth observation poster is not just about introducing mung beans. Its real purpose is to show what I planted, how I observed it, how it changed, and what I learned. When the process is clearly presented, the whole work looks more complete and meaningful.
This topic is especially suitable for younger students because mung beans sprout quickly and show visible changes in a short time. That makes them perfect for a practical handwritten newspaper project.
Choose a few clear sections in a logical order
1. Preparation before planting
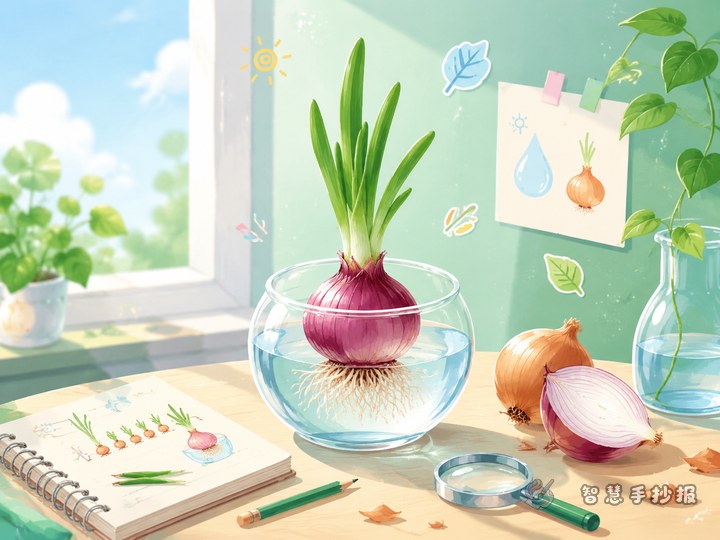
- Materials: mung beans, a clear cup, water, tissue paper or cotton
- Method: soak the beans first, then place them in the container and keep them moist
- Tips: avoid too much standing water and keep them in a bright, airy place
2. Growth observation section
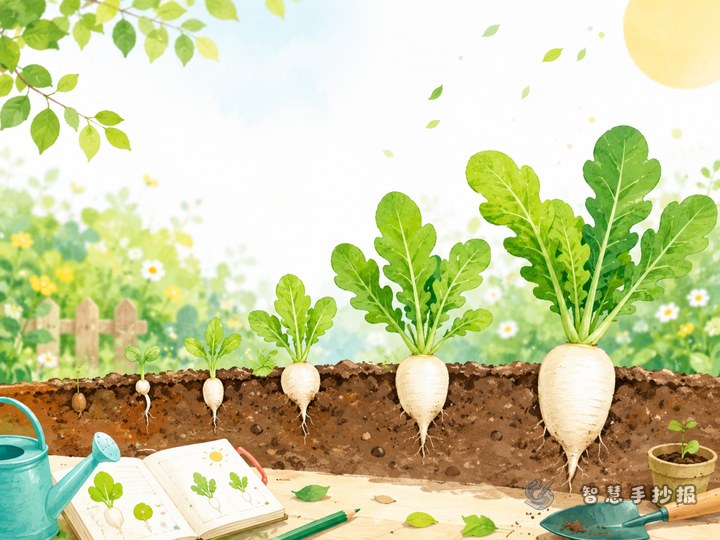
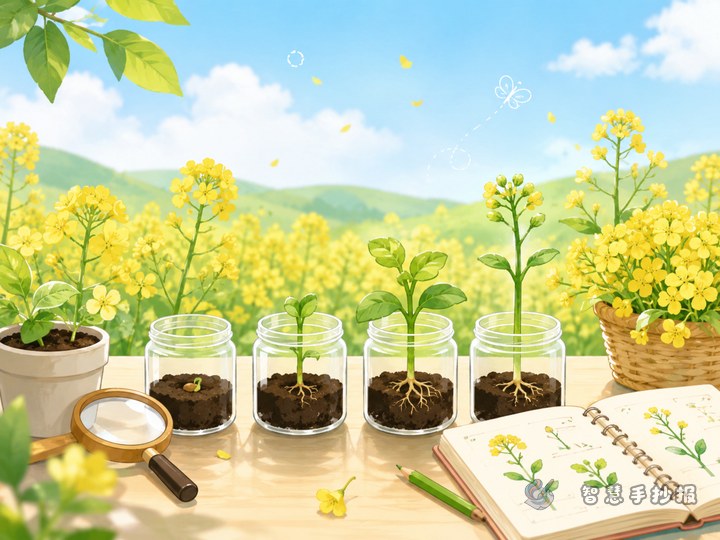
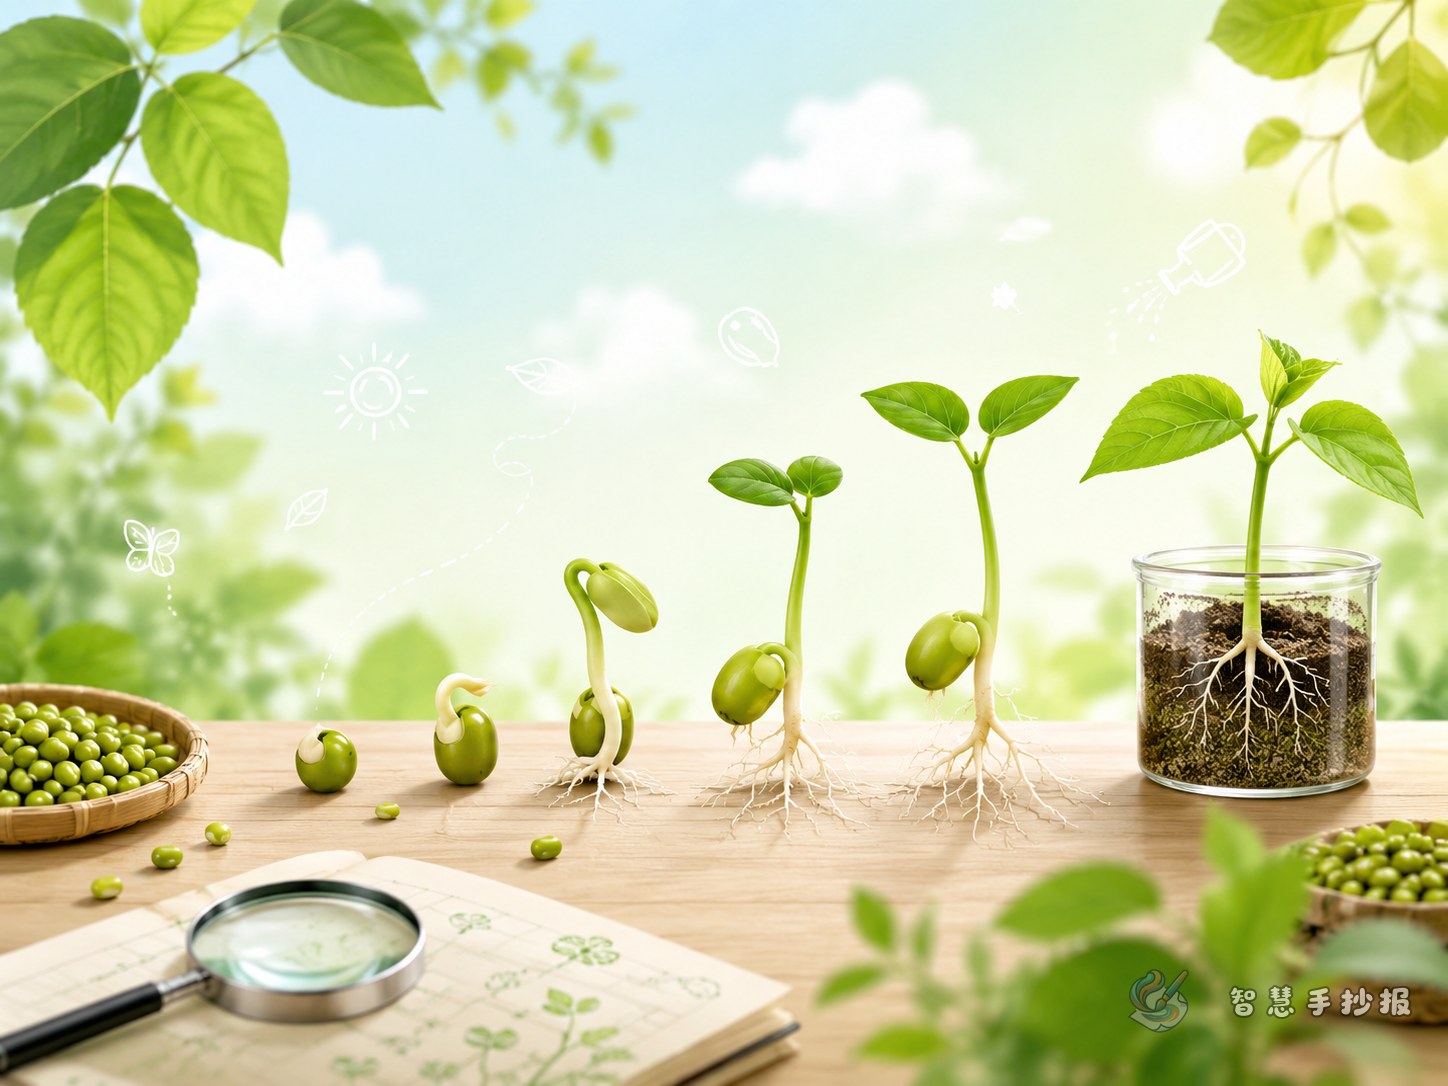
Write the changes in time order. For example, on day one the beans swell up, on day two the seed coat cracks, on day three a small white root appears, and later the stem and tiny leaves begin to grow. One or two short sentences for each stage are enough.
3. Why the plant changed
- Water helps the seed absorb moisture and swell
- A suitable temperature supports sprouting
- Sunlight affects leaf growth in later stages
- Fresh air can help prevent mold
4. What I learned
This section can include patience, careful observation, responsibility, and the excitement of watching a seed slowly come to life.
How to write observations without sounding repetitive
Many students write the same idea again and again, such as “it grew taller.” A better way is to focus on color, shape, length, number, and condition.
- Did the color change, such as the seed coat becoming lighter?
- Did the shape change, such as from round to cracked open?
- Did the length change, such as longer roots or stems?
- Did the condition change, such as bending, standing upright, or opening leaves?
If there is enough space, you can make a simple growth timeline so readers can follow the development at a glance.
Useful lines you can place directly on the page
Observation sentence ideas
- After soaking in water, the mung beans became round and full, as if they were waking up.
- On the second day, the seed coat cracked and a tiny white sprout came out quietly.
- The mung bean first grew roots, then a tender stem began to rise.
- A few days later, the sprout grew taller and small light-green leaves appeared on top.
Reflection sentence ideas
- I learned that plants need time to grow, so I should not rush.
- Only careful daily observation helps us notice small changes.
- Growing mung beans showed me how amazing the life of a plant can be.
Simple layout ideas that look neat and clear
For a horizontal page, place the title at the top center, planting steps on one side, and observation notes on the other. Use the bottom part for plant facts and personal reflections. For a vertical page, place a growth timeline down the middle to show the stages in order.
- Use green, pale yellow, and white as main colors
- Decorate with bean sprouts, leaves, and water drops
- Use leaf-shaped labels or circles for small headings
- Highlight key sentences with bold text instead of too many decorations
How to make the poster feel personal
The most impressive posters are not the ones with the fanciest words, but the ones with real observations. Add expressions like “I first noticed,” “At first I thought,” or “Later I understood” to make the page feel more authentic and thoughtful.
If you want to keep improving the layout, add more sections, or make the page cleaner and easier to present, you can continue creating with Zhihui Shouchaobao in the WeChat mini program.