Why Sewing a Button Works Well for a Life-Skills Newspaper
Sewing a button is a practical household chore with simple materials and clear steps. It is also easy to draw as buttons, needles, thread and clothing shapes. For primary school students, it practices fine motor skills and builds the habit of doing things independently. Instead of only writing I can sew a button, include the learning process, the difficulties you met and how you felt about the work.
What Sections Can You Put on the Newspaper
How the activity started: begin with a fallen button
Open with one or two sentences, such as A button fell off my clothes, and I wanted to try sewing it back myself. This section works well in the upper left corner inside a cloud shape or a small shirt outline, making the page feel like a real action record.
Tools and materials: needle, thread, button and fabric
List a needle, thread, scissors, a button, and a piece of fabric or old clothing. Remind readers to be careful with needles and scissors and to work with a parent or teacher nearby. You can place this section as a vertical list with small icons and words.
Step chant: turn the process into short lines
Writing the steps as a chant makes them easier to copy and remember. For example: thread first, knot next; place the button, push down through; up and down, cross is strong; tie the end, trim the thread. This section suits a timeline or ladder layout.
What I learned: a short reflection
You can write, At first I could not get the thread through the needle, but wetting the thread end helped. Or write, Even a small button needs patience. Two or three sincere sentences are enough, and small discoveries are more interesting than big slogans.
How to Write the Sewing Steps Clearly
If your newspaper needs a fuller step-by-step explanation, organize it in the order below. Keep each step to one action so the layout stays clean and easy to read.
- Prepare a needle, thread, button, fabric and scissors, and choose a thread color close to the clothing.
- Pass the thread through the needle eye and tie a knot at the end so it will not slip out.
- Place the button where it belongs, push the needle up from under the fabric, and send it through one hole.
- Push the needle back down through another hole and repeat several times to make a two-hole or cross pattern.
- Finish with a knot under the fabric, trim the extra thread, and gently pull the button to check that it is tight.
Layout and Decoration Ideas That Look Like a Real Chore Log
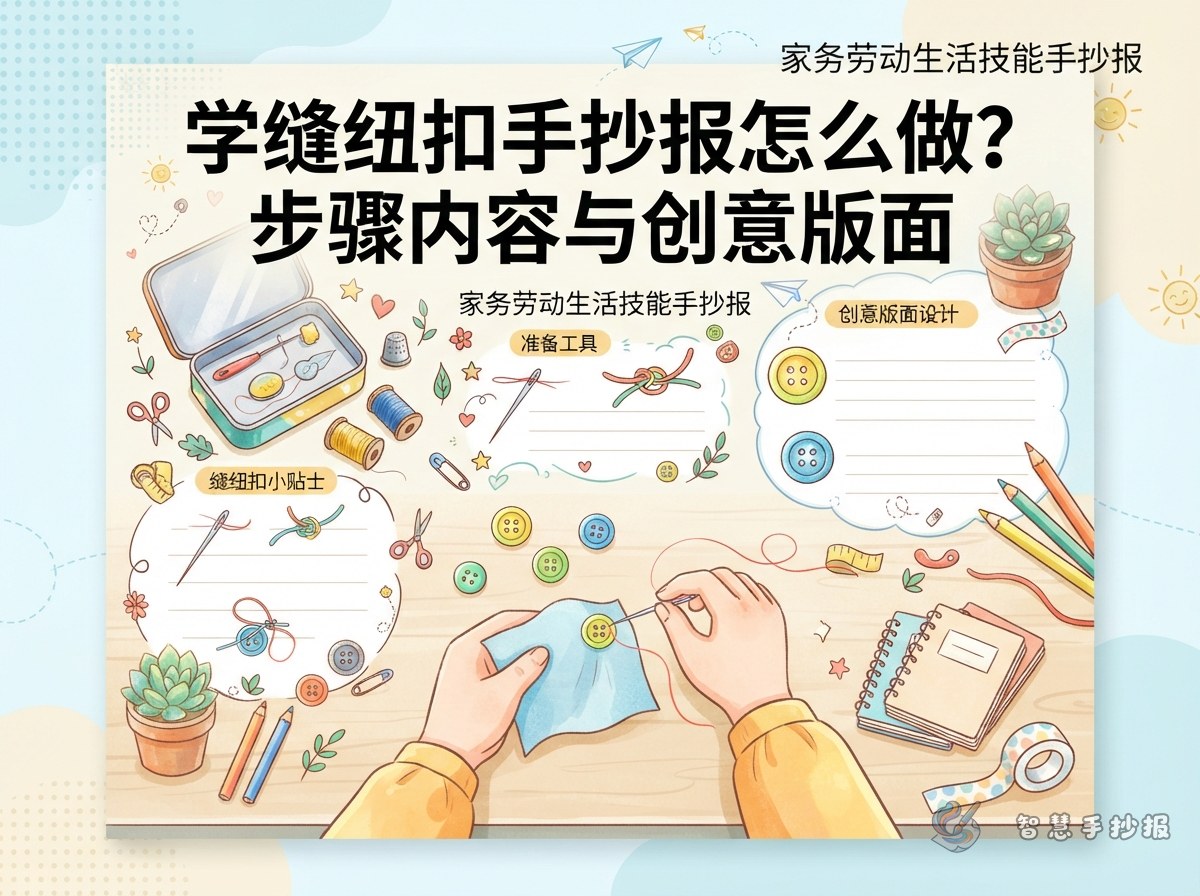
Place the title at the top left or in the center, using larger letters for I Can Sew a Button or A Little Needle, a Big Skill. Draw a large button in the middle and write key words in its holes, such as patience, safety, practice and independence. Split the rest of the page into two columns: one for tools, materials and steps, and the other for reflection and ways to use the skill in daily life.
- Borders: use dashed lines, wavy lines, stitch lines or a string of small buttons.
- Colors: cream, light blue, pale yellow and soft pink all suit a life skills theme.
- Drawings: needles, thread spools, buttons, clothing outlines, scissors and fabric pieces are simple and relevant.
- Text boxes: circles, squares, clouds and apron shapes can be mixed instead of using one repeated frame.
Short Sentences to Copy and a Few Making Tips
Prepare some short sentences for empty spaces: Do your own things yourself; One button, one bit of patience; A little needle and thread teach independence; Work is glorious and life is better. Keep the spacing even, draw light pencil guide lines first, and add color borders afterward.
If you are short on time, copy the section text first, then add borders and small drawings. You can also open the Smart Handwritten Newspaper WeChat mini program, choose a life skills or household chores template, replace the title and text, and continue making your own layout.