Build the Page Around the Folding Process
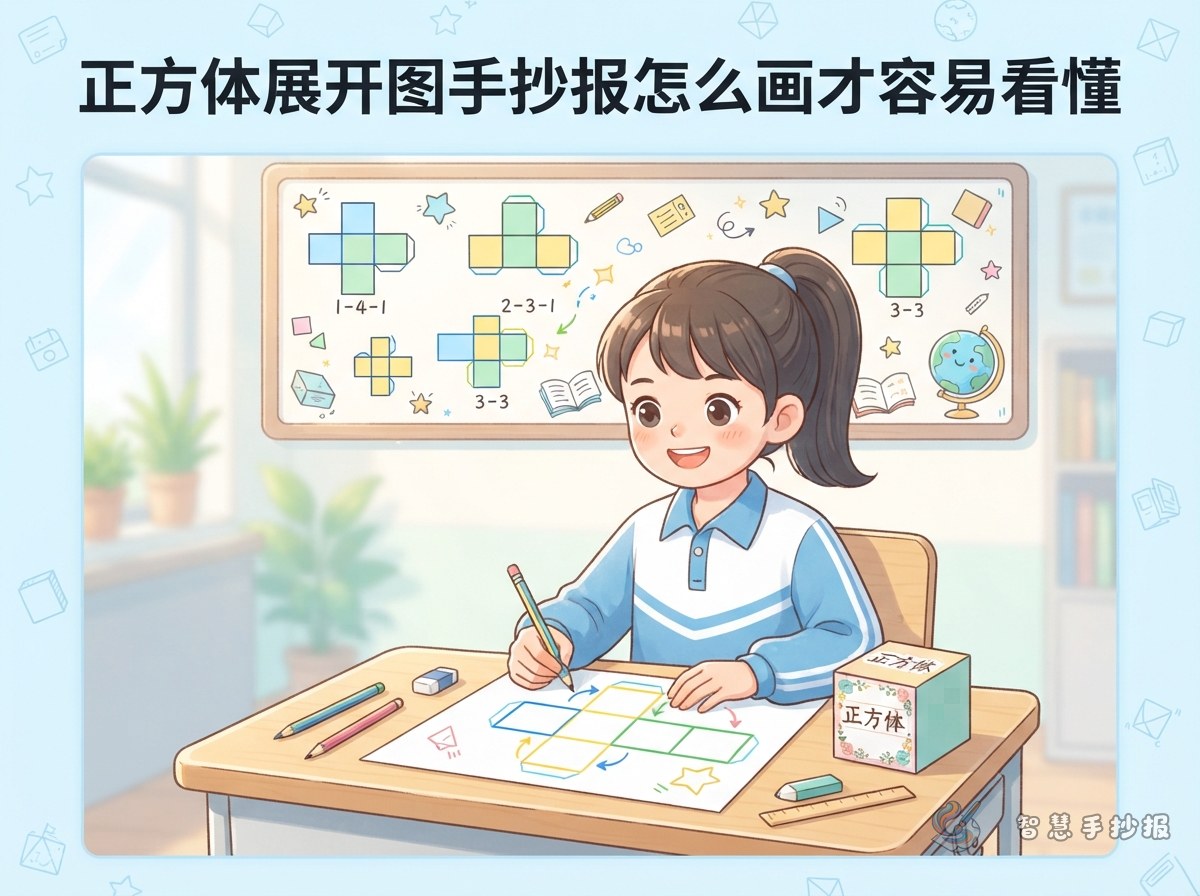
Instead of displaying several cube nets without explanation, tell the story of how a flat shape becomes a cube. Place a finished cube near the title, then guide readers through unfolding, predicting, and folding. This gives the poster a clear path and turns spatial reasoning into something visible.
Choose Four Useful Content Panels
What Is a Cube Net?
A cube has six square faces. When some of its edges are cut and the faces are opened out flat, the resulting shape is called a cube net. An important point for the poster is that not every arrangement of six connected squares can fold into a cube.
Find the Opposite Faces
Label the six squares with numbers, letters, or colors. Ask readers to predict which faces will be opposite after folding. Short prompts such as “Which face will be on top?” and “What is opposite the red face?” work well in a question box.
Ways to Test a Net
- Check that all six squares are connected.
- Imagine folding each square upward along its shared edge.
- Look for faces that would overlap after folding.
- If the answer is unclear, cut out a paper model and test it.
Try the Fold Yourself
Add a hands-on section showing the order: trace, cut, crease, fold, and attach. Use dashed lines for folds and small tabs for gluing. Children should use scissors and other tools with guidance from a parent or teacher.
Let Diagrams Do Most of the Explaining
Place one large cross-shaped or step-shaped cube net in the center. Add arrows to show folding directions, put a fact card on one side, and place two or three quick challenges on the other. A narrow strip along the bottom can show the construction steps.
- Fact card: Explain the six faces, connected edges, and opposite faces.
- Challenge box: Ask which flat arrangements can become cubes.
- Experiment log: Leave space for a prediction and the actual result.
Check the Spatial Details Before Finishing
Make sure every square is the same size, shared edges are correct, and text does not cover the fold lines. Small cubes, rulers, scissors, and direction arrows can decorate empty spaces without distracting from the main diagram. To refine the sections, colors, and overall layout, continue creating the poster in the Smart Handwritten Newspaper WeChat Mini Program.