Decide What the Poster Is Really About
It is tempting to fill an embroidery poster with the names of famous regional styles, but the result reads like a table of contents. Try stitches instead. The poster becomes a simple guide: readers finish it being able to recognise a few stitches and knowing what each one is good for.
Open with two or three sentences. Embroidery is the mark left when a needle carries thread up and down through cloth, and the same motif looks completely different depending on how the stitches are arranged. That single idea gives every later section something to hang on.
Choose Three or Four Stitches and Caption Each One
Space is limited, so pick the stitches with the clearest shapes and the easiest diagrams.
- Plain stitch: parallel stitches, the simplest of all, good for filling small petals and leaves. Show it as a row of even slanted dashes.
- Random stitch: stitches of different lengths crossing in many directions, almost like drawing with thread. It suits skies and water.
- Seed stitch: the thread loops once around the needle before it goes down, making a tiny knot. Perfect for flower centres and eyes.
- Couched gold thread: gold cord is laid along an outline and tied down with fine thread, leaving a raised shiny edge seen on stage costumes and formal wear.
- Chain stitch: each stitch loops through the last, forming a small chain that is used for outlines.
- Cross stitch: two crossing dashes make one cross, worked on a grid. It is the most regular and the neatest to draw.
One line under each stitch is enough, for example: plain stitch, the simplest and most used, worked stitch by stitch along a petal. Fewer words are easier to remember.
A Tool Box Column That Actually Says Something
Gathering the tools into their own box looks tidier than scattering them through the text. Sort them into stretching the cloth, threading the needle and tracing the design:
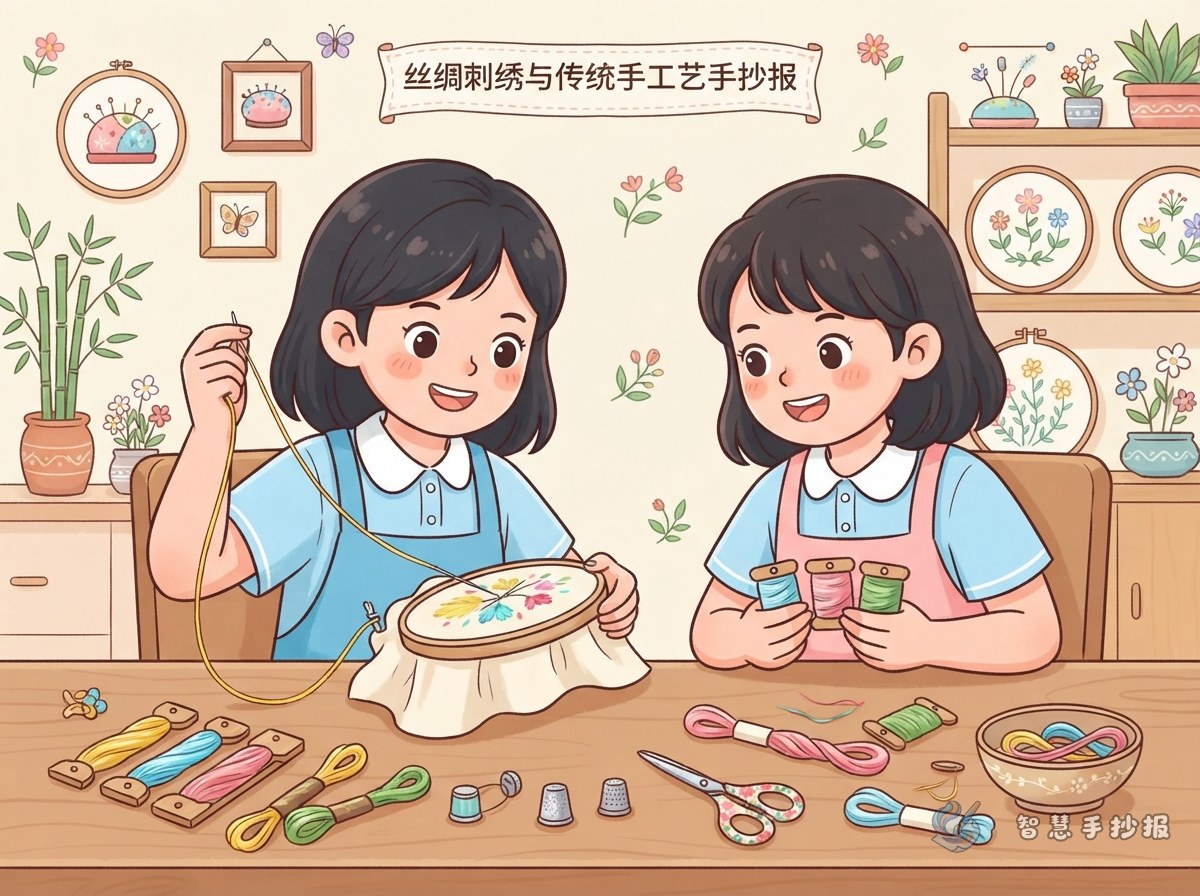
- Hoop and stand: keep the fabric taut so it does not pucker and the stitches stay flat.
- Needle: a slightly larger eye than a sewing needle so thicker silk passes through, but a slim shaft so the cloth is not left with big holes.
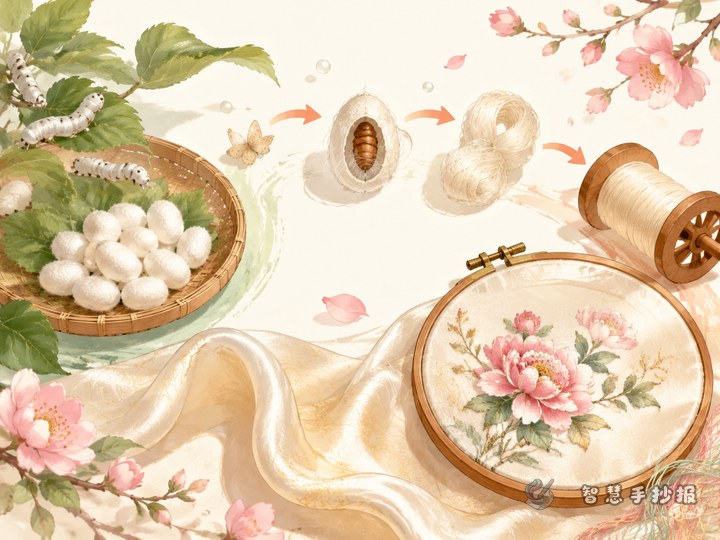
- Silk thread: glossy and available in many colours, and one strand can be split into finer ones for detail work.
- Base fabric: silk, satin and cotton all work, and a smooth surface is easier to stitch.
- Thread snips and paper pattern: snips tidy the loose ends, and the paper pattern helps trace the motif onto cloth.
Layout: Blow Up the Stitches So They Can Be Seen
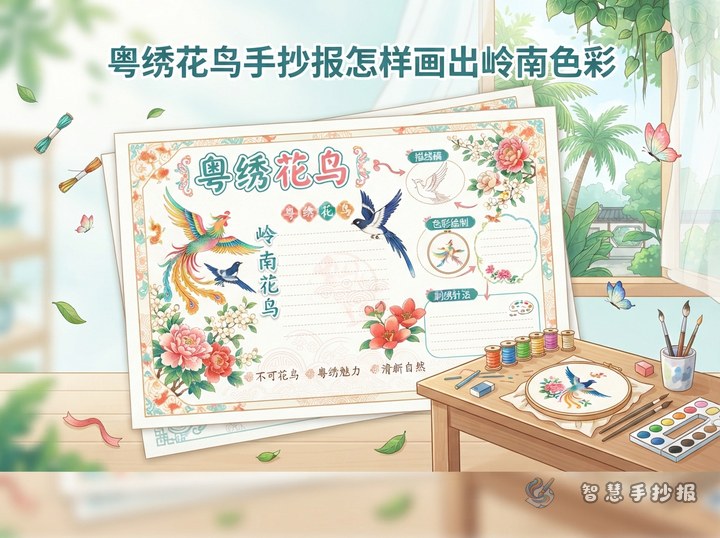
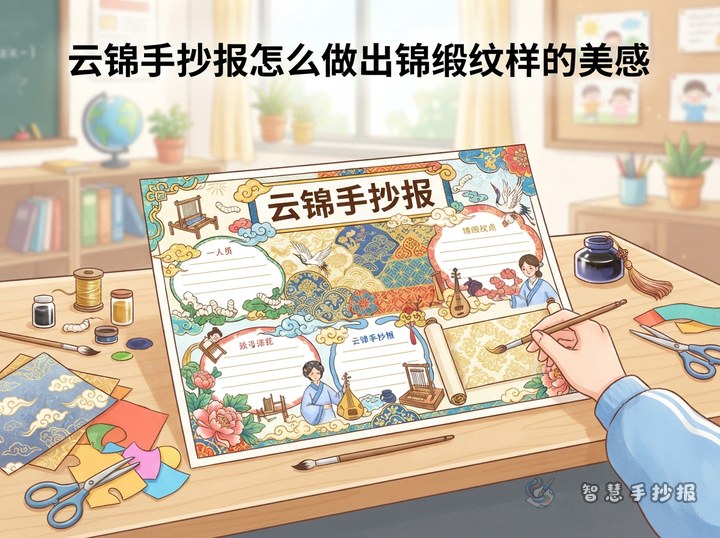
The biggest risk with a stitch poster is a wall of text. Try splitting the page into three columns: a narrow column on the left for diagrams, and two wider columns for writing.
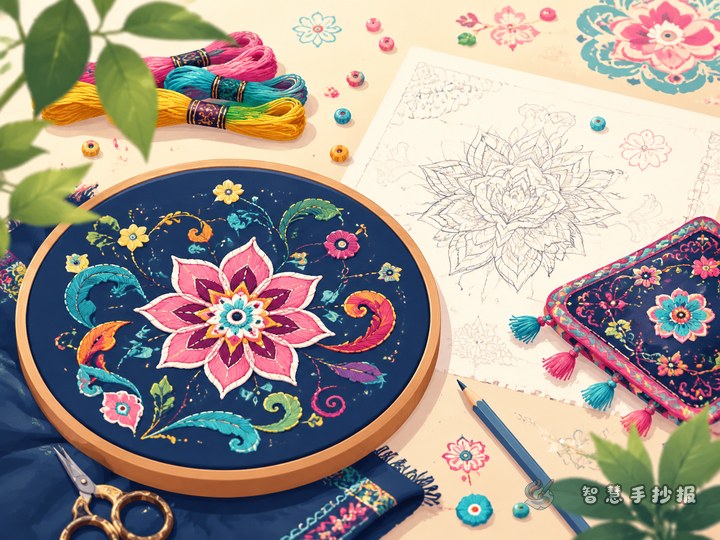
- Draw an oversized embroidery hoop taking about a quarter of the page, with three stitches inside and labels on leader lines.
- Put the title at the top left, letting the strokes curve slightly as if following a thread.
- Divide the right side into two boxes, a stitch file and a tool list, and separate them with different coloured borders.
- Leave a band along the bottom for a closing line, such as: every stitch is patience held in the hand.
Keep the palette to cream, light brown, russet and indigo, close to the colours of silk and satin, and avoid large areas of neon. Fine double lines make good borders because they echo stitched edges.
Lines You Can Copy and Final Checks
If a box is still empty, borrow one of these and rewrite it in your own words:
- Change the direction of the stitches and the light in the picture changes too.
- One strand of silk can be split, used thick to fill and fine to highlight.
- Decide where the light and shadow fall before you start, and the stitching order follows.
- Work slowly and the stitches stay even; even stitches keep the picture clean.
Add a small box at the end such as who did what, or which stitch readers would like to learn next, to invite them in. Before handing the poster in, take a photo and check the names, the leader lines and the number of colours you used.
If time is short, or you want neater stitch diagrams, search for the WeChat mini program named Smart Handwritten Poster, pick a template from the embroidery and traditional craft section, and reuse its frames, diagrams and title styles before filling in your own text by hand.