Your First Poster Really Only Needs Six Things
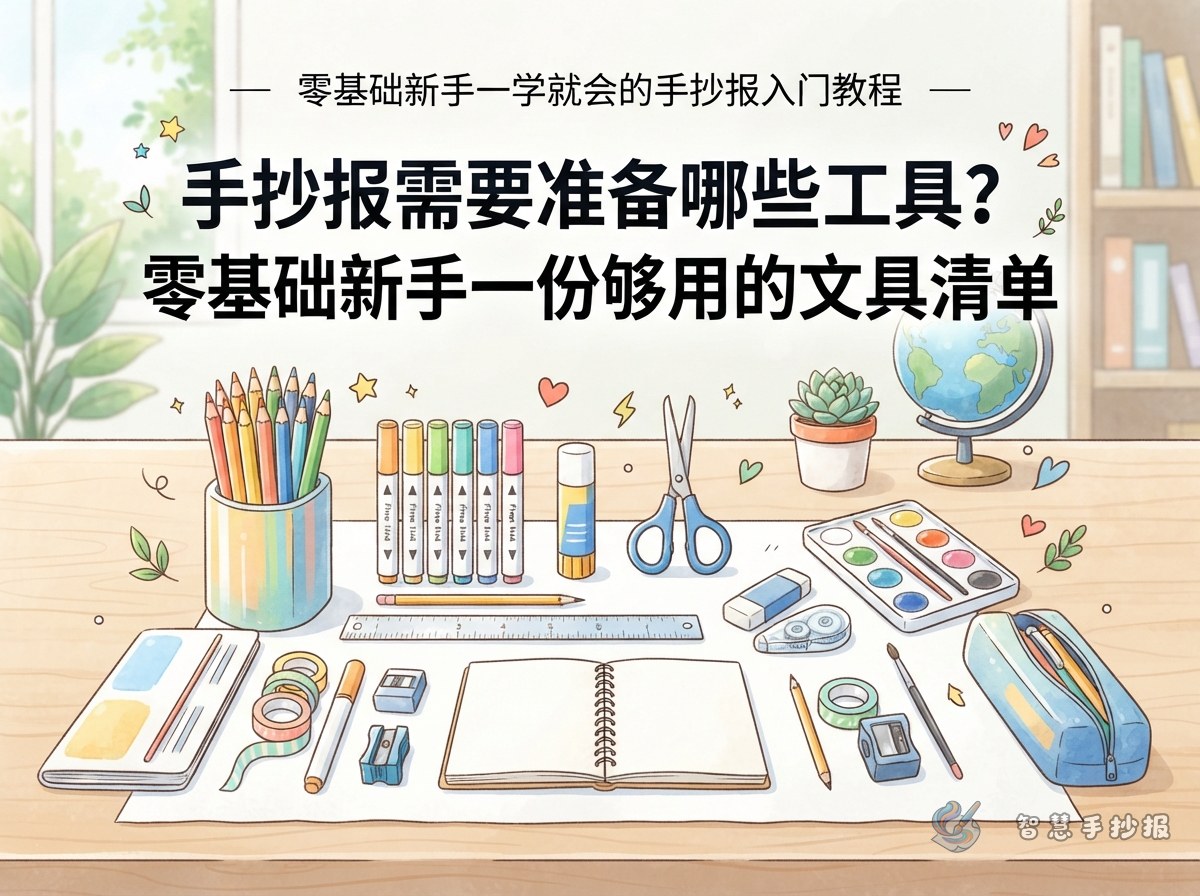
Most students rush to the stationery shop the moment a poster assignment arrives, then find half of what they bought never gets used. A handwritten poster needs just six basic items, and you may already have them at home.
- Paper: one sheet of A4 or A3 white paper, ideally over 100gsm. Ordinary printer paper is thin and wrinkles when coloured.
- Pencil: a regular HB or 2B pencil for the sketch, with a tip that is not too sharp.
- Eraser: a soft eraser works better than a hard one, lifting marks without scuffing the paper.
- Liner pen: a black water-based pen around 0.5mm for outlines and lettering.
- Colour tools: one set of coloured pencils or watercolour pens, eight to twelve colours to start.
- Ruler: handy for borders, columns and straight guide lines.
How to Judge Paper, Liners and Colour Tools
Hold the paper up to the light
If you can barely see through it, it will take colour well. With printer paper, do most of the colouring in pencil so the ink does not soak through to the back.
Pick a liner that dries fast
A 0.5mm pen is right for borders and small shapes, while a 1.0mm one gives titles more weight. Water-based ink is safer than oil-based: let it dry, then paint over a mistake and it will mostly disappear.
Match colours to the job
Coloured pencils are soft and easy to layer, so they suit large backgrounds. Watercolour pens are bright, which makes them good for small icons and title letters. Using both gives the page more depth.
The Order That Keeps a Poster Tidy
- On scrap paper, note the theme and the few sections you plan to include.
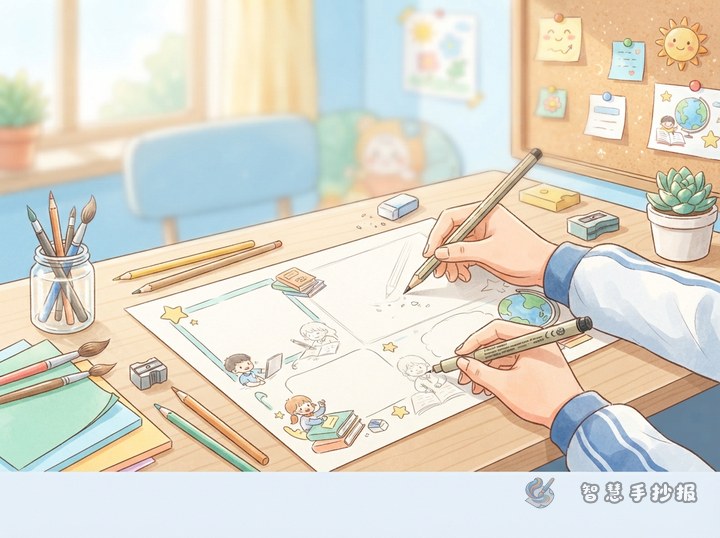
- Sketch the border and column lines lightly in pencil.
- Draw the title letters and small pictures in pencil, checking size and empty space.
- Go over every pencil line with the liner pen, starting with borders and straight lines.
- Wait for the ink to dry completely, then erase all pencil marks.
- Colour last: large light areas first, then small dark details and highlights.
Laying Out Sections and Text Once Your Tools Are Ready
A poster does not need much text. Three or four small sections keep the page calm and readable. Try this arrangement:
- Theme introduction: two or three sentences explaining what the poster is about.
- Fact cards: three short facts about the theme, one sentence each.
- A call to action: one line readers can actually follow, such as reading for ten minutes a day.
- Name and date: class, name and date in the bottom right corner.
Draft the text on scrap paper first, count the characters, then copy it onto the poster with even spacing. If you cannot think of what to write, open the WeChat mini program and search for Smart Handwritten Poster to pick text material and layout styles by theme, then copy them onto your page.
Four Supply Mistakes Beginners Make
- Pressing too hard with the pencil: the grooves will not erase and can tear the paper. Keep the lines light.
- Erasing before the ink dries: freshly lined edges smudge. Wait about half a minute.
- Colouring every square centimetre: a fully coloured page has no focus. White space is part of the design.
- Using more than twenty colours: hard to control. Choose two or three main colours and support them with light shades.
Finish It First, Polish It Later
The hardest part of a first poster is simply starting. Lay out your tools and follow one path: choose the theme, divide the page, sketch in pencil, ink the lines, erase the marks, colour, then write. A single page takes about forty minutes this way. Before handing it in, check three things: no pencil marks left, the title is the boldest element, and your name and date are written. After two or three posters, the whole process gets much faster.