Treat the Draft as a Map, Not the Final Drawing
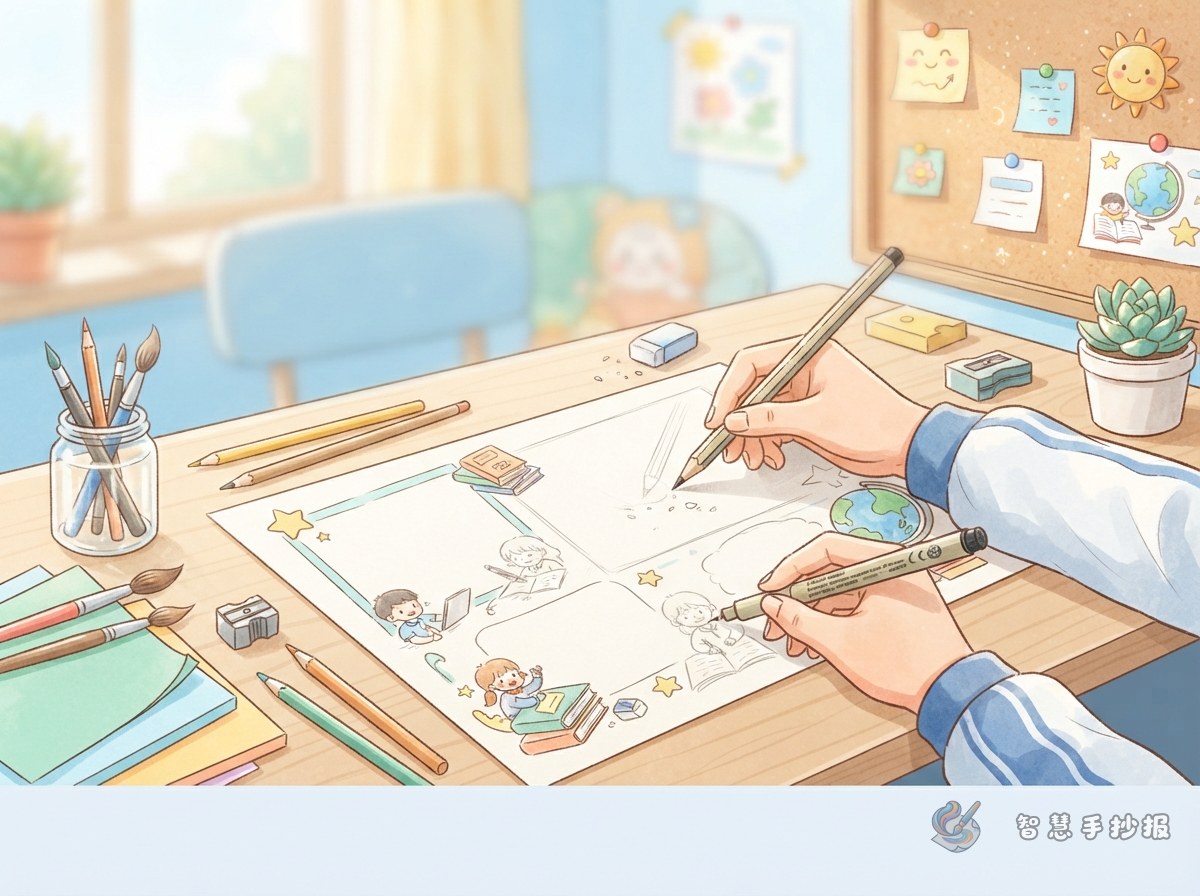
A pencil draft should show where the main parts of the school poster belong. It does not need dark outlines or finished details. Use faint marks to locate the title, writing sections, and illustrations so they can be removed easily later.
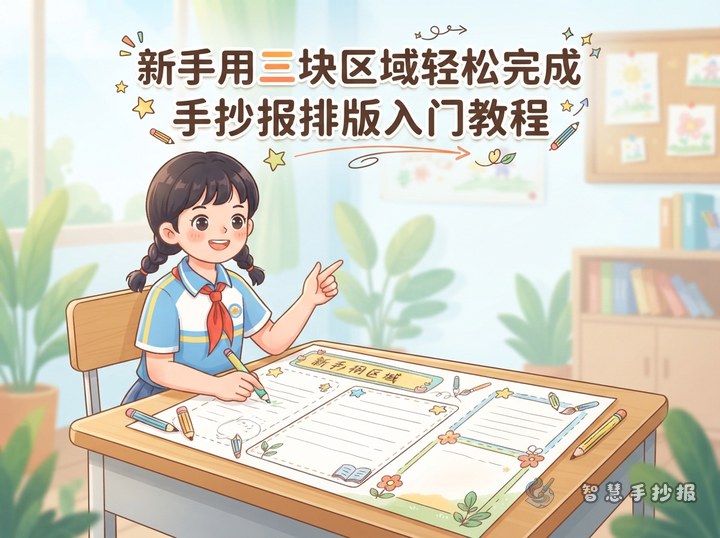
Choose one clear topic before drawing, such as saving water, reading, festival traditions, or school safety. Prepare one main heading, two to four short content sections, and a few matching decorations. Planning these elements first prevents the page from becoming crowded.
Build the Page with Five Types of Light Guides
- Outer boundary:Leave a clean margin and mark only the general edge of the design.
- Heading space:Use a simple rectangle or curve to reserve enough room for the title.
- Content areas:Divide the writing space into two to four sections with varied sizes.
- Writing guides:Add faint horizontal lines to control letter height and spacing.
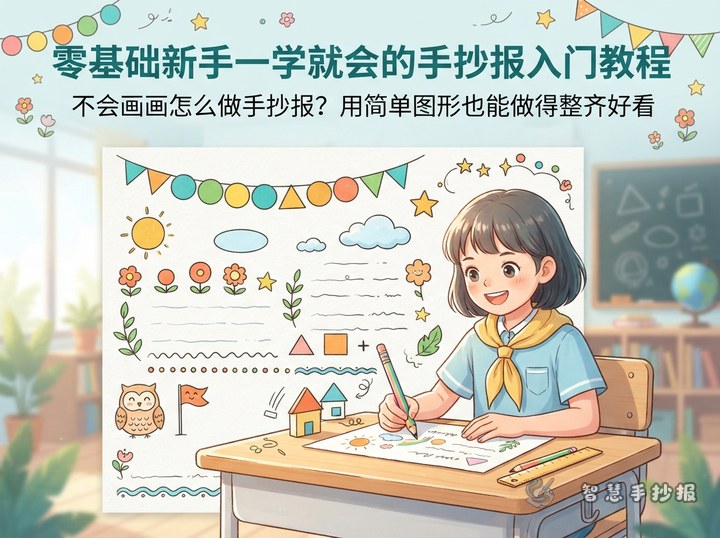
- Illustration shapes:Sketch only the main outlines of books, leaves, water drops, lanterns, or other topic symbols.
Keep your wrist relaxed and connect short, light strokes instead of pressing down repeatedly. If one part is wrong, erase only that area rather than rubbing across the entire page.
Prepare Short Text Before You Ink
For a water-saving poster, useful sections might include Where Water Comes From, Habits That Waste Water, and My Water-Saving Actions. Short sentences are easier to fit into a planned layout.
- Turn down the tap while soaping your hands.
- Close dripping taps and remind others to do the same.
- Make water conservation part of your everyday routine.
- Value every drop and use clean water responsibly.
If the text is long, enlarge the writing area instead of making the letters extremely small. If the page needs one more section, add a short pledge or a question-and-answer box rather than filling the space with an oversized picture.
Ink One Section at a Time
Check that the draft looks balanced before using a permanent pen. Ink the heading and border first, move to the main illustrations, and finish with section outlines and small decorations. Place a clean sheet under your drawing hand to reduce sweat marks and smudges.
Pause after each section to check whether the lines are complete and the writing areas remain open. Do not ink the horizontal writing guides because they should disappear when the pencil is erased. A slightly misplaced stroke can sometimes become a leaf, star, or small pattern, but avoid adding too many decorations.
Erase First, Then Add Color
- Lay the poster flat and allow all ink to dry completely.
- Test the eraser in a corner to make sure the ink does not smear.
- Clean one area at a time, moving the eraser gently in one direction.
- Lift away crumbs without sweeping a palm across the page.
- Repair broken lines, apply light colors, and finish with a few darker accents.
Color the larger pale areas before filling the title and focal illustrations. Leave some white space around the writing to keep it readable. For help organizing a topic, text sections, and layout, you can continue in the Smart Handwritten Poster WeChat Mini Program and adjust the plan to match your paper size.