Start with the main goal of the poster
A bean sprout growth record poster does not need difficult science terms. Its main job is to show the full growing process clearly. You can begin with preparation, move into daily observation, and end with what you learned. This kind of order makes the page feel complete and easy to follow.
Useful content areas include planting materials, daily changes, simple growing facts, and personal discoveries. These sections help the poster look rich without becoming too complicated.
Sections you can use right away
Section 1: Planting preparation
- What kind of beans were used
- What materials were prepared: cup, water, tissue, or container
- What was done first: soaking, placing, and keeping them moist
Section 2: Daily observation notes
This is the most important part of the poster. Each day can be described in one or two short sentences.
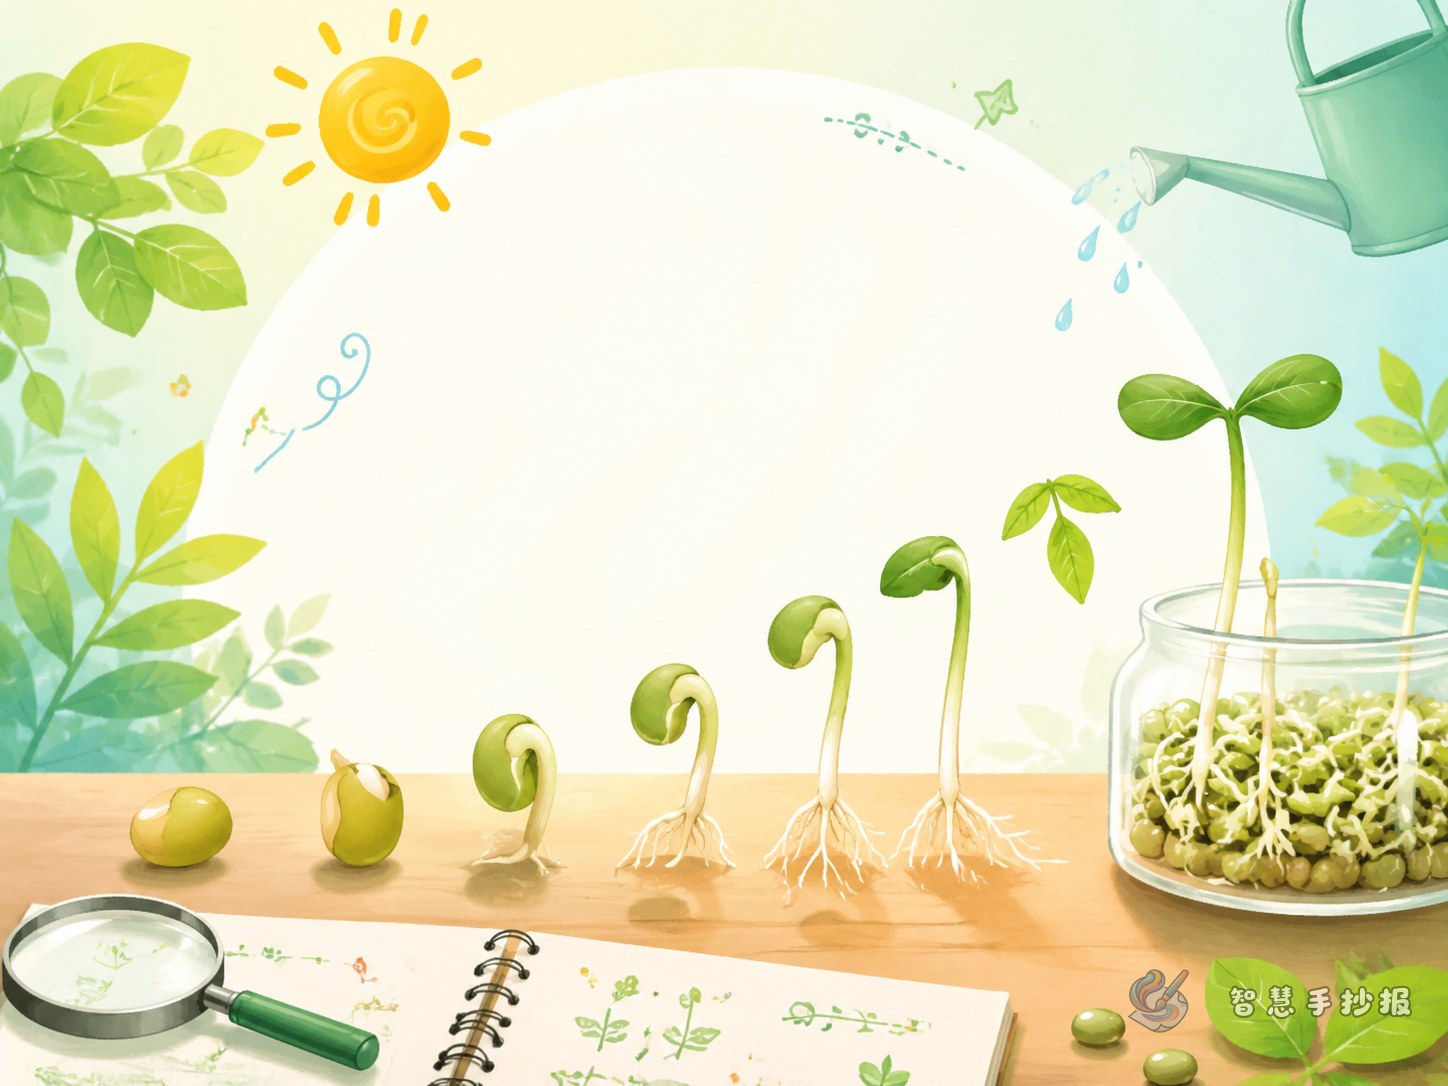
- Day 1: The beans absorbed water and became fuller.
- Day 2: Some beans cracked open and tiny white sprouts appeared.
- Day 3: The sprouts became longer and roots were easier to see.
- Day 4: The bean sprouts stood more upright and grew quickly.
- Day 5: The sprouts looked neat, tender, and pale in color.
Section 3: What I discovered
- Bean sprouts grow quickly in just a few days.
- They need moisture, but too much water is not good.
- Daily observation helps us notice small changes.
How to make the writing sound like real observation
The best observation posters focus on time, color, length, shape, and change. Instead of writing “the sprouts grew,” try writing “today the sprouts were longer than yesterday, and the white roots became clearer.” This makes the record more vivid and believable.
If there is enough space, you can also add a small chart:
- Observation day
- Shape change: swollen, cracked, sprouted, taller
- Color change: pale yellow, milky white, light green
- Care method: spraying water, keeping moist, good airflow
A layout idea that looks fresh and organized
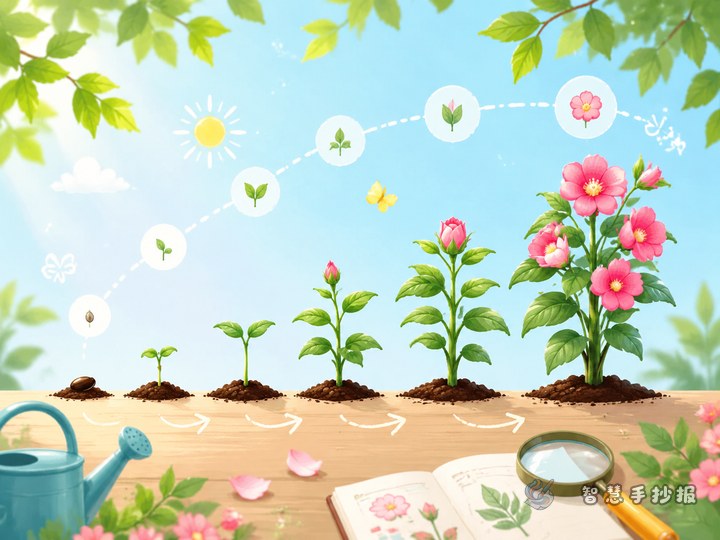
This topic works well with a bright and clean style. Put the title at the top, draw a curved growth line in the middle, and connect Day 1 to Day 5 along that line. On the left and right sides, add planting steps and discoveries. A small reflection box at the bottom can complete the page nicely.
- Use light green or yellow for the title
- Decorate with beans, leaves, water drops, or tiny pots
- Highlight key words with strong text emphasis
- Leave some blank space so the poster does not feel crowded
How to finish the poster well
The ending does not need to be long. A simple reflection is enough, such as learning that plants need patient care and that careful observation helps us understand growth better. This kind of ending matches the theme and makes the poster feel complete.
If you want to keep polishing the layout, title style, and visual arrangement, you can continue in the Smart Handwritten Newspaper WeChat mini program.