
Why a Week of Notes Beats a Single Look
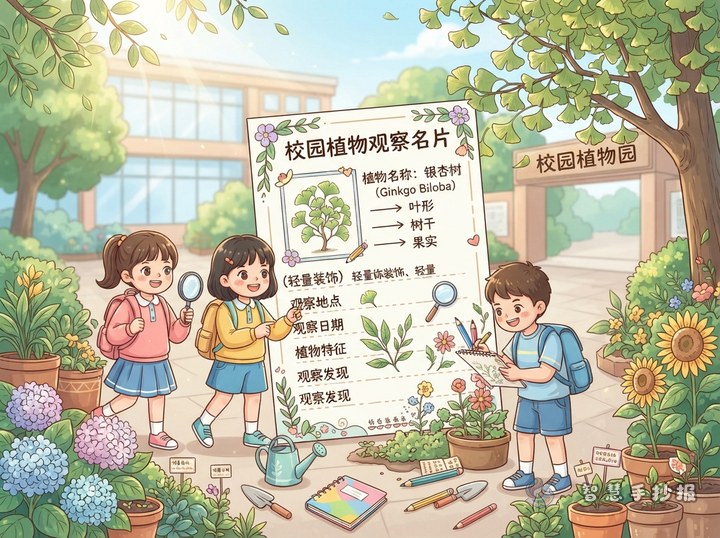
Many campus plant posters end up as a list of facts: name, appearance, uses. It reads like a reference card and leaves no room for the student's own discoveries. Stretch the observation over a week and everything changes, because the plant gives you something new to write about almost every day.
A weekly record also fits a poster layout naturally. One sentence and one small drawing per day map neatly onto small boxes, so the page never looks empty or overcrowded.
A Day-by-Day Plan for the Observation Log
The biggest risk is trying to record everything at once. Give each day a single job:
- Day one: fix the spot. Note where the plant grows, whether it sits by a flower bed, a wall or under a tree, and how much sun it gets.
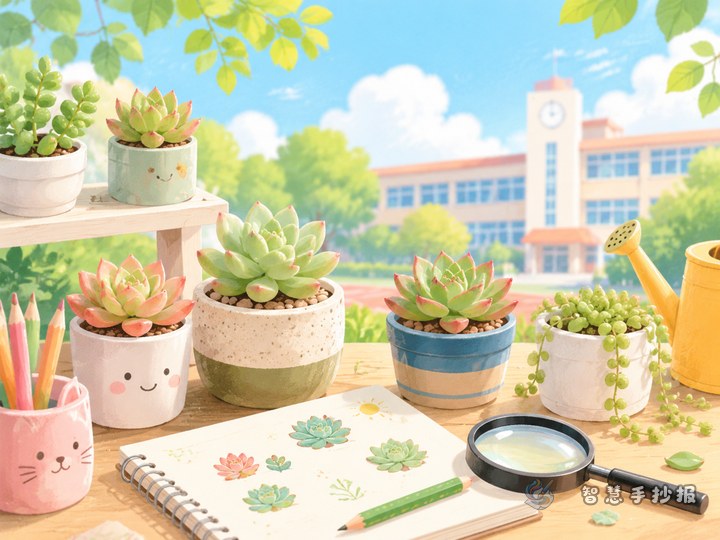
- Day two: measure. Use a ruler for height, count the leaves, and write the numbers down so you have something to compare later.
- Day three: study details. Is the leaf deep green or pale? Are the veins parallel or netted? Are the edges smooth or toothed?
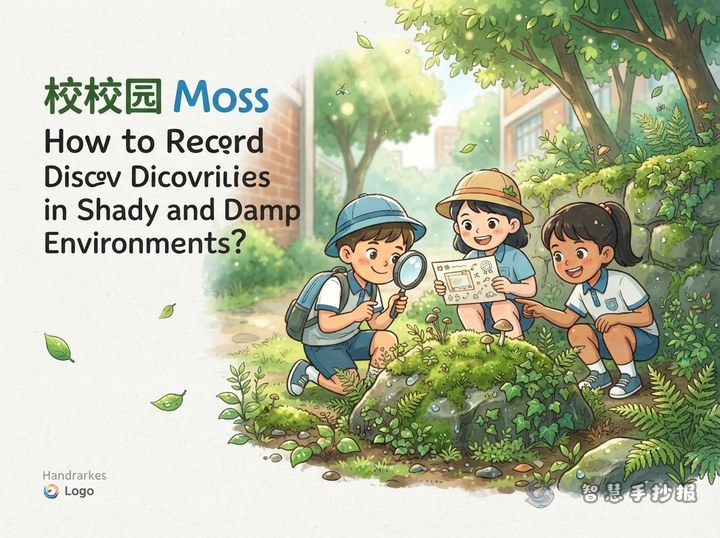
- Day four: look for traces. Small holes, curled edges or insects resting on the plant all count as evidence.
- Day five: compare times. Visit once in the morning and once at noon to see whether leaves turn or flowers open and close.
- Day six: draw the change. Sketch day one and day six side by side so the difference is obvious.
- Day seven: conclude. Two sentences about the biggest finding and what you want to watch next.
Three Ways to Lay Out the Timeline
Seven entries need one clear line to guide the eye. Choose the shape that suits your paper:
- Vertical timeline: a line down the left side with the days stacked top to bottom, leaving space on the right for text and small drawings. Good for portrait paper.
- Horizontal timeline: a line across the middle that splits the page into an upper text band and a lower band for pictures and data boxes.
- Circular timeline: a large circle in the center with the seven days spaced around the rim and the plant name inside. It looks like an observation dial.
Whichever you choose, add a tiny data slot beside each day for height, leaf count or weather. Numbers make the poster feel like a genuine record.
Sentences That Sound Like Real Science
If you are stuck for wording, start from these patterns and swap in your own observations:
- Today it is slightly taller than yesterday, about half a centimeter by the ruler.
- The newest leaf is paler and feels softer than the older ones.
- The side facing the sun is smooth, while raised veins show on the back.
- It rained twice this week, so the soil stayed damp and beads of water sat on the leaves.
- Compared with last week, the bud has opened but not fully.
Add one short fact you have checked, such as how tiny pores on leaves help a plant breathe and release water, and the science flavor appears without turning into a textbook page.
Dividing the Page and Building in Order
Split the sheet into three zones: a title and plant name at the top, the timeline as the main middle block, and a conclusion plus a small fact box at the bottom. Draw light guide lines first, write the heading, then fill the days along the timeline, and only then add drawings, borders and color.
Keep to three main colors, with fresh combinations such as green, pale yellow and soft blue. Draw parts rather than whole plants, like one leaf, one flower or a section of stem; it saves time and looks more careful.
If you want the timeline, data boxes and fact area to line up neatly, open the Smart Handwritten Newspaper mini program, pick a plant-themed layout, fill in your week of notes, then print it out to trace and color.