Why a Rail Network Map Works So Well on a Poster
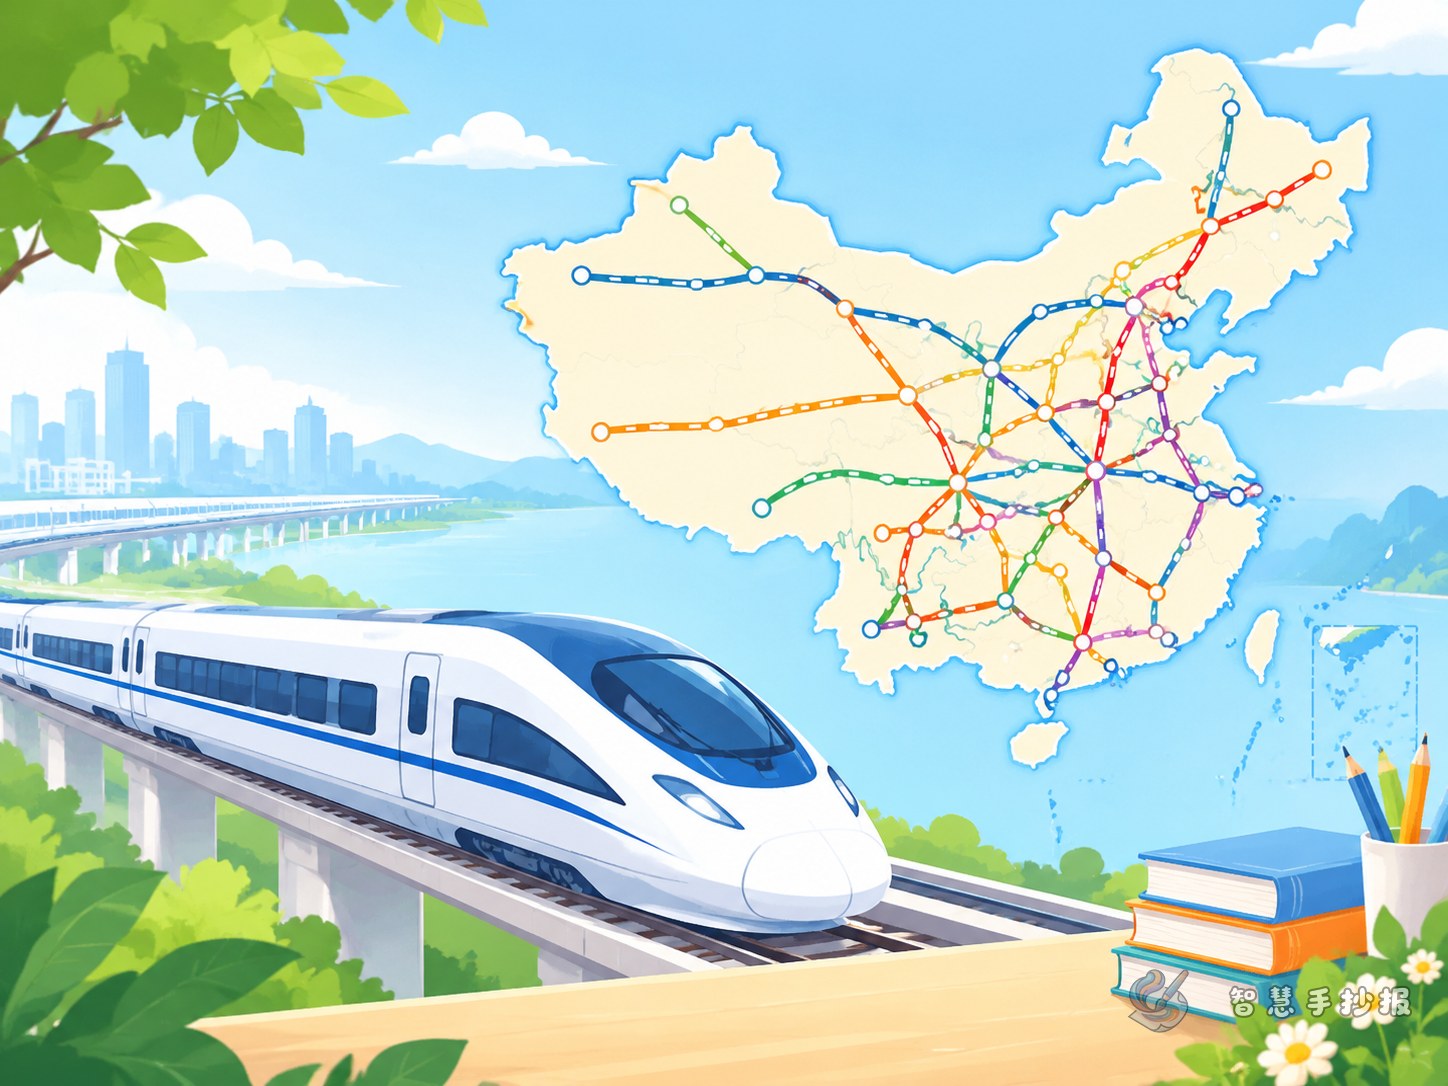
Among transport and technology themes, a route map is one of the few images that can double as a layout framework. A single map explains lines, crossings, hubs and connections at the same time, and the rest of the page can be divided into a few neat columns.
- Main visual: one thick trunk line with a few branches, placed in the middle or to one side.
- Supporting details: city dots, direction arrows, a small train icon.
- Text area: two or three boxes arranged around the map, not crowded together.
Explaining the Network to Classmates in Plain Words
Instead of memorising terms, compare the map to a spider web. Pull several thick threads from north to south, then several from east to west, and the places where threads cross are the big cities where changing trains is easiest.
- North-south lines: long routes running down the map.
- East-west lines: long routes running across the map.
- Crossing points: usually provincial capitals or major hubs with frequent trains.
There is no need to list every line. Pick three or four, and add a small note such as "this one runs north" or "this one passes our province".
Three Ways to Draw the Route Map
Method 1: The simple grid
Rule a light grid with a few vertical and horizontal lines to fix the positions first, then trace the main routes with a thicker pen. It is the fastest option and the hardest to get crooked.
Method 2: One trunk line plus branches
Draw one or two long lines across the page as the stars, then branch shorter lines off them and finish each end with a dot and a city name. The map gains a clear hierarchy.
Method 3: Start with the cities
Write five or six familiar city names first, join them with straight lines, and finally label the direction of each line. Ideal if you are more confident with writing than drawing.
Text You Can Copy Straight Onto the Poster
Short sentences look cleaner than long paragraphs. Pick a few of these and rewrite them in your own words:
- High-speed rail links cities together, so a morning departure can end in another city by evening.
- Arrive early, check your train number and platform, and the journey stays safe and easy.
- Every stretch of track and every bridge on a rail line is the work of many hands.
- The denser the network, the more choices families have for travel and holidays.
Keep each block to two or three lines, and pair it with a small icon.
Layout, Colour and Column Plan
- Divide the paper lightly in pencil into four zones: heading, map, and two text columns.
- Write the main heading large in deep blue or red, with a simple train silhouette border.
- Outline all routes in one bright colour, use identical dots for cities, and point every arrow the same way.
- Separate text boxes with thin lines or pale shading rather than a different colour for each one.
- Leave a little white space at the end so the page does not feel stuffed.
A Quick Check Before You Hand It In
- Are the city names spelled correctly and the arrows pointing the right way?
- Are all column titles the same size and easy to read at a glance?
- Do the routes cross into a tangle? If so, remove one branch line.
- Is your name and class written in a corner without competing with the map?
If you would rather not start from a blank sheet, open the WeChat mini program Smart Handwritten Poster, choose a transport and technology layout, drop in your route map and add the text you have written to finish a clean, science-flavoured poster quickly.