Start With the Simplest Test: Can You Touch It?
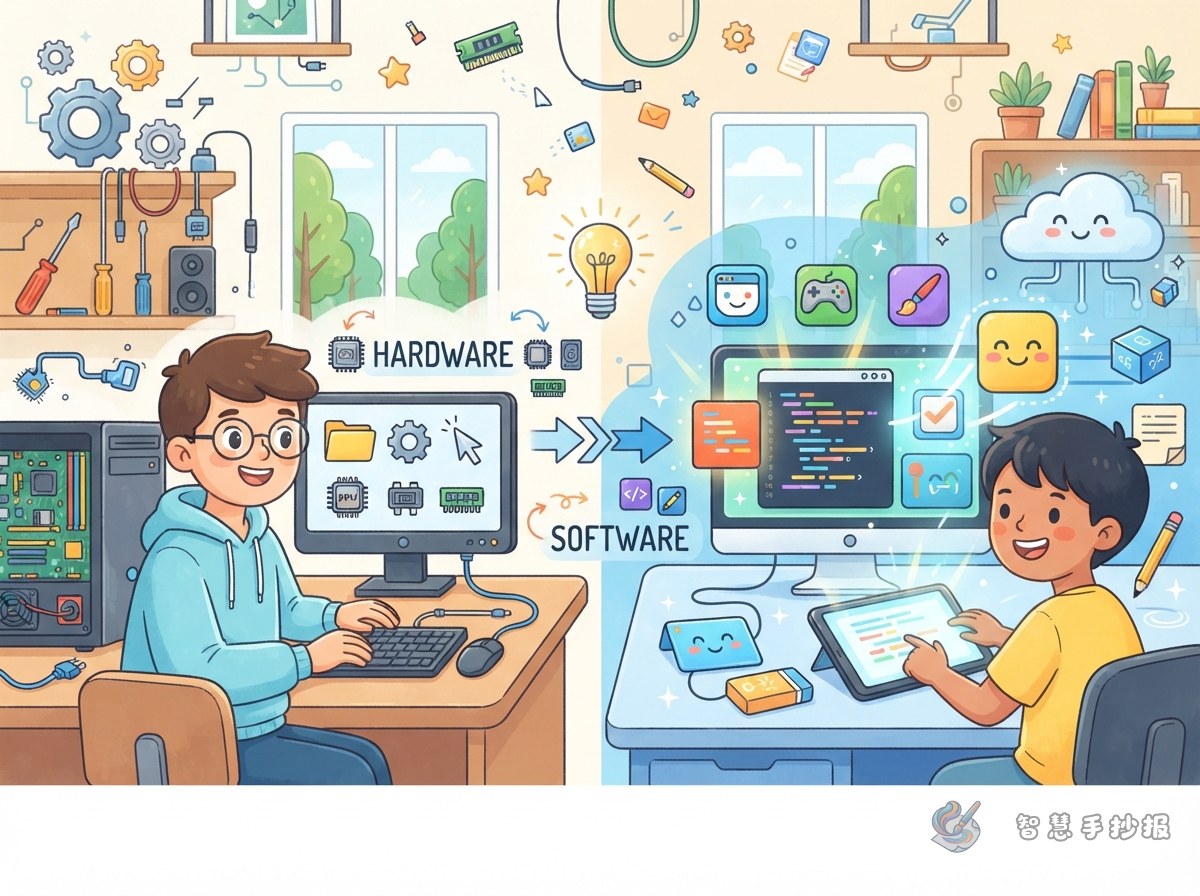
Hardware is the part of a computer you can see and touch, such as the monitor, keyboard, mouse, speakers and USB drive. Software is the set of programs installed inside the computer. You cannot hold software in your hand, but it tells the hardware what to do. A helpful way to explain this to children is: hardware is like the body, and software is like the skills the body learns. Both are needed before a computer can work.
Hardware Section: Group Items by Their Job
Instead of listing computer parts one by one, sort them into four groups and add two or three examples to each group.
- Input devices: keyboard, mouse, webcam, microphone and scanner. They send information into the computer.
- Output devices: monitor, speakers, printer and projector. They show or share the results.
- Storage devices: USB drive, external hard drive, CD and memory card. They keep files safe.
- Processing parts: the processor and motherboard inside the system unit. They calculate and direct the other parts.
Draw each group inside a small box, add simple pictures, and write one short line underneath.
Software Section: Add One Line About What It Does
The software column can look empty if it only lists names. Give every item a short job description.
- Operating system: manages the hardware and software so everything works together.
- Drawing app: used for painting, colouring and making quick poster drafts.
- Browser: used for finding information and visiting learning websites.
- Programming app: used for giving the computer commands with blocks or code.
Finish with a summary line: the same computer can do different jobs when different software is installed.
Layout Idea: Two Columns and a Computer in the Middle
Use the paper in portrait mode. Draw a large computer screen or system unit in the centre, write hardware on the left and software on the right, then add arrows pointing from the computer to both sides. This makes the connection clear at a glance.
- A title such as “The Body and Skills of a Computer” creates a nice contrast.
- Use a blue border for the hardware column and an orange border for the software column.
- Keep each small box to one idea and use short sentences.
- Leave space at the bottom for a summary or a small tip.
Three Small Boxes That Make the Poster Fun
- Match them: list hardware names on the left and their jobs on the right, then draw lines to connect them.
- Guess who I am: write three clues, such as “I show the picture, who am I?”, and hide the answers in a corner.
- My discovery: ask children to write down hardware and software they have seen at home or in the classroom.
Step-by-Step Order for Making the Poster
- Choose the title and the two-column layout, then draw light pencil borders.
- Write the key hardware and software words on small cards and place them in the right areas.
- Go over the text and borders with a black pen, then colour the boxes.
- Check for spelling mistakes and make sure there is enough white space.
If you want a ready-made layout, the WeChat mini program “Smart Handwritten Newspaper” offers templates you can adapt, then copy the design onto paper by hand.