Start With the Message, Not the Drawing
A drowning prevention poster is not a copy of every safety rule. It should tell readers two things at a glance: where the danger is and what to do about it. Before drawing, decide who the poster speaks to, usually classmates, and pick one main message such as "never swim alone" or "shout for help, never jump in".
Main Content: Risky Water and the Six Don'ts
This is the heart of the poster. Use short lines with small headings instead of long paragraphs.
- Risky water signs: wild ponds, ditches, reservoir edges, construction pits, rain puddles and old fish ponds. They look shallow but may hide mud and deep holes.
- The six don'ts: do not swim without permission; do not swim with classmates without telling adults; do not swim without a parent or teacher; do not swim where there are no safety facilities or lifeguards; do not swim in water you do not know; and do not jump in to rescue someone if you are not a strong swimmer.
- One skill to learn: basic self-protection, such as floating on your back, calling for help and holding on to something that floats.
Self-Rescue and Helping Others: The Tricky Part
Many students draw a classmate jumping into the water as a heroic scene, but that is exactly the habit to avoid. Write the helping steps like this:
- Shout loudly for adults and for anyone nearby who can swim.
- Reach out or throw something that floats: a life ring, empty plastic bottles, a long pole, a rope or a board.
- Call the emergency number right away and explain clearly where you are.
- Never form a human chain into the water, and never go in yourself.
For self-rescue, add a short reminder: after falling in, do not thrash around. Try to float on your back, keep breathing and wait for help. If your leg cramps, call out first, then stretch it slowly.
Columns and Headlines That Read Clearly
Three or four blocks are enough for one sheet. Too many columns make the page hard to read. A workable plan:
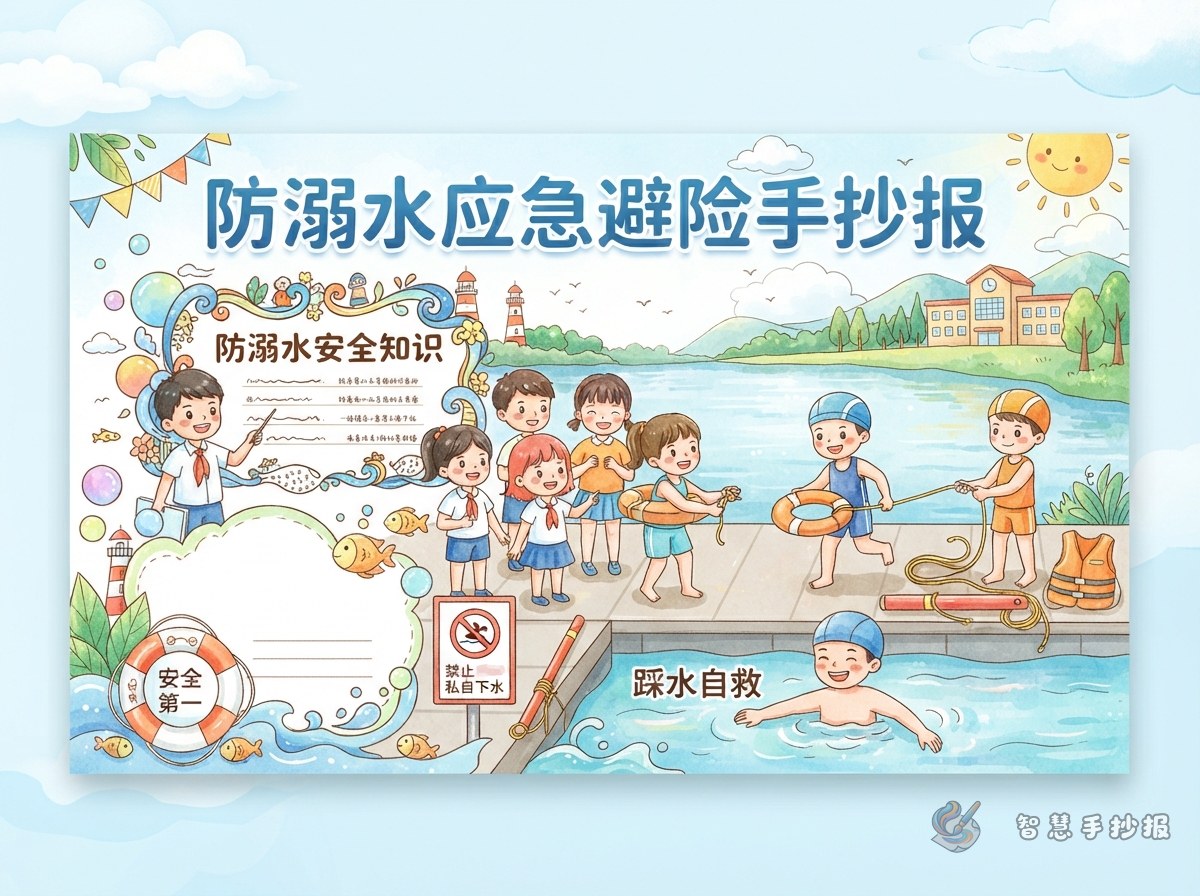
- Main headline: one short warning line, such as "One look before you go near the water keeps danger away".
- Left block: "Places you should never go", listing risky water.
- Centre block: "The six don'ts", written as six numbered short lines.
- Bottom right block: "If someone falls in", with the three steps of shouting, throwing and calling.
- Corner tips: one slogan or a row of small icons such as a life ring, pole and phone.
Color, Drawings and How Much to Write
Blue, pale green and white suit a water theme, while a dark blue or orange headline stands out better. Keep the drawings on the bank: a child calling for help, a bamboo pole held out, a life ring in the air, a warning sign by the water. Younger students can write only the key lines and leave more space for pictures, while older students can add a short paragraph about self-rescue.
To keep everything neat, sketch the blocks as boxes first and fill in the text afterwards. Borders, wavy lines and water-drop patterns make the page look finished. If you want ready-made templates and more text material, search for the 智慧手抄报 mini program inside WeChat and keep working on the layout there.
A Quick Check Before You Hand It In
- Does the headline match the theme, and are there any wrong characters?
- Are all six "don'ts" included and numbered correctly?
- Did you avoid any picture that shows a child jumping in to rescue someone?
- Is the writing neat, with enough white space between blocks?