Begin with What a Crossed Collar Really Means
Many students write that the right lapel simply means "wearing clothes correctly", which leaves the reader confused. Start your poster with one clear sentence: the front pieces cross at the chest, and which one lies on top is what shows proper ritual.
The right lapel: the everyday style
Once the robe is on, the left front piece crosses over the right one, so the collar opening looks like a slanted letter y. This was the main style of ancient Chinese dress, worn with a tied belt instead of buttons, neat and restrained.
The left lapel: the opposite direction
The right front piece over the left one makes a left lapel. It usually appeared on the deceased during mourning, so ancient writers used it to describe dress order falling apart. On your poster, treat it as a comparison point and never as a difference between men and women.
Four Paragraphs You Can Copy Onto the Poster
- What the right lapel is: the front pieces cross at the chest, the left one lies on top, and the opening forms a y shape.
- Dress follows ritual: the direction of the crossing, the place of the belt and the length of the hem were all seen as part of proper behaviour.
- Top and skirt: the upper garment is the top, the lower one is the skirt, and together they form one complete outfit.
- Right against left: the right lapel was for daily life, the left lapel belonged to mourning; the same collar, a different meaning.
Layout Plan: One Big Picture and Three Small Columns
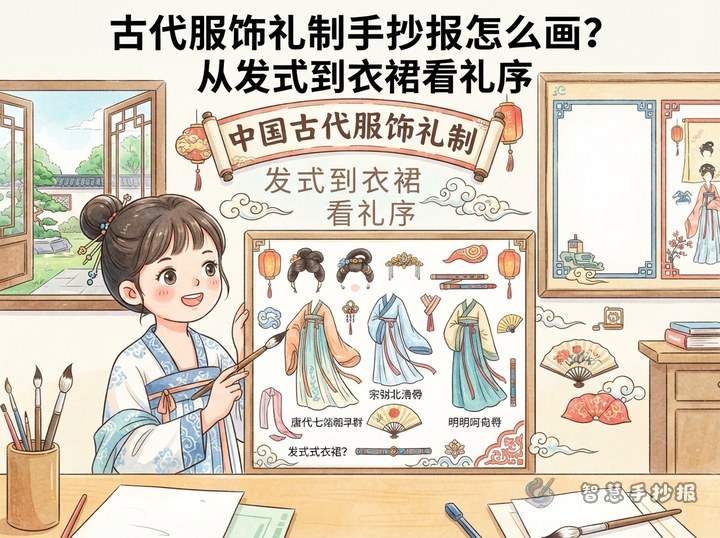
This topic works best with a large central drawing and small boxes around it. It is easy to draw and looks tidy.
- Draw one upper garment slightly above the middle of the page, showing only the collar, the crossing and the belt.
- Put a "What is the right lapel" column at the lower left with three or four short lines.
- Make a comparison box at the lower right with two tiny collar sketches side by side.
- Keep the upper right for a "Dress follows ritual" box with facts about the top-and-skirt structure and the tied belt.
- Set the title across the top in large letters, with a soft colour block behind it.
How to Draw the Collar and Front Pieces Step by Step
- Start with a trapezoid for the torso, with shoulders sloping slightly outward.
- Draw two crossing diagonal lines above the trapezoid; the meeting point sits a little below the neck.
- From that point, draw a vertical line down to the waist to show where the front pieces overlap, slightly off centre.
- Add a horizontal band at the waist as the belt, decorated with two or three small squares.
- Finish with a thin parallel line along the collar and front edge to suggest the trim, which instantly makes the drawing look clean.
Mistakes to Avoid in Words and Drawings
- Do not say the right lapel means "the right side is on top"; that reverses the whole explanation.
- Do not describe the two lapels as a male and female difference.
- Keep the collar lines gently slanted, not right-angled, or the robe looks like a modern shirt.
- Leave enough line spacing in text boxes, about five lines each, so nothing looks crowded.
- Limit yourself to three colours: dark for writing, light for backgrounds.
Once the main drawing is done, you can adjust the column order, change the title lettering or add more reference styles inside the 智慧手抄报 WeChat mini program, where templates for ancient Chinese clothing ritual help you turn this right-lapel topic into a finished poster.