Turn the Poster into a Moon-Phase Experiment
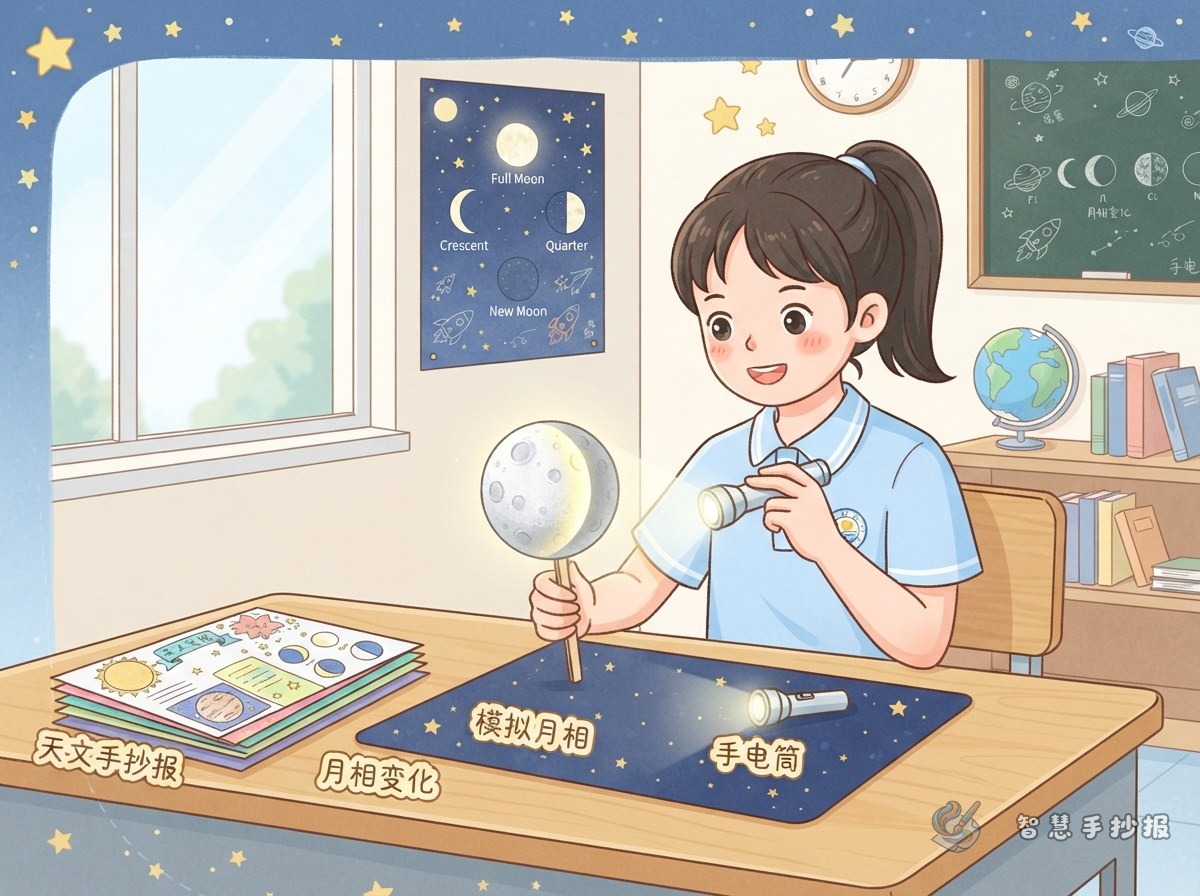
Instead of simply listing moon-phase names, make this Mid-Autumn astronomy poster about a small demonstration called “How can I show the phases of the Moon?” Prepare a soft-beam flashlight, a ping-pong ball or another white ball, and a person to observe it. The flashlight stands for the Sun, the ball stands for the Moon, and the observer stands for Earth. With the light kept still, viewers can see how the illuminated side of the ball looks different from different positions.
Use a safe LED flashlight and never stare directly into a strong beam. Children should do the activity with a parent or teacher nearby. On the poster, label the three roles as light source, observer, and small ball so the model is easy to understand.
Follow a Circular Route of Observation
- Fix the flashlight at about eye level and use it as the Sun.
- Stand in front of the light, hold the white ball at arm’s length, and keep it close to eye level.
- Keep the flashlight aimed at the ball while slowly turning your body or moving the ball in a circle.
- Stop at several positions and record whether the ball looks dark, crescent-shaped, half-lit, mostly round, or fully round.
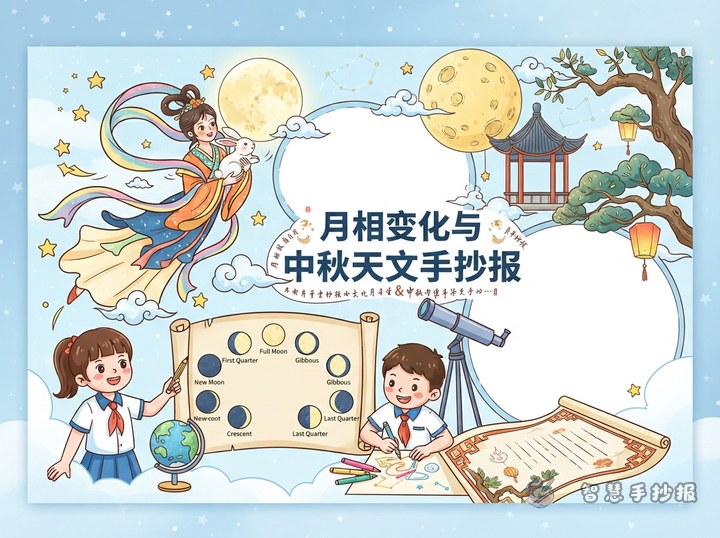
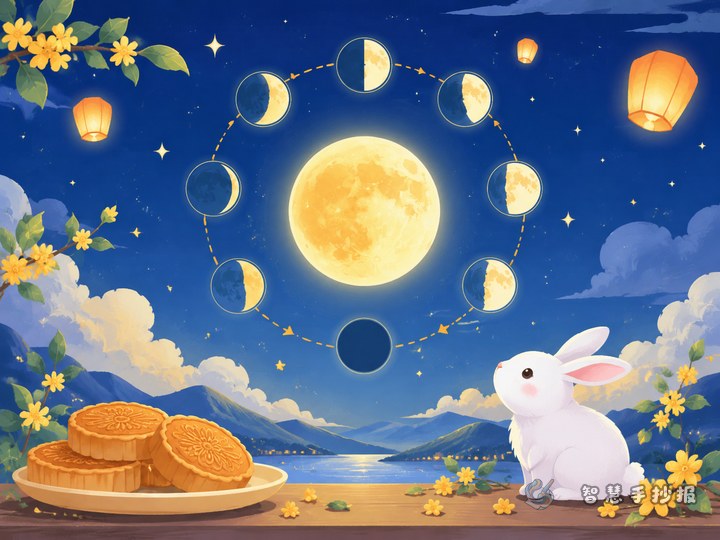
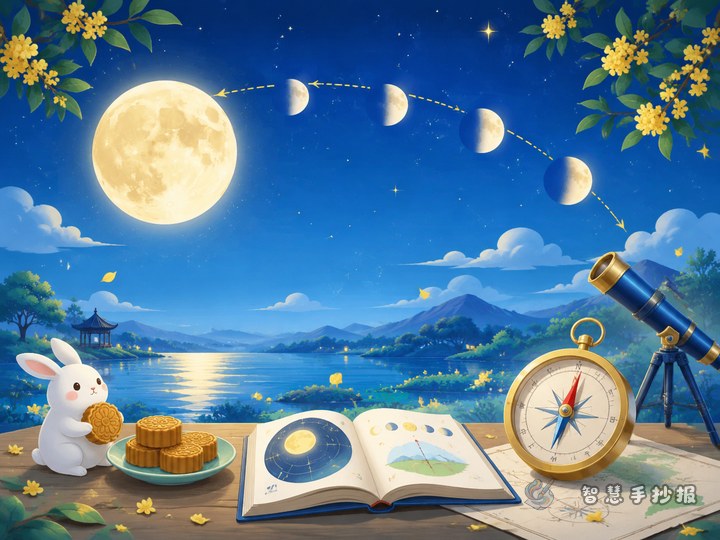
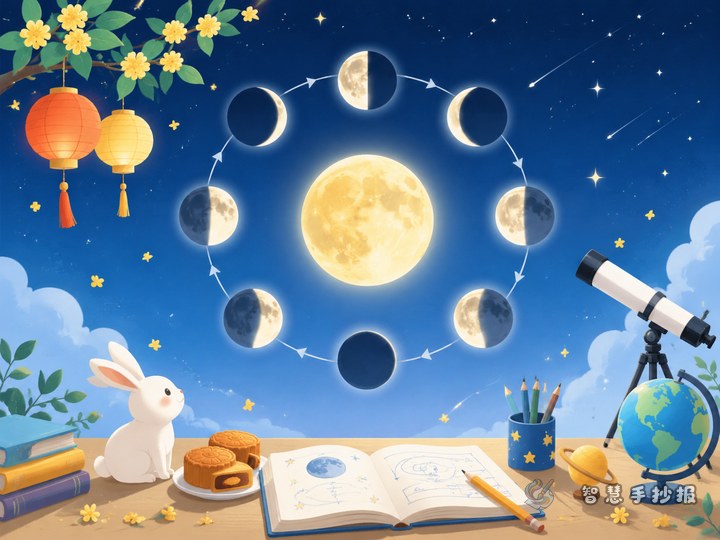
The route can show the sequence new moon, crescent moon, first quarter, waxing gibbous, full moon, waning gibbous, last quarter, and waning crescent. The goal is not to make a date calendar, but to show that the visible bright portion changes as the positions of the observer, ball, and light source change.
Draw Three Essential Diagrams
1. The Experiment Setup
Place a flashlight, ball, and observer in the center of the poster, and add arrows to show the direction of the light. Write “Sunlight illuminates half of the Moon” beside the picture. This reminds readers that moonlight is reflected sunlight, not light produced by the Moon.
2. The Moon-Phase Route
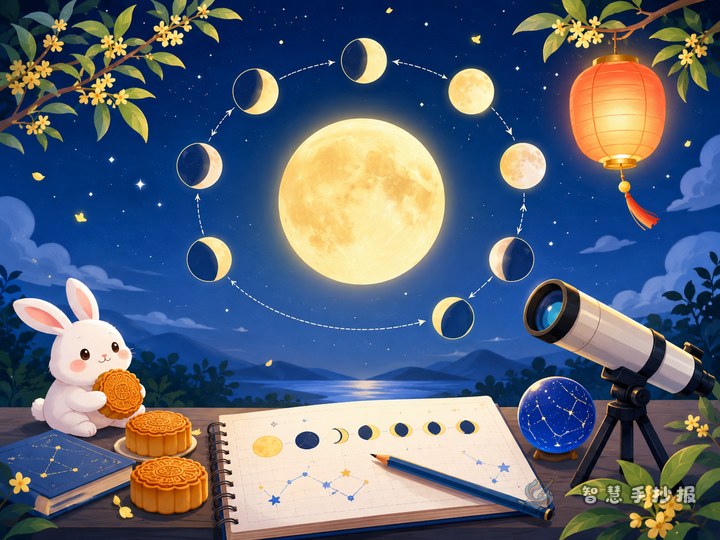
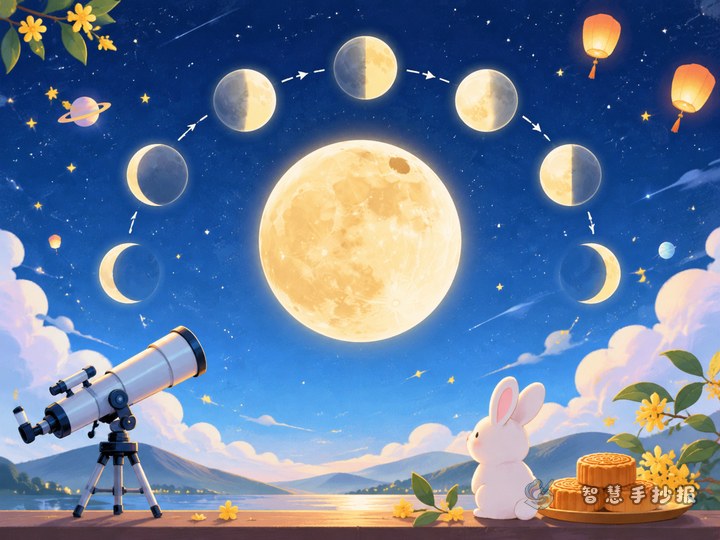
Draw a circular path with small Moon shapes at different points around it, then connect them with a thin line. Use one short label under each phase. Keeping the labels brief allows the drawings to become the visual focus of the poster.
3. The Visible-Light Comparison
Draw two same-sized circles. Label one “the half always lit by the Sun” and the other “the bright part visible from Earth.” Use different colors and add the conclusion: “The Moon is not changing shape; the visible bright portion is changing.”
Science Text You Can Place on the Poster
Moon-phase summary: The Moon does not make its own light. We see sunlight reflected from its surface. As the Moon travels around Earth, the relative positions of the Sun, Earth, and Moon change. Therefore, the amount of the bright side visible from Earth changes too. This changing appearance is called a moon phase.
What the experiment shows: The lit half of the ball does not disappear when the ball moves. What changes is how much of that lit half the observer can see. The flashlight model turns a distant astronomical event into something children can observe and understand.
Design the Layout Like a Moon-Phase Lab Board
- Title area: Use “How Can a Flashlight Demonstrate Moon Phases?” as the main title, followed by “A small experiment for understanding the changing light of the Mid-Autumn Moon.”
- Center area: Place the Sun-Earth-Moon diagram and the circular phase route in the middle. Use deep blue, warm yellow, and soft white as the main colors.
- Side panel: Add three compact sections: “Materials,” “Steps,” and “What I Discovered.” Keep each section short and readable.
- Bottom area: Add a safety note and a closing sentence such as “Look up at the Moon and notice the secrets of light.”
Use deep blue for the night sky, yellow for the light rays, and white or pale gray for the Moon. Do not make every phase too small. It is better to use fewer decorative stars and keep the experiment steps and Moon outlines clear. After planning the content, you can also open the WeChat mini program and use 智慧手抄报 to continue arranging the sections and layout.