Narrow the Topic to One Day as a Junior Weather Observer
Weather posters often end up empty because the topic starts too big. Instead of explaining the whole atmosphere, turn the page into one day of observation: imagine checking the weather in the morning, at noon and in the evening, then record what you saw and measured. The idea gives you both pictures to draw and facts to write.
Three title lines you can use
- I am a junior weather observer, today's weather is my record
- Clouds move, wind blows, weather watching is all around us
- One thermometer, one rain gauge, read the weather near you
Six Observation Tools That Are Easy to Draw
These tools make the best illustrations because their shapes are simple and each one needs only a single caption line.
- Thermometer screen: a white louvred box holding a thermometer and hygrometer; it lets air through while blocking direct sun, so the air temperature reading is more accurate.
- Rain gauge: a straight container with a funnel on top; it collects rainwater so the amount of rainfall can be measured with a ruler.
- Wind vane: an arrow that points to the direction the wind comes from. Draw it as a turning arrow for a sense of movement.
- Anemometer: three small cups spinning on a pole; the faster they turn, the stronger the wind.
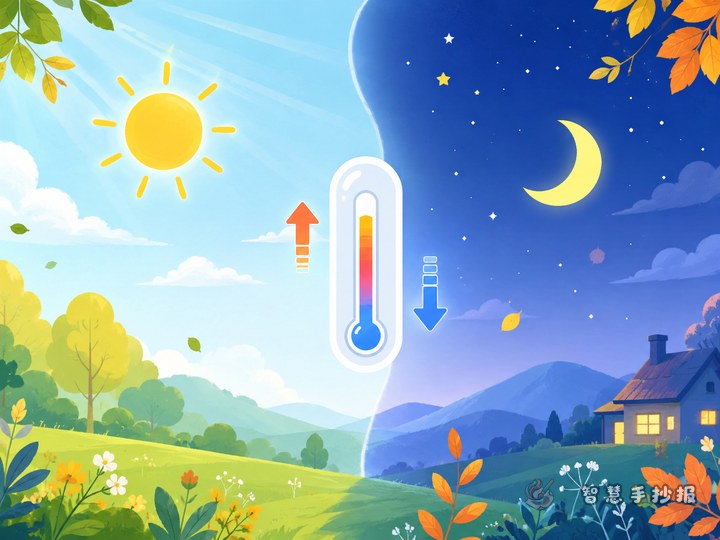
- Thermometer: draw an oversized one and leave a vertical line beside it for the morning, noon and evening readings.
- Observation notebook: a small notebook with a few lines of figures, the classic prop of a weather observer.
Two Sections That Give the Poster Real Data
Section one: a one-day weather chart
Draw a small three-row table with columns for time, temperature, cloud cover and wind. Write morning, noon and evening in the time column, fill in numbers for temperature, and use words such as clear, partly cloudy or overcast for the clouds, and calm, light breeze or strong wind for the wind. The table only needs a quarter of the page.
Section two: one sentence of advice
Finish the observation with a friendly reminder, for example “It is windy today, hold on to your hat” or “It gets warmer after lunch, remember to drink water”. This turns the poster from a list of facts into something that looks after the reader.
A Layout That Stays Clean and Readable
- Draw a horizon line first, dividing the page into sky and ground.
- Put clouds, the sun, the wind vane and the anemometer in the sky area.
- Put the thermometer screen, the rain gauge and your observer figure on the ground.
- Frame the observation chart in a bottom corner.
- Place the title across the top with a blue or orange outline, well away from the drawings.
Pale blue, pale yellow and pale green work well as background colours; large dark areas are best avoided. Leave a little space between text blocks instead of filling every gap.
Ready-to-Copy Lines and Finishing Details
- The weather changes every day, and records show the patterns.
- Observations should be taken at the same place and the same times so they can be compared.
- Clouds are the sky's expression; wind is the footsteps of the air.
- A rain gauge measures rainfall, not how long the rain lasted.
- Even small figures can show a change in the weather.
Write units clearly, for example 25°C or 3 millimetres, keep captions short and close to the drawing, and close with a line such as “Source: my own observation notes” rather than naming an organisation you are unsure about. When the layout is ready, you can open the Smart Handwritten Newspaper mini program in WeChat, choose the weather theme and adjust the sections and drawings before copying the design onto paper.