Start With One Mirror, Not the Whole History
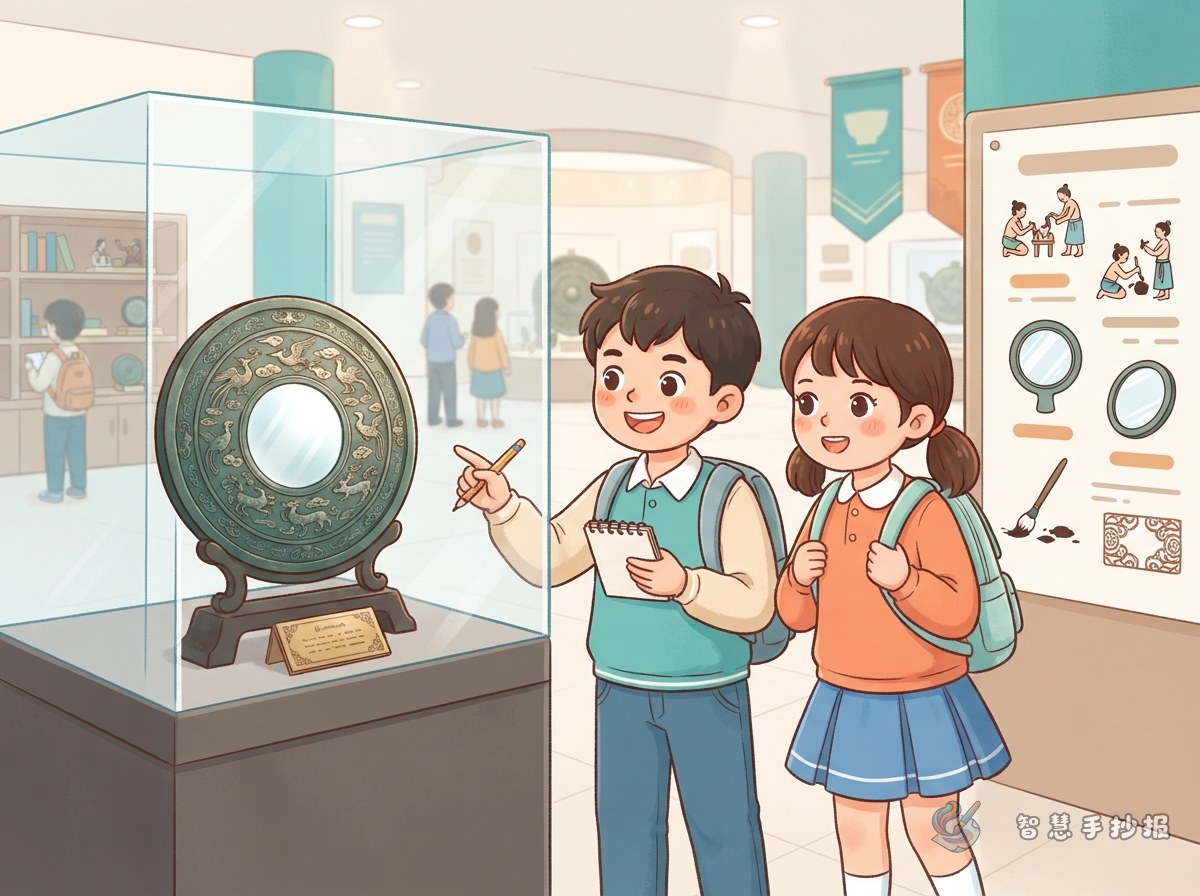
Bronze mirrors in museums often sit quietly in a corner case, yet they make a wonderful handwritten newspaper topic. The front was polished for looking into, but the back is where ancient craftspeople put their real effort: round mirror backs carry flowers, animals, inscriptions and legendary creatures. You do not need to cover thousands of years of mirror history. Pick one mirror you like and treat it as a small exhibition room. Ask questions about it, look for answers, and your page will stay focused.
Give your newspaper one memorable title, such as 'A World Hidden in a Mirror' or 'What a Bronze Mirror Wants to Tell You'.
Three Details Worth Looking At
1. Shape: More Than Just Round
Most bronze mirrors are round, but you can also find square, mallow-shaped and flower-shaped examples. Round mirrors usually have a round knob in the centre, while square mirrors may have petal-like curves at the corners. The shape itself can become a small column with simple line drawings.
2. Patterns: The Back Has a Story
- Animal patterns: dragons, tigers, phoenixes, auspicious beasts and paired fish give the mirror a sense of power.
- Plant patterns: grapes, lotus, peony and scrolling vines fill the surface with lively lines that are easy to copy.
- Figures and scenes: some mirror backs show immortals, banquets or horseback journeys, like a tiny picture story.
- Geometric patterns: cloud-and-thunder motifs, star patterns and connected arcs create a neat rhythm.
3. Inscriptions: A Few Characters, a Big Wish
Many bronze mirrors carry short inscriptions on the back, such as blessings for family and long life, or lines about light and memory. These phrases are brief but perfect for the border or beside your drawing. Try a small column called 'What Did People Think About While Looking in a Mirror?'
Columns You Can Put on the Page
Four or five columns are plenty. Here is one possible set:
- Main title: place it where the eye lands first, for example 'A Thousand Years in a Mirror'.
- Mirror facts: a few lines explaining what it is, what it is made of and how it was used.
- Pattern guide: draw three or four small round mirrors and label the different patterns.
- Inscription copy: choose one or two short inscriptions, write them neatly and add one sentence of your own understanding.
- Study questions: ask two or three questions, such as 'Why is the back more decorated than the front?', and answer them briefly in a corner.
If you still have space, add a column called 'The Mirror I Saw in the Museum' and record your real impression in one or two sentences. Honest observation is more engaging than piled-up facts.
Writing Sentences That Do Not Sound Like a Museum Label
Many students turn a cultural relic project into a dry instruction sheet. Try a different rhythm: describe, wonder, then discover.
- Describe: 'This mirror is perfectly round, with a small knob in the middle that looks almost like a belly button.'
- Wonder: 'Why did people decorate the back so beautifully when they could not even see it while looking in the mirror?'
- Discover: 'It turns out a mirror was not only a daily object, but also a gift and a way to express a wish.'
Short sentences like these feel like talking to the reader. They work well in small columns such as 'My Observation' or 'My Question'. Do not copy a museum label word for word. Putting the information into your own words is exactly what a study project should show.
Layout: Make the Round Mirror the Centre of the Page
A bronze mirror is round, so it is naturally suited to be the visual centre. Here is a simple and reliable layout:
- Draw a fairly large round mirror slightly above the middle of the page, with the decorated back facing outward.
- Divide the rest of the page into three or four sections shaped like clouds, bookmarks or scrolls.
- Leave clear paths between text blocks so they do not merge into one crowded mass. Use thick strokes for headings and thin strokes for body text.
- For colour, use bronze, teal and earth yellow on the mirror, and keep text areas light so they are easy to read.
- You can add a border of small mirrors, coins or cloud patterns, but do not let it overpower the main drawing.
If drawing a whole mirror feels hard, zoom in on one part of the back pattern, such as a flower, a fish or a ring of arcs. Enlarged details still carry a museum feel.
Small Reminders Before You Start Drawing
- Sketch your layout on scrap paper first and decide how much text fits in each block.
- If you are not sure about a name, dynasty or find spot, leave it out instead of inventing it.
- Write inscriptions neatly. Light pencil guide lines can help, and you can erase them later.
- Use phrases such as 'I guess', 'perhaps' or 'the guide told us' when you describe a relic. It sounds more natural than pretending to know everything.
- Save a small corner for a study note with the date of your visit and the detail that impressed you most.
If you want a faster and more unified layout, you can choose a museum study template in the WeChat mini program, fill in your mirror facts, inscriptions and questions, then print it or copy it onto paper for final decoration.