Turn the Topic into a Picture That Comes Apart
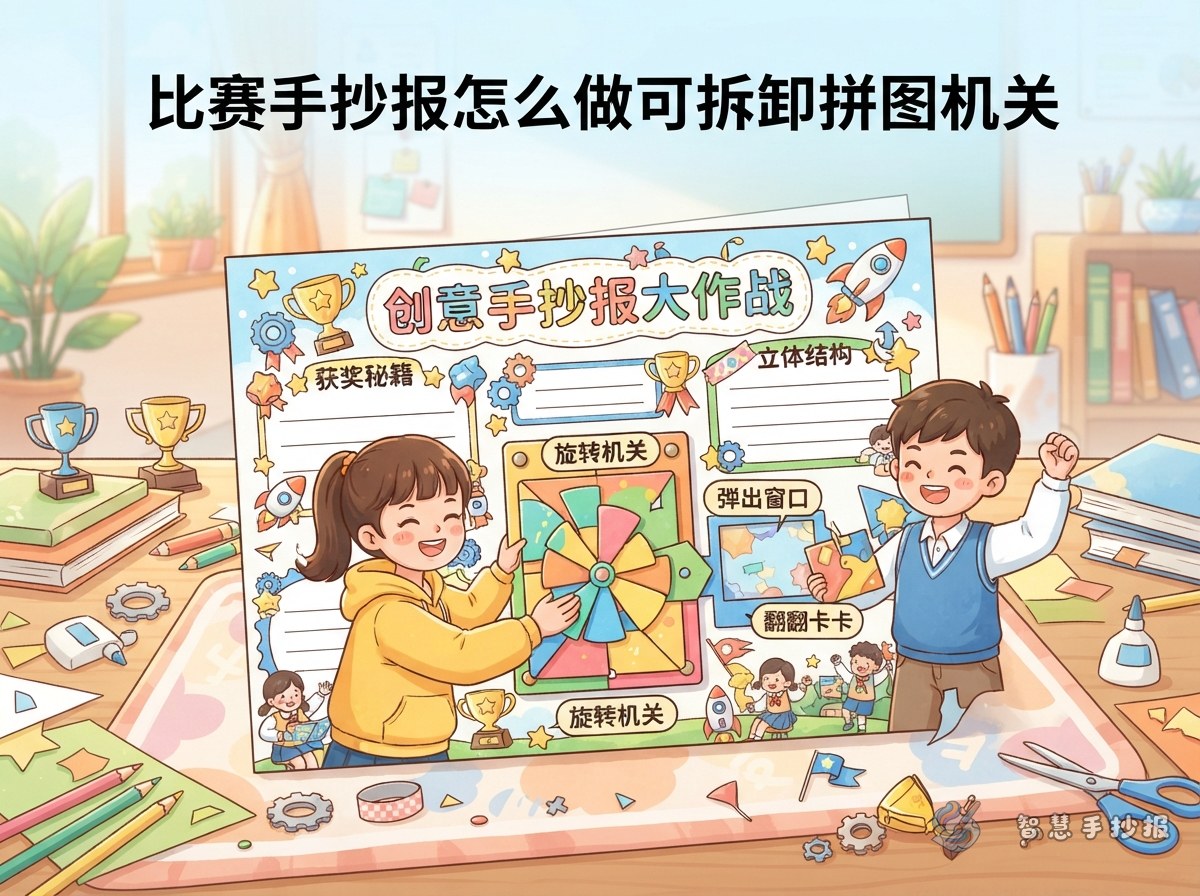
A removable puzzle should do more than decorate a school poster. Each piece can carry one part of the topic. Start with a central image for a theme such as environmental protection, reading, cultural traditions, science, or school safety, then divide it into six to nine manageable pieces.
For an environmental poster, the completed puzzle might form the Earth. Individual pieces can represent saving water, sorting waste, walking or cycling, protecting forests, and reducing food waste. Removing a piece reveals a short message on the back, while replacing all the pieces restores the main illustration.
Build a Durable Puzzle Mechanism
Materials
- Heavy colored paper or cardstock for the puzzle pieces.
- A poster base and thin strips of corrugated card for the puzzle tray.
- Scissors, a ruler, pencil, double-sided tape, and markers.
- A small paper pocket or folded envelope for storing loose pieces.
Assembly
- Draw the complete image on cardstock and mark the puzzle boundaries in pencil.
- Cut along the boundaries and write one fact, question, or action tip on the back of each piece.
- Glue thin card strips onto the base to create a shallow tray slightly larger than the completed puzzle.
- Test the fit, trim tight edges, and add small matching numbers to the backs.
- Attach a storage pocket near the bottom so no pieces are lost during transport or judging.
Use Both Sides of Every Piece
Keep the front visual and use the back for a keyword plus one short explanation. Two or three lines per piece are enough. Long paragraphs make the puzzle crowded and difficult to read.
- Fact pieces: Explain a basic idea or useful cultural fact.
- Action pieces: Suggest something a student can do.
- Question pieces: Place a question symbol on the front and a concise answer on the back.
- Message pieces: Add a memorable line that matches the theme.
For an environmental theme, a piece might say, “Turn off the tap completely so every drop is used wisely.” For a reading theme, write, “Set aside a regular reading time and record one new discovery.” Make every message accurate, brief, and connected to its illustration.
Give the Puzzle Visual Priority
Place the puzzle near the center or slightly to one side, using about one-third of the poster. Put the title across the top, add two standard information sections beside the puzzle, and reserve the bottom for steps, a pledge, or a conclusion. This keeps the interactive feature prominent without losing the structure of a handwritten school poster.
Limit the palette to about three main colors and outline all puzzle pieces consistently. Keep background patterns restrained. The raised tray should be shallow so it does not cover nearby writing. Leave open space around the mechanism to make the remove, read, and rebuild sequence immediately clear.
Test It Before Submission
- Remove and replace every piece to check for tight edges, curling, or smudged color.
- Confirm that the writing is upright when each piece is picked up.
- Hold the poster upright gently to test the tray and storage pocket.
- Check that the title, sections, illustrations, and puzzle all support one topic.
- Prepare one short sentence explaining what readers learn from the complete and separated puzzle.
After choosing a theme, students and parents can continue in the Smart Handwritten Poster WeChat Mini Program to organize sections, select a layout, and prepare text that fits the final paper size before building the puzzle mechanism.