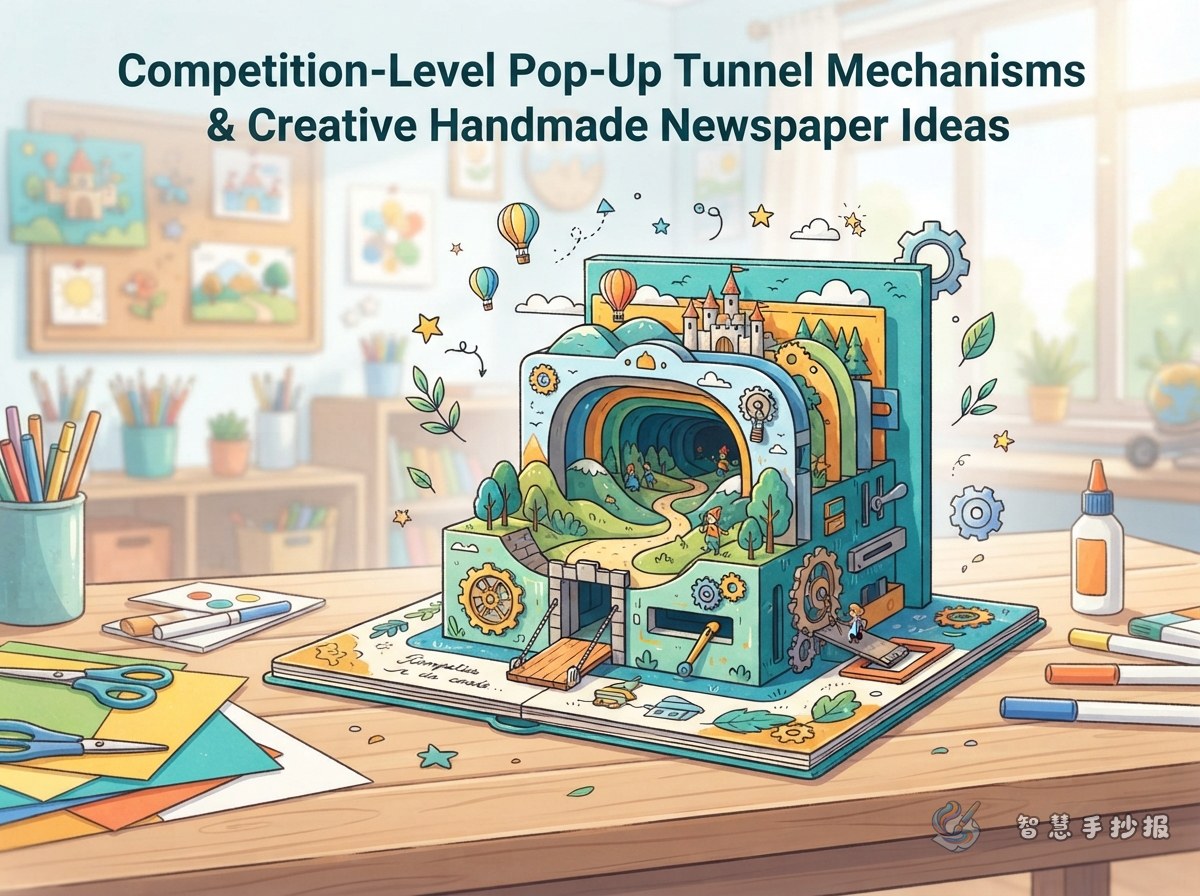
Choose a scene viewers can look through
A tunnel mechanism works best when the theme naturally contains depth. Instead of choosing a subject only for its pictures, plan what viewers will discover as they look from the outer frame toward the background.
- Ocean exploration: Place seaweed and coral in front, fish in the middle, and a submarine or hidden treasure at the back.
- Forest protection: Build layers with leaves, tree trunks, and wildlife, ending with a healthy green habitat.
- Space adventure: Turn the outer frame into a spacecraft window, then add planets, star trails, and a rocket or space station.
- Cultural heritage: Use gates, windows, or scroll shapes as frames and fill the layers with festival patterns and traditional objects.
The mechanism should strengthen the message rather than exist only as decoration. Before cutting paper, sketch the foreground, middle ground, background, title, and writing areas.
Support the central feature with meaningful writing
The tunnel provides the main visual attraction, but a complete school poster also needs short, readable information. Three connected sections are usually enough to give the design substance without overcrowding it.
A quick fact section
Write four to six sentences introducing the topic. For a forest poster, you might explain that forests provide habitats, conserve water, protect soil, and benefit from responsible everyday choices.
A personal action list
- Turn off lights when leaving a room.
- Use only the paper you need and reuse blank areas.
- Do not pick plants or disturb animals outdoors.
- Share useful environmental knowledge with family and classmates.
A memorable slogan
Place a short slogan near the tunnel entrance or below the title. Examples include “Walk Through a Green Corridor to a Brighter Future” and “Explore the Stars and Spark a Dream of Science.” Keep the lettering large and avoid hiding it in the deepest layer.
Build depth one frame at a time
- Mark the area: Reserve no more than about half of the base sheet for the mechanism so the title and text still have room.
- Cut the frames: Prepare three to five equal outer rectangles, then cut windows that gradually become smaller or change shape slightly.
- Arrange the scenery: Use larger, darker shapes in front, fewer details in the middle, and the main subject at the back.
- Fold the supports: Make two equal cardstock strips and fold them like accordions, with one section for each frame.
- Attach the layers: Start with the innermost frame and work outward, checking that every layer remains parallel. An adult should assist with heavy cardstock or precision cutting.
For easier transportation, press the accordion folds neatly so the structure can close gently. It can then be expanded again when the poster is displayed.
Make the result impressive from every angle
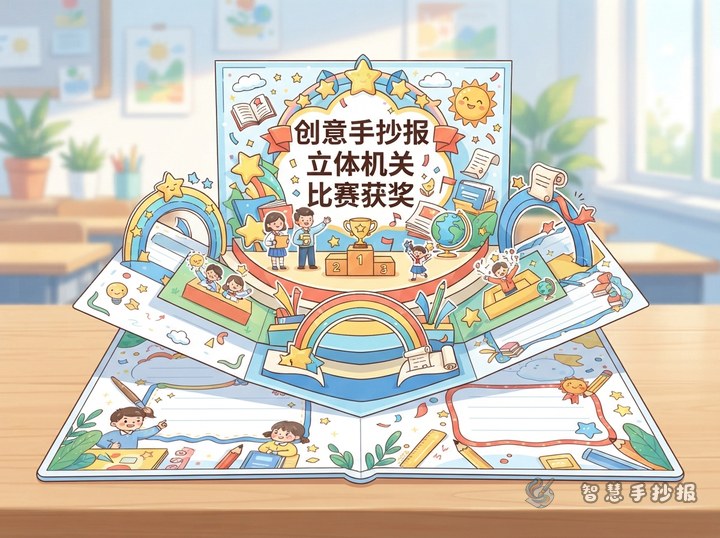
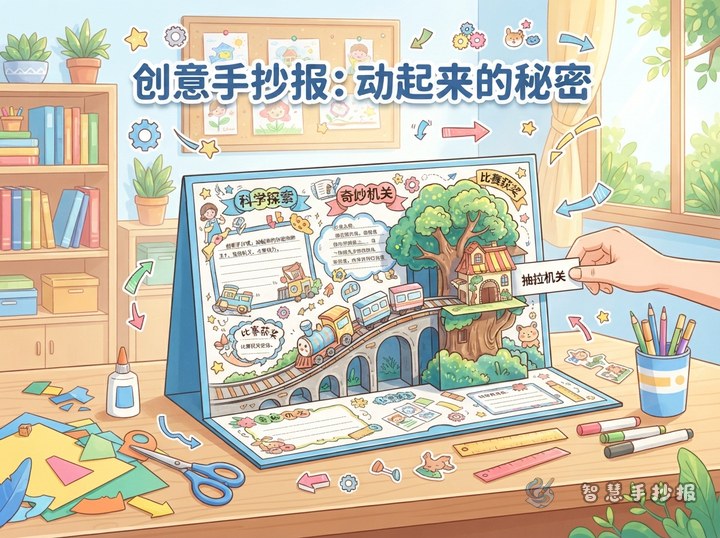
Curve the main title above the tunnel, place a fact section on one side and an action list on the other, and use a repeated border along the bottom for balance. Limit the palette to one main color, one supporting color, and a small accent color. Repeating the same edge treatment on every frame will make the project feel unified.
Before submitting the poster, check whether the theme is clear from the front, the layers line up from the side, and every sentence can be read without touching the mechanism. Outlines, paper-cut silhouettes, or a few bright details can highlight the entrance, but decoration should not overwhelm the information.
If you still need help choosing columns, colors, or an overall arrangement, continue planning in the 智慧手抄报 WeChat Mini Program. You can select a theme and base layout first, then add your own paper frames and folded supports to create an original contest entry.