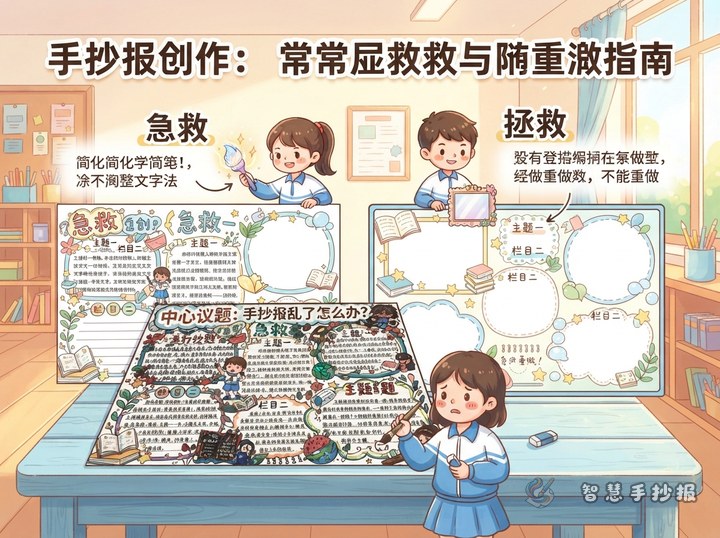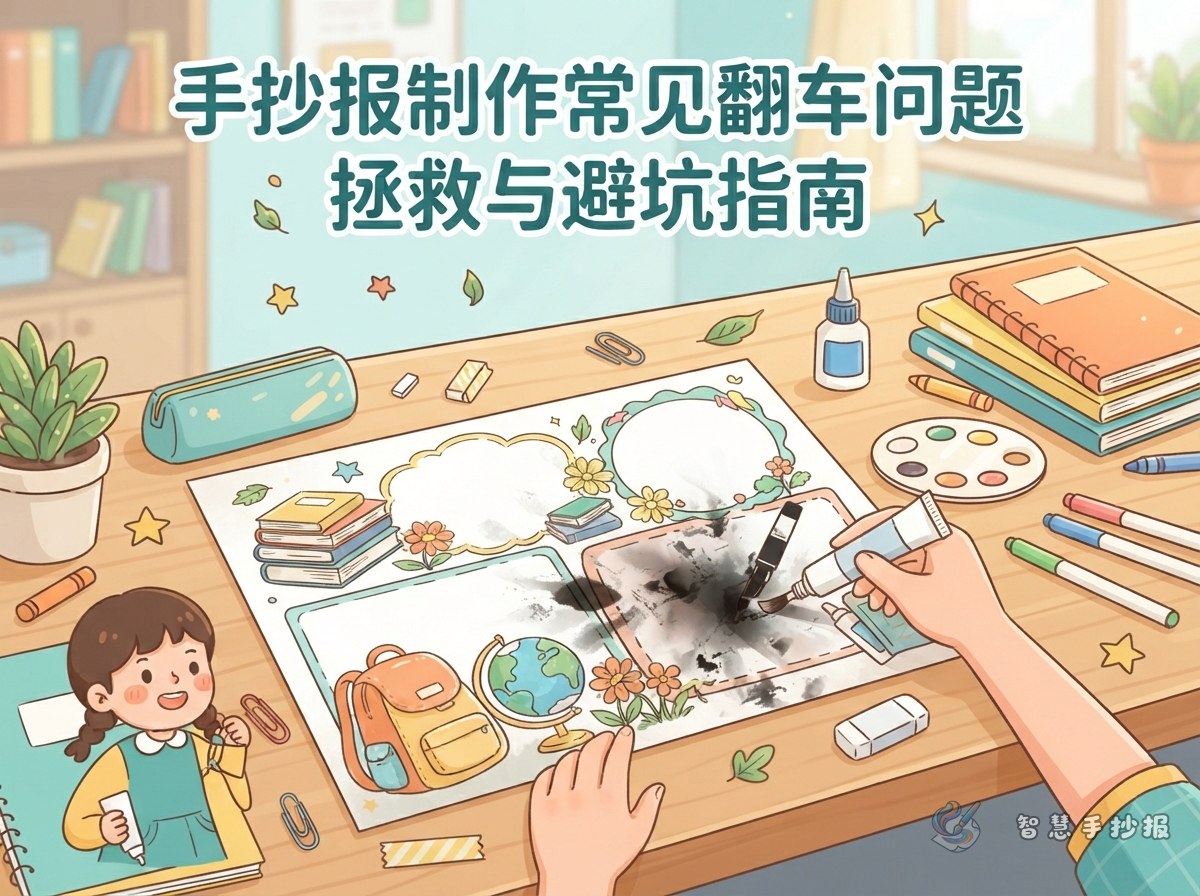
Identify What Went Wrong Before Repairing It
Feathering, smearing, and bleeding through the paper need different fixes. Feathering creates fuzzy edges as ink spreads through paper fibers. Smearing leaves a dragged mark when a hand touches wet ink. Bleed-through appears on the reverse side. Lay the poster flat, stop adding ink, and let the area dry completely before making changes.
Turn Small Ink Marks into Useful Details
- Slightly thick outline: Thicken nearby outlines to make the line weight look intentional.
- Ink dot near an edge: Convert it into a star, leaf, petal, snowflake, or decorative dot.
- Feathered text box: Add a colored outer border or turn the uneven edge into a shadow.
- Dark smear: Cover it with matching paper cut into a label, cloud, or bookmark shape.
Choose cover-up shapes that support the poster topic. Leaves suit an environmental poster, planets suit a space theme, books and bookmarks suit a reading topic, and notice signs work well for a safety poster.
Use a Damaged Area as a New Content Section
When the mark is too large for a tiny decoration, divide one long paragraph into two shorter sections. Cover the damaged spot and label it “Quick Fact,” “Helpful Reminder,” “My Pledge,” or “Topic Quiz.” This repair can make the page easier to scan instead of looking patched.
Short Text Ideas for the New Section
- Helpful reminder: Start with small choices and practice good habits every day.
- My pledge: Learn carefully, observe closely, and turn responsibility into action.
- Topic quiz: Ask one question about the main theme and answer it in two or three sentences.
- Action list: Write three simple things students can do today.
Keep the replacement text to three to five lines and leave breathing room around it. Filling every gap will make the overall layout feel crowded.
Handle Ink Showing on the Back
If only the front will be displayed, mild bleed-through usually does not require a new poster. Place a clean sheet behind the work so ink cannot transfer to a desk or another page. If a front section looks dull, wait until it is fully dry and add a light layer of colored pencil. Avoid repeated coats of wet media because they can roughen or tear the paper.
Test Before Outlining the Next Poster
- Try the pen on a scrap of the same paper and wait ten seconds to check for feathering.
- Outline a pencil draft from the upper left toward the lower right; left-handed students can reverse the direction.
- Finish one area at a time and let it dry before erasing pencil lines or adding background color.
Prepare a clean backing sheet, low-bleed pens, colored pencils, and matching repair paper before starting. To reorganize cover-up graphics, content sections, and text for a specific theme, scan the code to continue creating the poster in the Smart Handwritten Poster WeChat Mini Program.