Start with Two Visible Clues
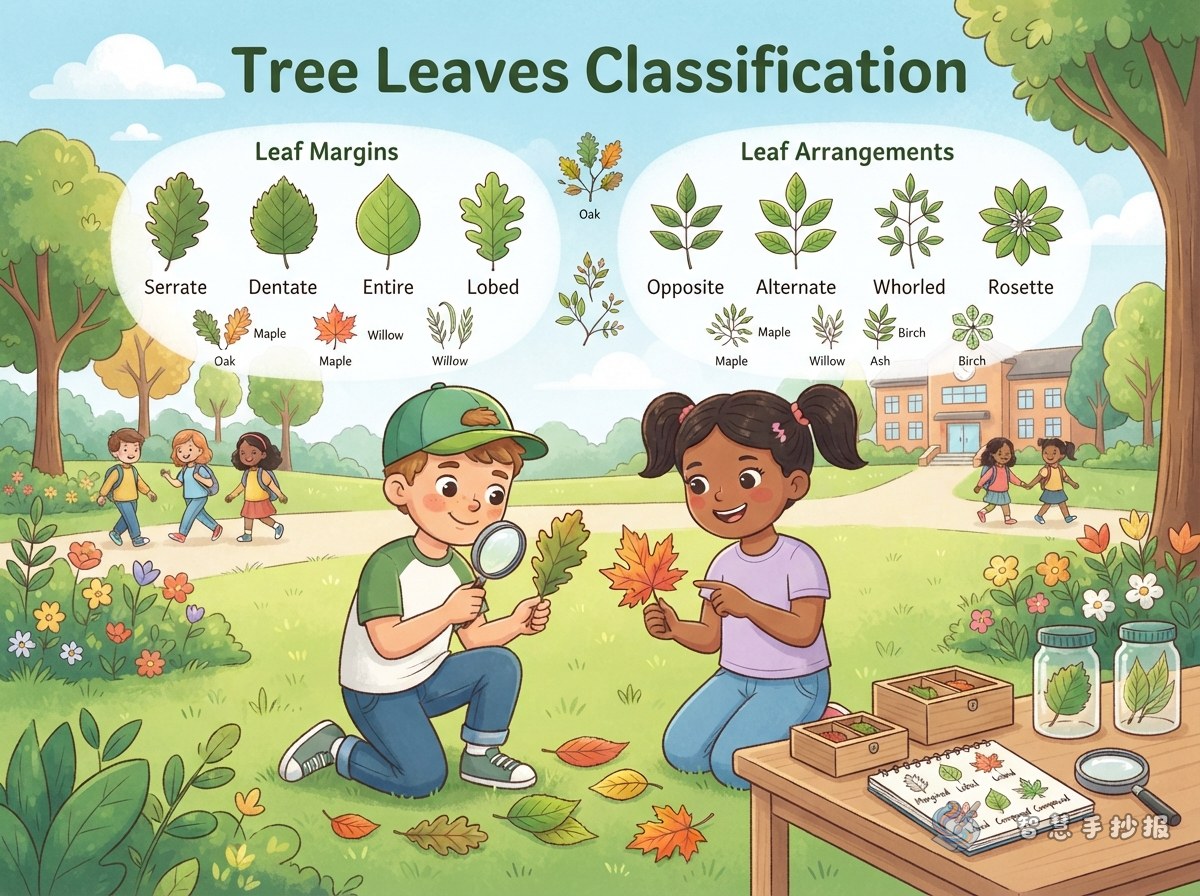
Instead of listing many plant names, build this handwritten newspaper around two things that are easy to observe: the edge of a leaf and the way leaves are arranged on a stem. The leaf margin may be entire, toothed, wavy, or lobed. The leaf arrangement, also called phyllotaxy, may be alternate, opposite, or whorled. Placing these two clues below the title gives the page a clear classification story.
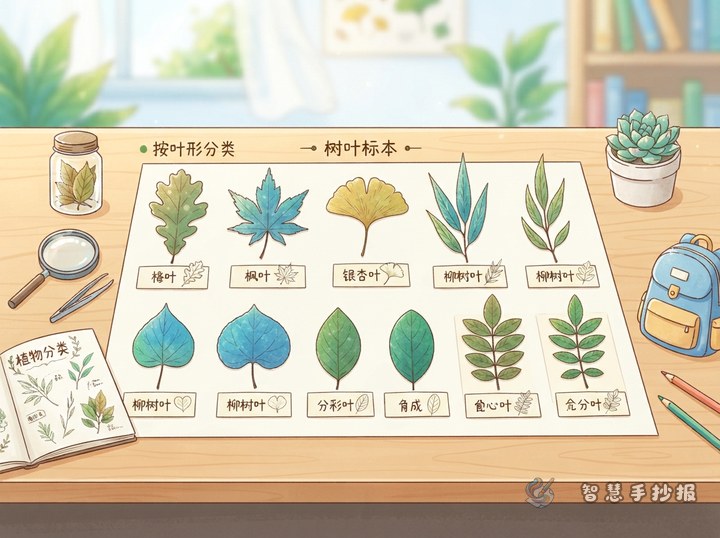
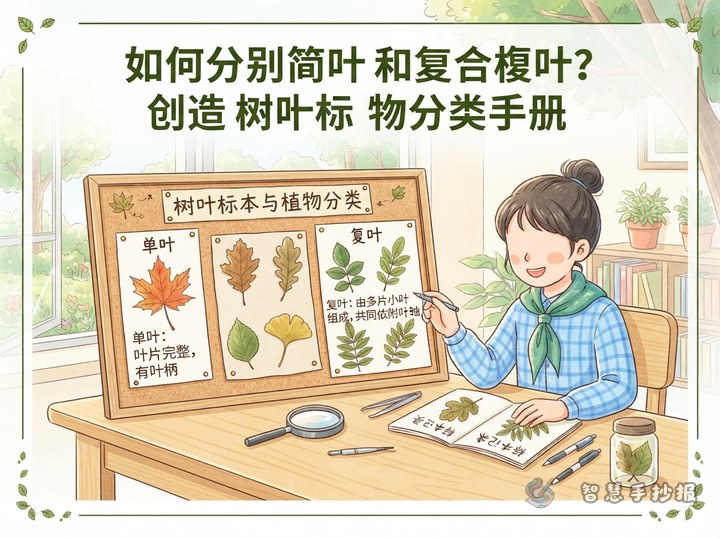
Six to nine fallen leaves or hand-drawn leaves are enough. For each one, observe its shape, color, texture, and petiole before deciding which group it belongs to. If a feature is unclear, write “needs more observation” instead of forcing an inaccurate classification.
Two Small Lessons to Add to the Page
Follow the edge of the leaf
An entire margin looks fairly smooth, a toothed margin resembles a row of tiny saw teeth, a wavy margin rises and falls, and a lobed leaf has noticeable indentations. Draw a simple outline for each type and add a short observation sentence such as “the edge is smooth and simple” or “the teeth form a neat pattern.” Let the drawings carry most of the explanation.
Follow the leaves along the stem
For an alternate arrangement, draw one leaf on the left and one on the right at different points along the stem. For an opposite arrangement, show two leaves growing from the same node. For a whorled arrangement, draw several leaves around one node. Simple twigs and small dots marking the nodes are enough; the diagrams do not need to be complicated.
Science note: Leaf margins and leaf arrangements are two ways to observe plants, not a complete plant classification system. Add the sentence “Plant classification uses several features” in a corner to keep the project accurate.
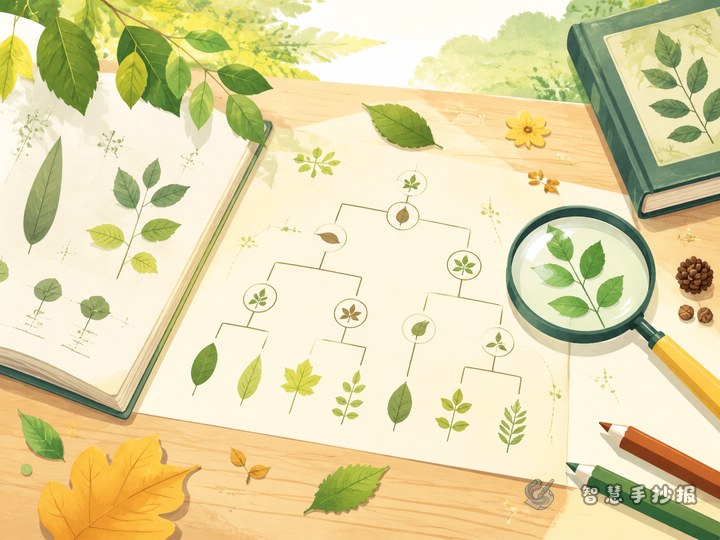
Build a Four-Part Observation Map
- Center title area: Write “Leaf Margins and Arrangements” or create your own theme sentence, then draw one enlarged main leaf beside it.
- Upper-left margin area: Show entire, toothed, wavy, and lobed outlines with small colored dots or icons.
- Upper-right arrangement area: Use three short stems to demonstrate alternate, opposite, and whorled arrangements with brief definitions.
- Lower-left observation area: Add three short lines for the leaf source, visible features, and your classification decision.
- Lower-right nature-care area: Include gentle reminders such as “collect fallen leaves first,” “do not break fresh branches,” and “keep specimens dry.”
Connect the four areas with fine lines, vines, or small arrows so the reader can follow the path from observation to classification. Avoid making every section a heavy box; some open space will make the page feel lighter.
Combine Real Specimens, Drawings, and Color
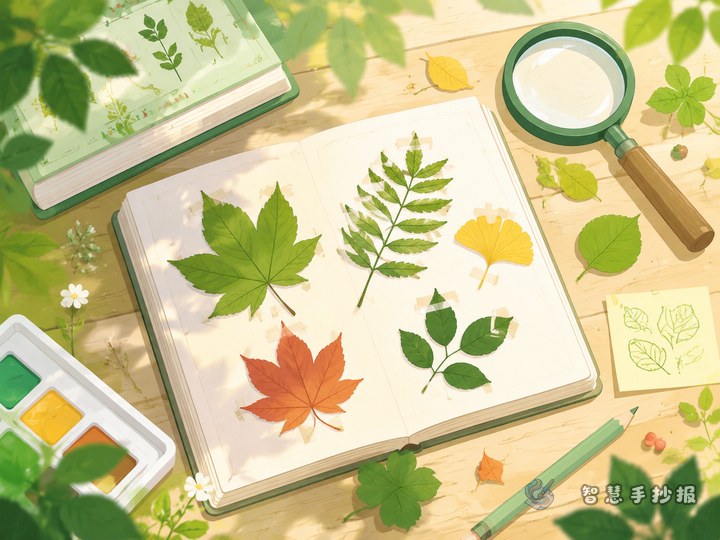
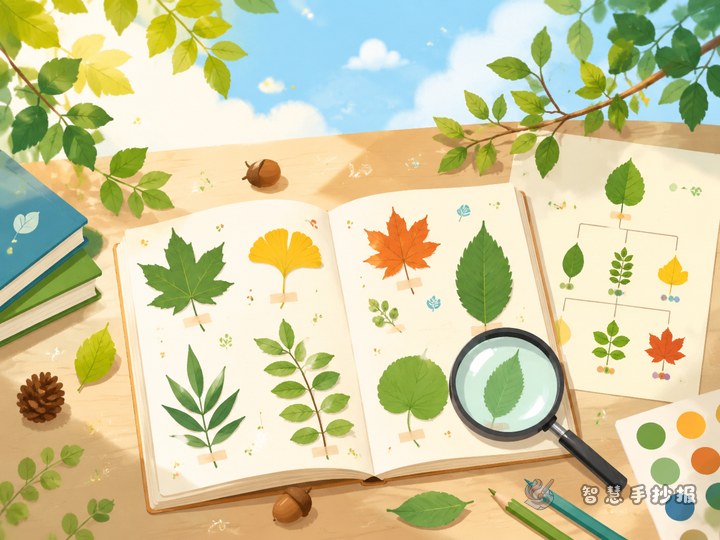
If you use real specimens, choose leaves that have naturally fallen and are already fairly dry. Press them between sheets of paper before attaching them. Use only a small amount of glue near the petiole or center so the leaf does not become bulky, curl upward, or cover the writing. If suitable leaves are unavailable, draw the margin, veins, and stem arrangement with colored pencils.
A palette of light green, dark green, brown, and warm cream works well. Keep the meaning of each color consistent: for example, use green dots for margin groups and brown stems for arrangement groups. A controlled palette makes the classification easier to understand.
A Practical Making Sequence
- Sketch the center title and four content areas first, checking how much space each section has.
- Study the leaves or reference drawings at hand and choose specimens with clear features.
- Draw stems, leaf outlines, and classification diagrams before adding short sentences.
- Use one coordinated color set for the title, dividers, and icons, then add the nature-care reminder.
- Check the terms, handwriting, attachment of the specimens, and the amount of open space.
After the draft is ready, open the WeChat mini program “智慧手抄报” to explore layouts, organize sections, and edit the wording. Then adjust the final page according to your own leaf observations and create a personal leaf-specimen classification project.