Two Goals: A Flat Specimen and a Clear Classification
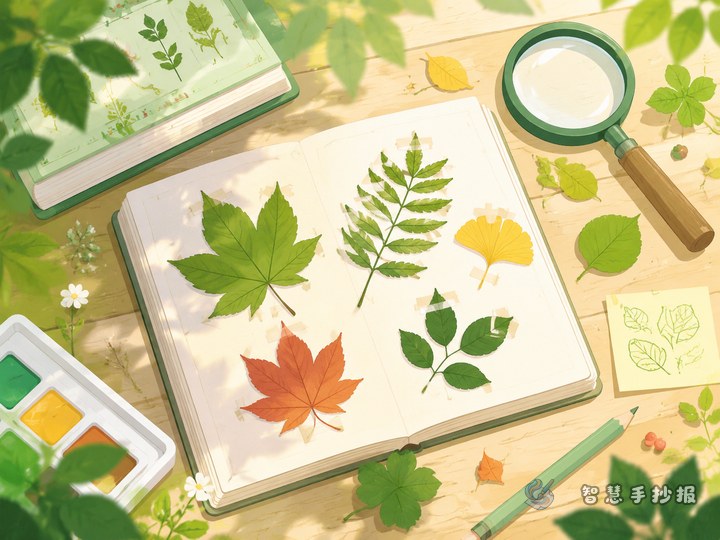
When students start a leaf specimen poster, the first problem is rarely the drawing. It is the leaf that curls or turns brown the moment it goes onto the paper. A good poster does two things at once: it shows flat, stable specimens and it uses those specimens to explain plant classification. Treat pressing and classifying as separate steps, then bring them together on the page.
Pressing Leaves Step by Step
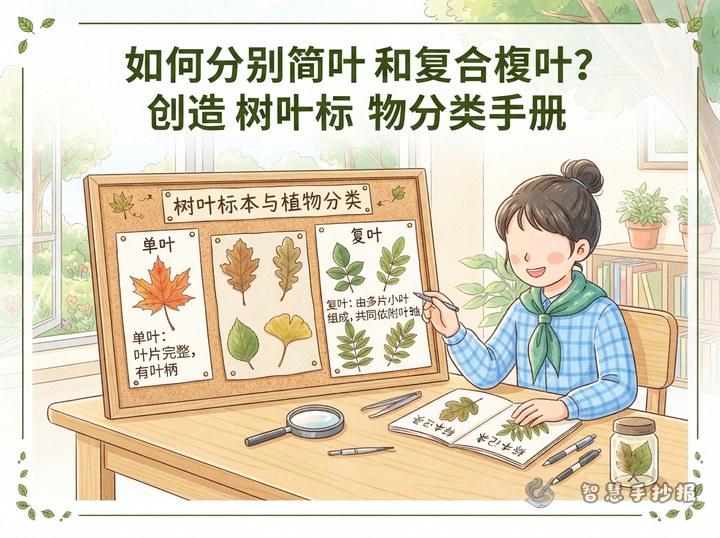
- Choose whole leaves with no holes, keeping a short piece of stalk so single and compound leaves stay easy to tell apart.
- Wipe off dust with a dry tissue. Do not wash the leaf, because damp leaves darken and grow mould.
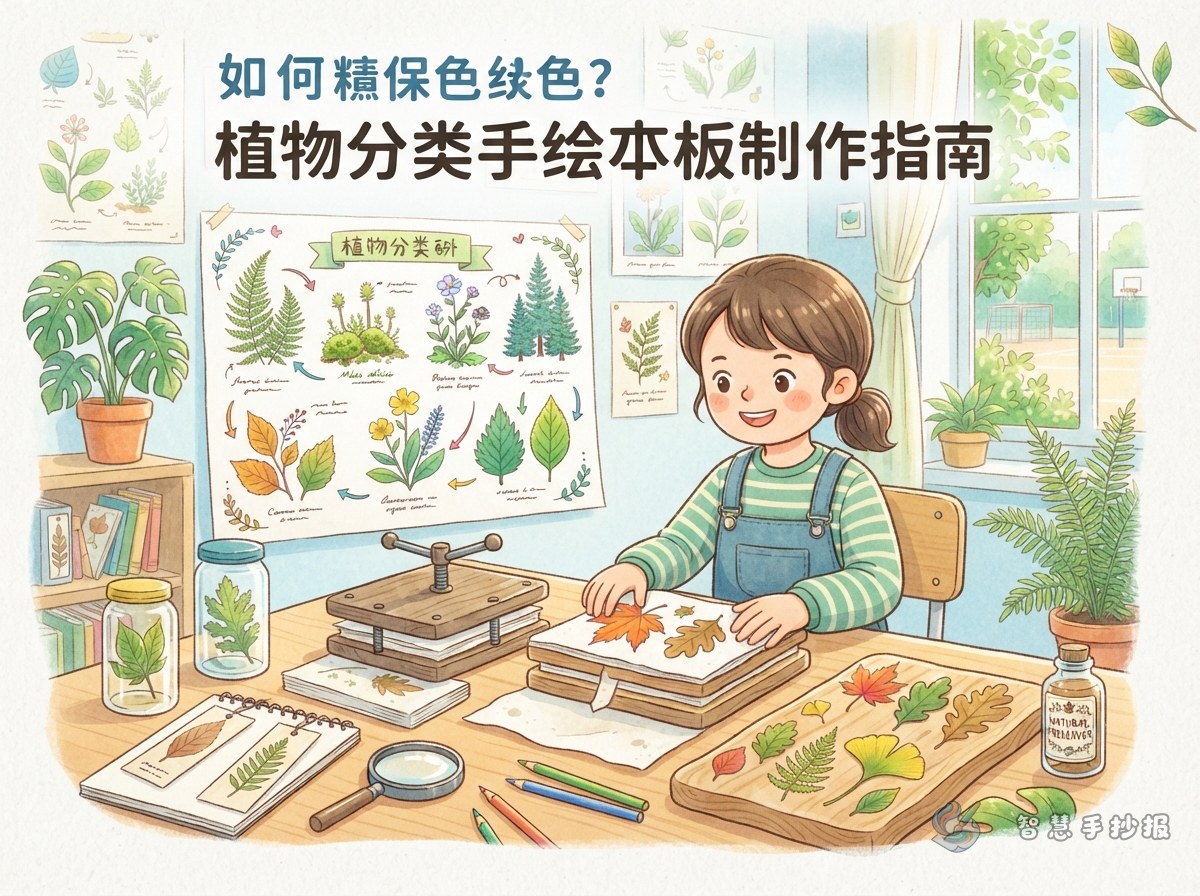
- Lay each leaf flat between absorbent paper or kitchen towel, then add a layer of newspaper above and below.
- Place the stack inside a heavy book or dictionary and add a few more books on top.
- Change the absorbent paper every day for the first three days to draw out the moisture.
- Leave the stack in a cool, airy spot for five to ten days, then mount the specimens with thin paper strips or clear tape.
Keeping the Colour and Shape Intact
- Never dry leaves in direct sunlight, which makes them brittle and dull.
- Do not coat the leaf surface with glue. A thin strip across the stalk is enough.
- Leave a small gap around each specimen so uneven thickness does not crease the page.
- Add a heading above each group, such as "Leaves from the same tree" or "Leaves from different trees".
Layout: Half Craft, Half Science
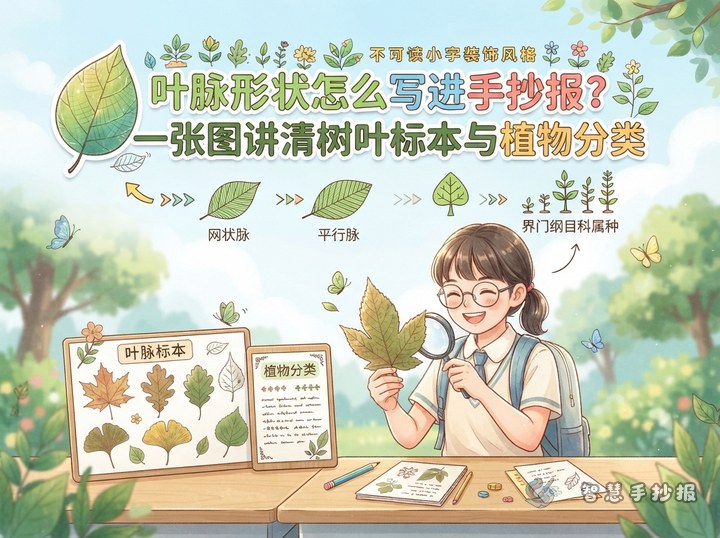
Plan four or five columns so readers can see this is a plant classification sheet, not just a craft display:
- Collecting notes: where, when and in what weather the leaves were gathered, for example "mid-September, flower bed by the east gate, sunny".
- Pressing steps: three or four simple sketches showing choosing, layering, weighting and mounting.
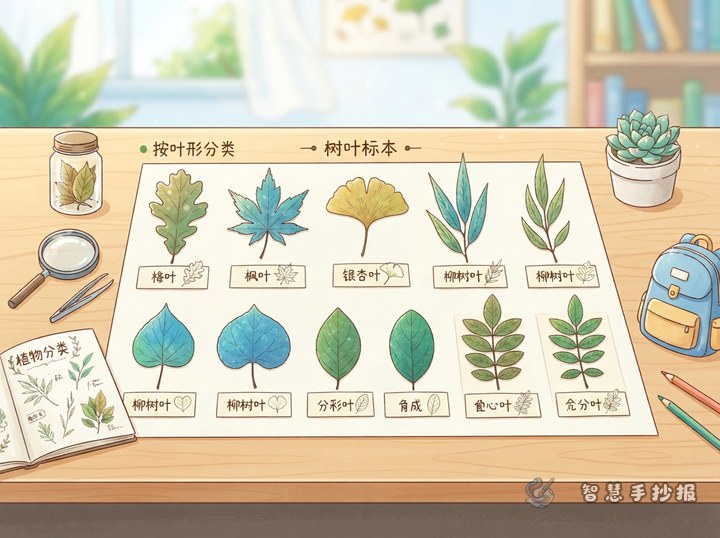
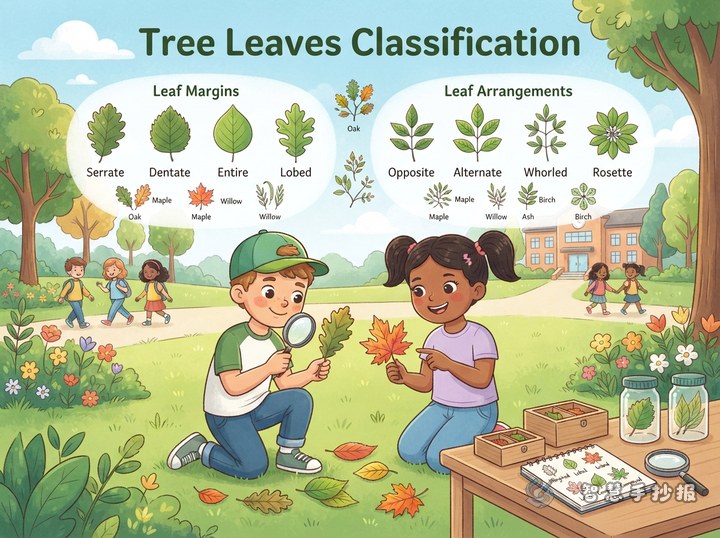
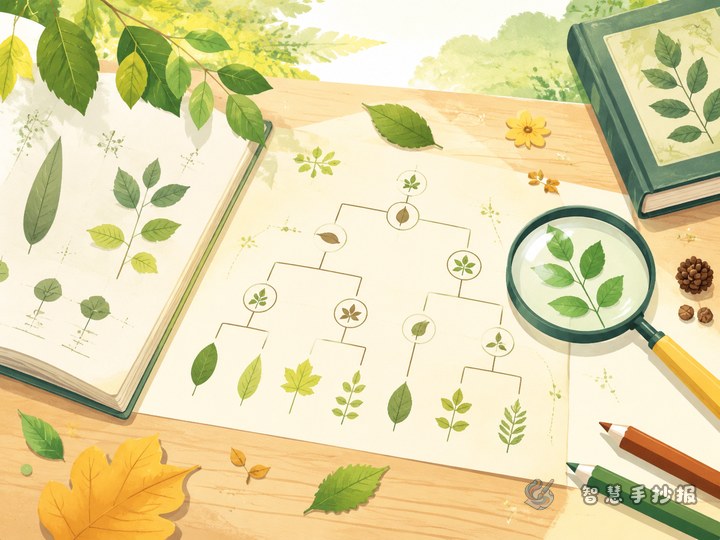
- Classified specimen area: group leaves by shape, margin or vein pattern, with two or three leaves per group.
- Observation findings: one or two sentences explaining why the leaves were grouped this way.
- Leaf Q&A: one question a classmate would ask, with your own answer.
Three Page Arrangements That Work
Two vertical columns
Keep the specimen area and labels on the left, and collecting notes, pressing steps and findings on the right, divided by a straight line or a simple vein pattern. The reading order stays obvious for a first attempt.
Upper and lower zones
Use the top half as a light-toned display band where specimen groups sit in a row, then divide the bottom half into three text boxes for steps, classification notes and the Q&A. The result looks like an observation record.
Centre and spokes
Draw a large leaf outline in the middle as the title area and connect collecting, pressing, classifying and storing boxes around it with arrows or stems. This works well when you have a lot of content and want the title to stand out.
Text You Can Copy Straight Onto the Page
If long paragraphs feel heavy, add short captions beside the specimens: "Even on one tree, leaves can differ in shape." "Leaves with toothed edges feel rougher to the touch." "Pressed leaves need a dry place, or damp air will make them mouldy." Save one corner for a small reminder: "Collect only a few leaves from each plant and never strip a tree."
Final Checks Before You Hand It In
Look over the sheet one last time: are the specimens flat with no lifted edges, is the classification rule consistent, does every column have a heading, and is there breathing space on the page? Once your plan is ready, you can open the WeChat mini program "智慧手抄报" to continue with a leaf specimen and plant classification layout.