Pick the part that actually changes: flowering to ripening
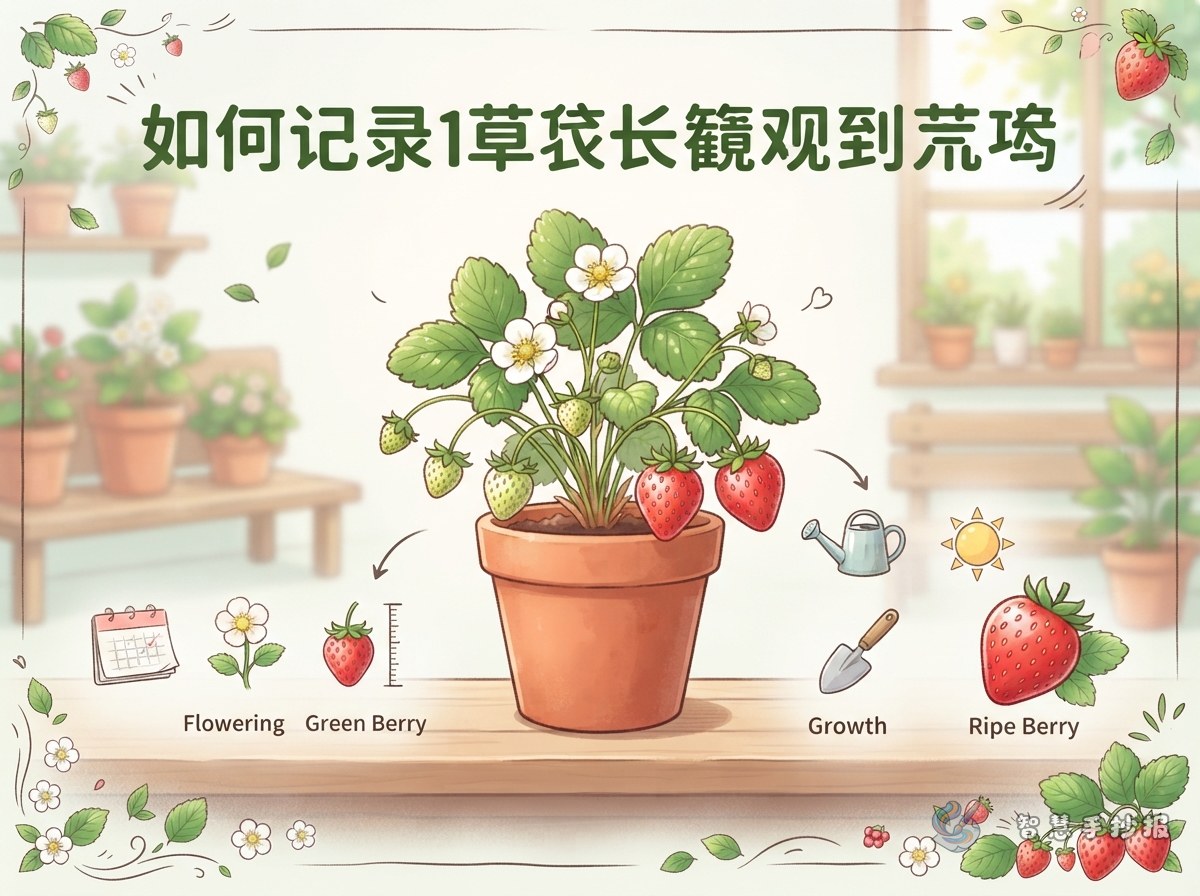
Strawberries grow slowly at first. The stretch where something looks different almost every day runs from the first flower bud to a fully red berry. Instead of giving equal space to every stage, save most of the poster for buds, blossoms, tiny green fruit and ripening.
Before drawing anything, make a quick list on scrap paper: the planting date, the day new leaves appeared, the day the first bud showed up. Once that list exists, half of the layout is decided.
Six stages you can write into your observation diary
For each stage write two sentences, one about what I saw and one about what I wondered. These notes are ready to copy or rewrite in your own words.
- Settling in (days 1 to 5): the leaves looked soft and dull, so I watered it just a little and kept the pot in bright but gentle sunlight.
- New leaves: a small pale green leaf opened in the middle, with tiny jagged edges, while the older leaves stayed darker and firmer.
- Runners: a thin, long stem grew out from the side and ended in a tiny new plant, which is how strawberries make more of themselves.
- Flowering: the bud stood up first, then opened into a white five-petal flower, and the centre turned yellow and then brown. Bees visited several times.
- Fruit set: the petals dropped and a small green fruit swelled in the centre, with tiny dots all over its surface.
- Turning red: the fruit went from green to pale, then flushed pink, and finally became fully red with a sweet smell, which meant it was ready to pick.
A four-section layout: timeline, chart, plant diagram, my findings
Split the page into left and right halves. Put the timeline on the left, the chart and summary on the right, and link the two halves with a vine or a string of berries.
- Timeline section: draw a vertical line with six circles. Write the stage name and date beside each circle, and draw a small icon inside it.
- Data chart: four columns for date, plant height, number of leaves and number of flowers or fruit. Use a ruler and keep your handwriting small.
- Strawberry diagram: draw one large berry and label the leaves, flower, fruit and runner with arrows.
- My findings: write one question and one answer, such as "why does the fruit turn pale before it turns red", then add the explanation you found.
Drawing and colour tips that keep the page tidy
- Shape the berry as a rounded form with a pointed base, and show the seeds as short dashes instead of dozens of circles.
- Draw leaves as three-part clusters with small jagged edges, and use just one dark green and one light green pen.
- Limit the palette to red, green and cream, leave plenty of white space, and write the title large with a thick pen.
- Rule the chart and timeline lines with a ruler, then draw the rest of the decorations by hand so the page still feels lively.
A three-minute check before you hand it in
Check three things: the dates are in order, every data row has a date, and you wrote at least one finding of your own. When all three are done, your observation poster is complete.
If you want to save time on the layout, open the Smart Handwritten Newspaper WeChat mini program, choose a plant observation template with ready-made sections, and fill in the notes you already wrote. Adjust the dates and numbers to match your own plant and the page is finished.