Turn the Sprouting Process into a Timeline
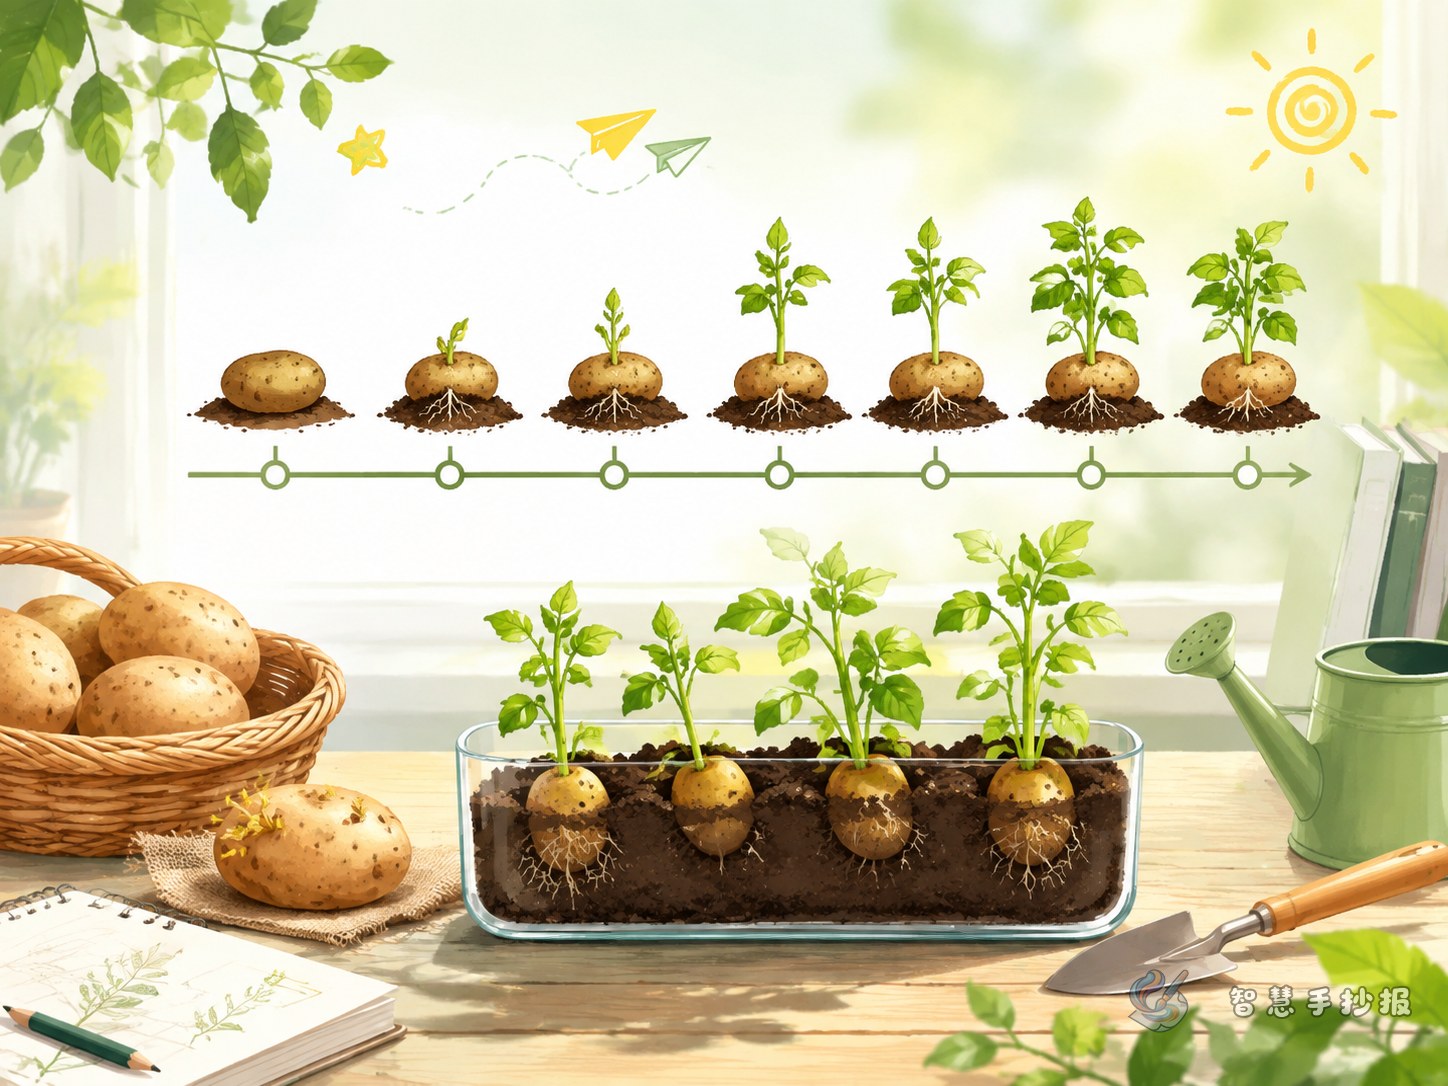
A potato does not sprout all at once. Divide the observation into clear stages such as preparation, swollen eyes, first shoots, longer stems, and new leaves. Instead of writing a long diary entry every day, select dates when a visible change occurs.
- Day 1: Choose a firm potato with visible eyes and record how and where it is planted.
- Days 3 to 5: Check whether the eyes have swollen or changed color.
- Days 6 to 10: Measure shoot length and note the number and direction of the shoots.
- After leaves appear: Compare plant height, leaf count, and growth toward the light.
Collect Four Kinds of Evidence
Each observation entry can include the date, visible features, measurements, and care provided. For example: “The new shoot is 2 centimeters long today. Its color changed from pale white to light purple, and it leaned toward the window, so I turned the pot halfway around.”
- Look: Notice changes in the eyes, shoots, roots, stems, and leaves.
- Measure: Use a ruler to record shoot length or plant height.
- Compare: Identify the biggest difference from the previous entry.
- Think: Consider how light, water, and temperature may affect growth.
Short Writing Samples for the Poster
Introduction
I planted a potato with several visible eyes because I wanted to discover how it changes from a quiet tuber into a leafy plant. I placed it in a bright location and recorded its color, shape, and shoot length on selected dates.
Growth Notes
After several days, the small eyes became swollen and short shoots appeared. The shoots grew longer each day, and the side facing the window developed more quickly. Once leaves opened, the plant looked very different from the potato at the beginning.
What I Learned
This project showed me that repeated observation reveals details that a single look cannot. Measurements, sketches, and short notes also make it easier to compare growth rates at different stages.
Design a Page That Follows Time
Use a horizontal line, a zigzag path, or a vine-shaped timeline with four to six date markers. At each marker, place a small potato-shoot sketch, one key measurement, and two or three short sentences. Keep the title at the top, add planting conditions in one corner, and place conclusions in another.
Green can represent stems and leaves, while yellow or light brown can identify the potato. Small red circles can highlight important dates. Decorations such as rulers, water drops, leaves, and garden tools should stay outside the main records so that the evidence remains easy to read.
Final Accuracy Check
- Make sure all dates appear in chronological order.
- Describe a visible change at every stage.
- Use consistent measurement units.
- Place each sketch beside its matching date and note.
- End with a personal finding instead of repeating the timeline.
Once the dates, measurements, and writing are ready, open the Smart Handwritten Poster WeChat Mini Program to choose a suitable layout and continue building the poster with a clear timeline and balanced illustrations.