Begin with a Leaf-Shape Observation Station
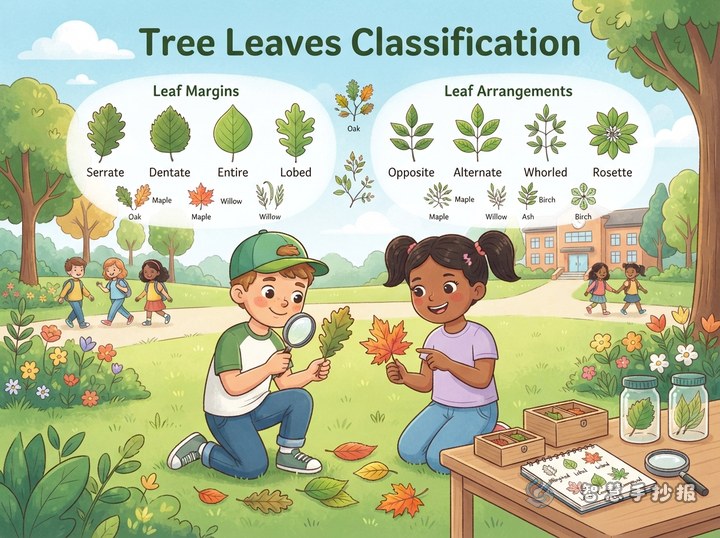
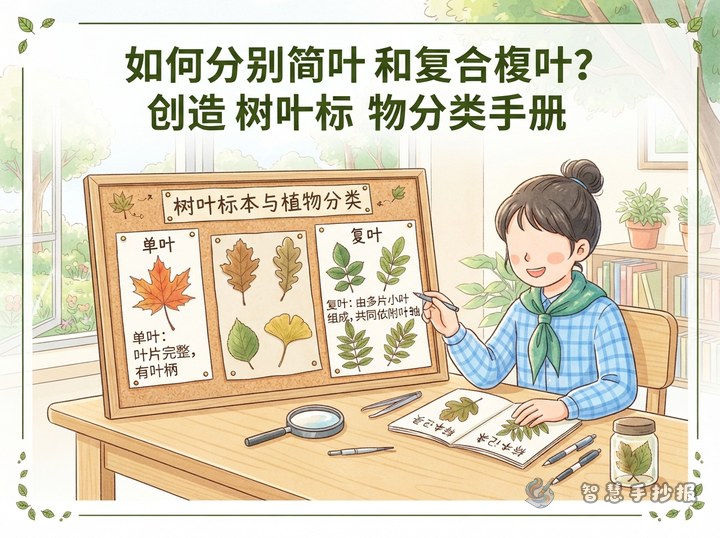
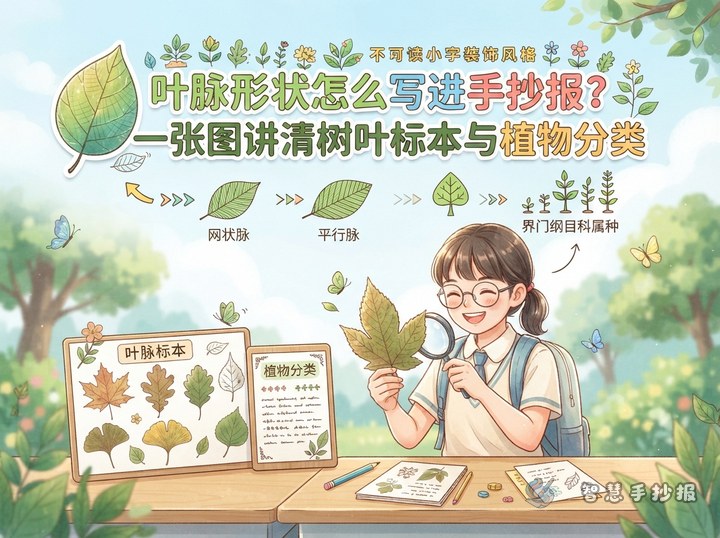
This poster can focus on the idea that leaves have different outlines and that these outlines offer useful clues for observing plants. Instead of making a general encyclopedia page, choose several leaves with clearly different shapes and turn them into a small plant-classification observation record.
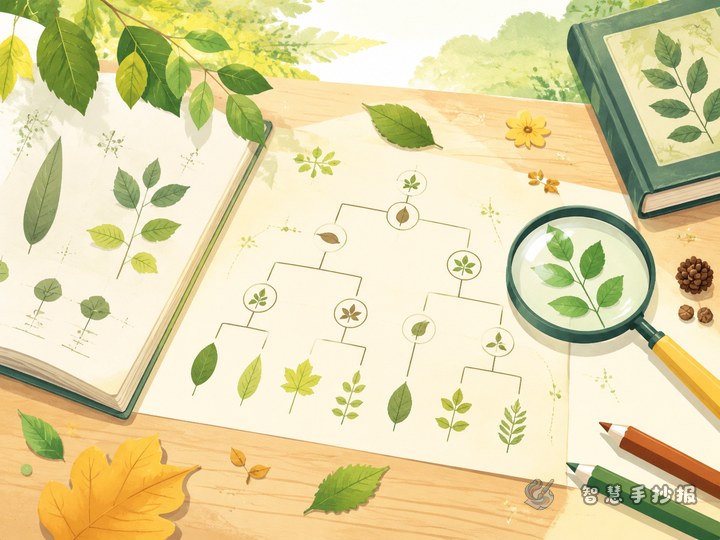
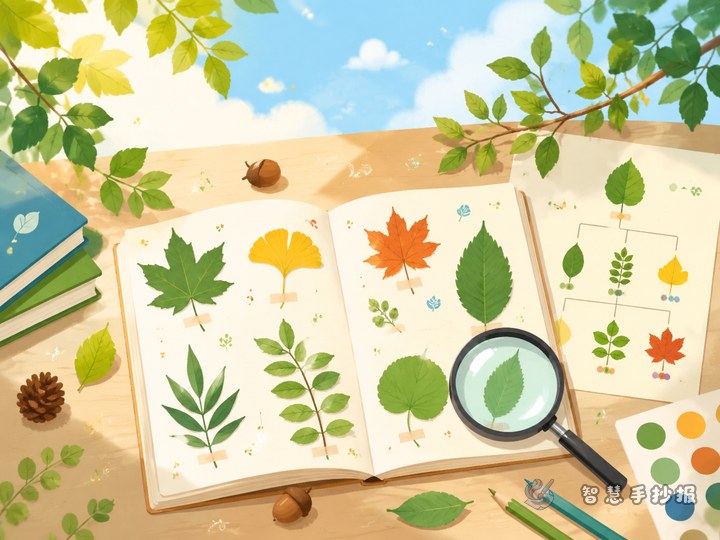
Draw a simple “leaf-shape tree” in the center. Divide its crown into needle-shaped, oval, heart-shaped, fan-shaped, and palmate sections. Add a drawn leaf or a pressed specimen to each section, followed by its observation name.
Choosing Leaves for the Classification Chart
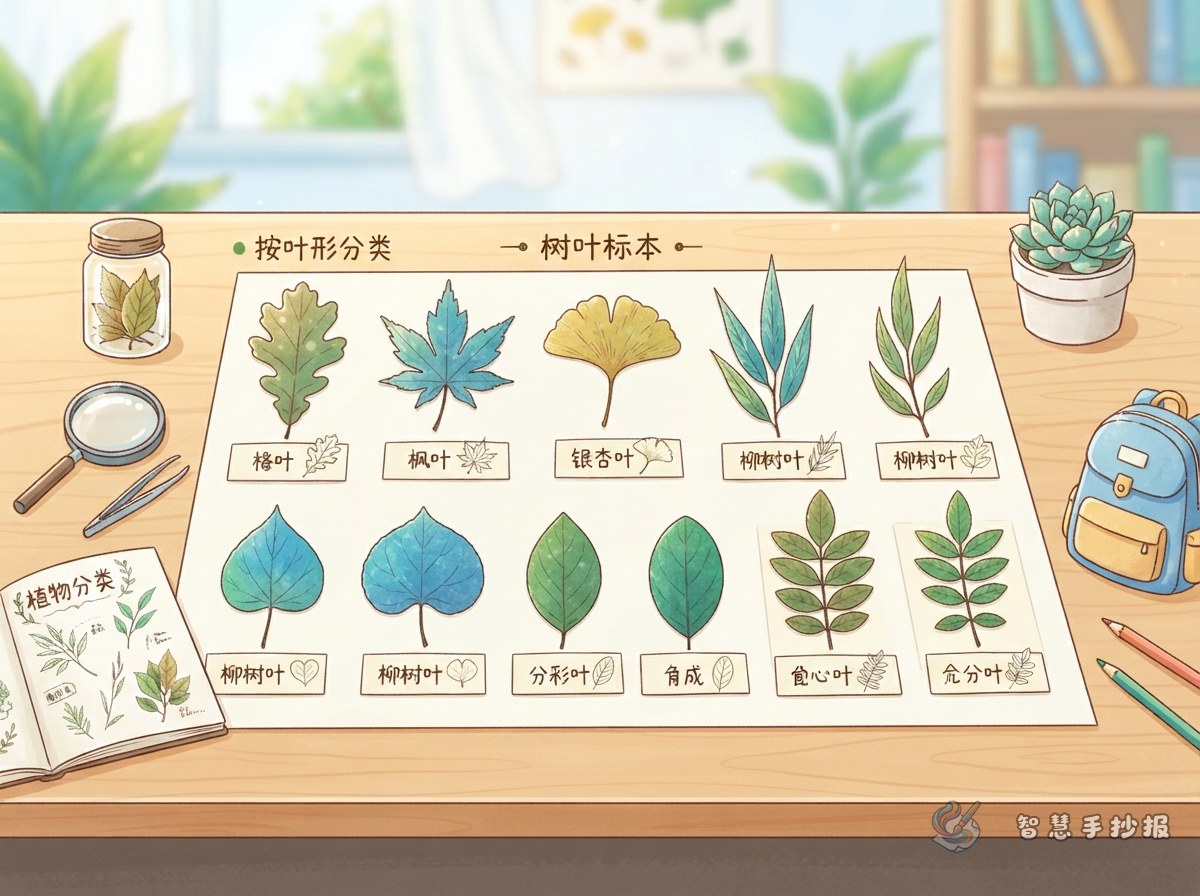
Choose leaves with clear outlines, moderate sizes, and easy-to-recognize features. Pine needles work well for the needle-shaped section. Leaves from plants such as banyan or sweet olive can show an oval outline. Cercis or morning glory leaves may help represent a heart shape. Ginkgo leaves are excellent for the fan-shaped section, while maple-like or palm leaves can show palmate forms or deep lobes.
If real specimens are not available, observe fallen leaves from a schoolyard or home and draw their outlines with colored pencils. Present the grouping as an observation-based classification, because the size, color, and growth stage of leaves from the same plant can also vary.
Turn Each Leaf into a Small Information Card
One Leaf, One Record
Place a short record beside each leaf with four items: observation name, shape feature, color change, and common location. For example: “Ginkgo leaf: fan-shaped, with a relatively long stalk, often turning yellow in autumn, commonly seen along roads or in parks.” Keep the text brief so readers can understand the classification at a glance.
My Leaf-Shape Discoveries
Add a note section at the bottom: “A leaf shaped like a small fan belongs to the fan-shaped group. A leaf that bulges on both sides and narrows toward the ends is often close to an oval shape. Some leaves may look similar but still differ in size and edge details.” This makes the poster feel like a real observation activity.
Try a Center-to-Edge Layout
Place the title at the top and use a large leaf outline as part of the lettering or decoration. In the middle, draw a “leaf-shape classification tree.” Write “Observe the leaf outline” on the trunk, then extend five branches to different shape sections. Give each section a light-colored box containing a leaf drawing, its name, and one feature.
- Top left: explain what leaf shape means in one or two sentences.
- Top right: compare needle-shaped, oval, and heart-shaped leaves.
- Bottom left: show observation cards for fan-shaped and palmate or lobed leaves.
- Bottom right: add a “How I Classified Them” summary with the observation order.
Use thin vines, petioles, and small dots as borders, but do not cover the specimens or descriptions. Leave enough blank space so the title, leaf drawings, and classification boxes have a clear visual hierarchy.
Practical Tips for Making the Specimen Poster
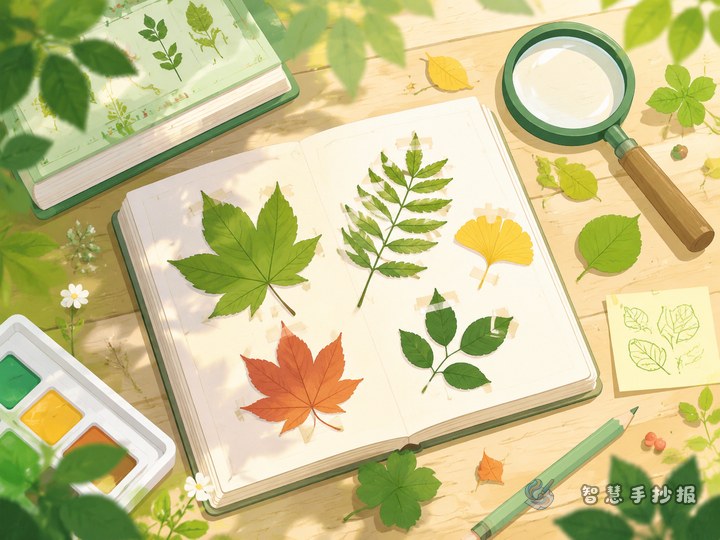
- Press and air-dry real leaves before attaching them with tape or a small amount of glue. Avoid damp leaves that may become moldy.
- Reserve writing space beside each specimen. Sketch the layout in pencil first, then finish it with black outlines and watercolor pencils or crayons.
- Draw colors based on what you observe, or use green, yellow, and brown to show seasonal changes. The drawing does not have to be perfectly identical to the leaf.
- Check that every section includes a picture, a name, and one feature so the poster remains focused on leaf shapes and plant classification.
For a quicker layout, choose a fresh nature-themed design in the Zhihui Handwritten Newspaper WeChat mini program, place your own observation notes into the sections, and finish with hand-drawn specimens and decorations.