Why Ancient Coins Work Well for a Museum Handout
Museums hold many kinds of artifacts, but ancient coins have a few advantages for a handout: their shape is easy to recognize, with the round coin and square hole; their timeline is clear, moving from shell money to metal coins and then to paper notes; and they are small and simple to draw without complicated perspective. For a first museum history project, ancient coins are an easy angle that is also less likely to look like everyone else's work.
A Simple Timeline: From Shell Money to Paper Notes
If you are not sure what to write, make “how money changed over time” your main line. Each stage needs only one or two sentences, and the whole handout will have a clear structure.
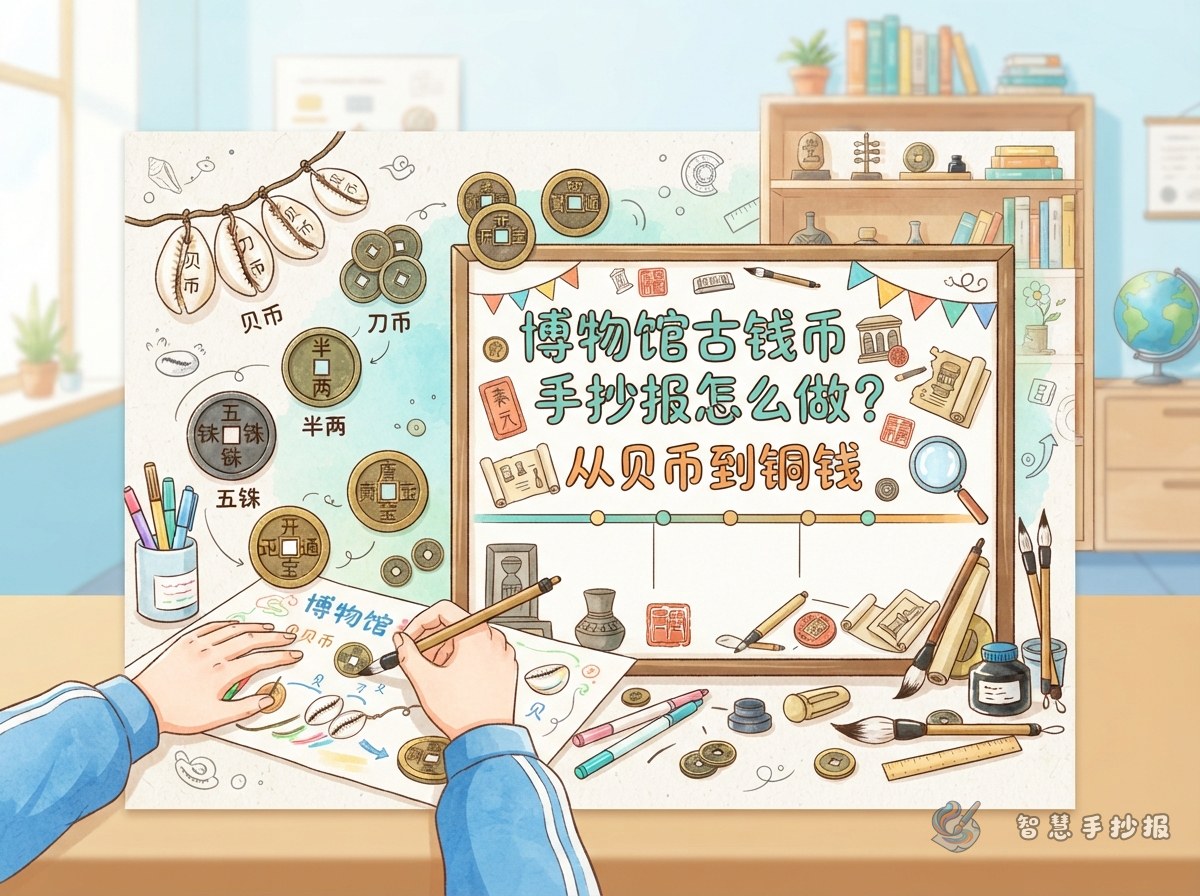
- Shell money: early people used sea shells and similar items for exchange. Draw a row of small shells.
- Knife and spade coins: shaped like small knives and farm tools. Simple silhouettes along the timeline work well.
- Qin banliang: the round coin with a square hole became more fixed. Label it “round outside, square inside”.
- Han wuzhu and Tang Kaiyuan Tongbao: coin inscriptions relate to weight or reign titles. Add one short note beside each.
- Northern Song jiaozi: paper money appeared. Draw a small paper note at the end of the timeline and label it “early paper money”.
Short Lines You Can Copy or Rewrite
Avoid copying long encyclopedia sentences. Short lines are easier to read and feel more like your own work. You can use or adapt these:
- “A tiny coin carries the everyday buying and selling of people long ago.”
- “Round outside and square inside: easy to string together, and a picture of how people imagined the world.”
- “The words on a coin are another kind of signature left by people of the past.”
- “From shells to paper notes, the way people traded changed, and so did daily life.”
- “Looking at coins in a museum is like flipping through a tiny history of everyday trade.”
Turn a Round Coin with a Square Hole into a Layout Frame
The coin shape itself can be a design element, so you do not need complicated borders.
- Draw a large round coin with a square hole near the top of the page. Put the main title in the round area and a key word inside the square hole.
- Divide the page into three or four areas, each outlined with a thin line that echoes the coin shape.
- Use bronze green, earth yellow, off-white and light brown. Too many bright colors can make the historical feel weaker.
- Name the columns “Coin File”, “Words on Coins”, “My Artifact Card” or “Visit Notes”.
- Add a few small shells or coins in the corners, but leave some empty space. Blank areas often look better than a fully packed page.
Order of Work and Finishing Touches
A good order is: make a rough draft, decide the columns, draw light pencil frames, write the text, then outline and color. Plan on scrap paper first to see how many lines each column needs. Write the text before drawing decorations, or the words may end up squeezed into a corner.
If you want straighter lines and neater columns, you can open the Smart Handout WeChat mini program, choose a history or museum template, pick a coin-themed layout, and fill in your short lines. Then copy it neatly onto paper — it saves a lot of time on layout.