Why a hydroponic onion works so well for a poster
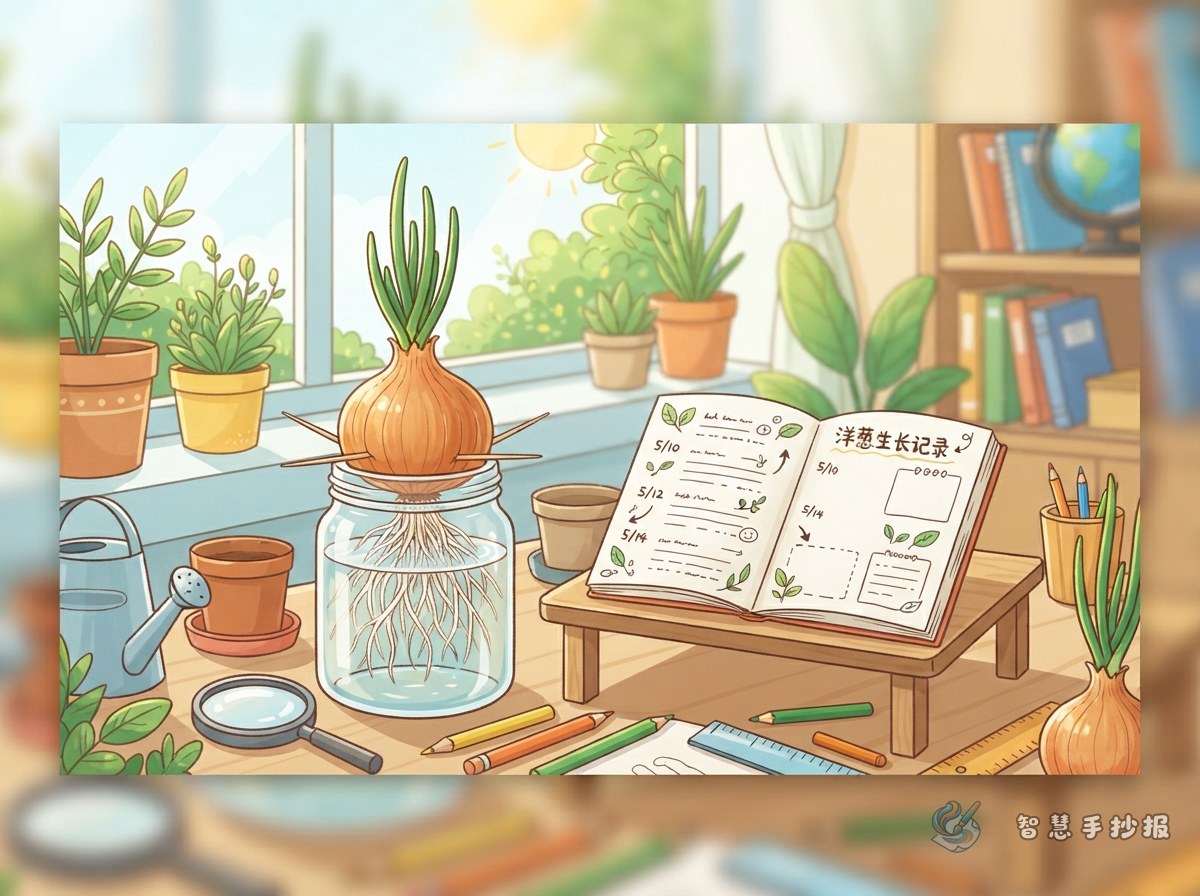
An onion needs no soil. Wedged into the neck of a glass bottle, it thrives on a windowsill or a desk without taking up space. Better still, the changes are easy to see: small white points appear at the base, fine roots push out, and the top swells before a green shoot emerges. For a poster, the big advantage is that roots and shoots can be recorded separately, giving you something at the top and bottom of the page and a mix of white and green to draw.
Building the record chart: give roots and shoots their own columns
Many students draw only two columns, date and height, and run out of things to say by day three. Try four columns instead:
- Date and weather: which day, sunny or cloudy, and where the onion sits
- Root changes: how many roots, the length of the longest one, whether they look creamy or yellowish
- Shoot changes: height, number of leaves, whether leaves are curled or open
- Today's small problem: cloudy water, a narrow bottle neck, browning root tips
Leave one row at the bottom for a guess, such as "the roots keep multiplying, is there food in the water?" The chart then holds thinking, not just numbers.
Drawing the grid
Four to six rows ruled with a straight edge will cover a week to ten days. Keep the boxes modest in size but wide enough to write in, and shade the header row in pale green or blue with dark lettering so it reads clearly from a distance.
Text blocks that give the poster something to read
Beyond the chart, a few short text sections make the poster worth reading. Useful material includes:
- Introducing the subject: the onion's shape, skin color, and how it feels in your hand
- Setup steps: peel the dry skin, rest the base so it just touches the water, change the water every few days
- Change notes: one white point on day one, roots like a small beard by day three, a hint of green on top by day five
- Questions: why do roots always grow downward, would it grow faster in the dark
- A small fact: onion roots are fibrous, many fine roots working together to take up water
One useful habit: keep "what I saw" apart from "what I think." The first is a record, the second is an idea, and separating them makes the whole poster look more careful.
Layout: one big bottle plus a timeline
A layout that rarely goes wrong: draw a large glass bottle left of center with the onion at the neck and roots spreading downward through the water. This is the main picture. Down the right side, run a vertical timeline with dots for day 1, day 3, and day 5, each with a line or two of notes. Across the top, put the title plus the observer's name and dates. Along the bottom, leave a rectangle for "what I noticed."
Color and labels
Keep the palette fresh with pale green, light blue, and cream. Give the onion skin a soft purple or yellow tint and outline the roots in light gray with white highlights. Add thin leader lines from the roots and shoot to short notes like "day 5, root about 2 cm," and the drawing begins to read like a real record.
Three easy-to-miss details
- Measure the page before writing. Lightly pencil in boxes for the title, chart, main picture, and text so nothing crowds
- Record as you observe. Saving everything for the last day leads to jumbled dates, the most common weak point in observation posters
- Leave margins around the chart and text blocks. Everything pressed together hides the important parts
If you want a tidier chart, open the 智慧手抄报 WeChat mini program, choose a plant observation layout, drop in the date, root, and shoot columns, then add your own handwritten notes. A poster with both a picture and real data is ready to hand in.