Why Burns and Scalds Work Well as a Poster Topic
Hot water, soup, kettles and science equipment all appear in school life. Burn first aid has clear, concrete actions, so it suits a poster perfectly: children can draw the cooling and covering steps and use a short chant to remember the order. Compared with vague slogans, this topic becomes a page that classmates can actually read and follow.
Before starting, decide who the poster is for. For classmates, focus on the steps and common mistakes. For a school noticeboard, make the headline larger and the illustrations clearer so passers-by can catch the key points within seconds.
Five First Aid Steps to Put on the Poster
The steps can be linked with five short keywords, each followed by one sentence.
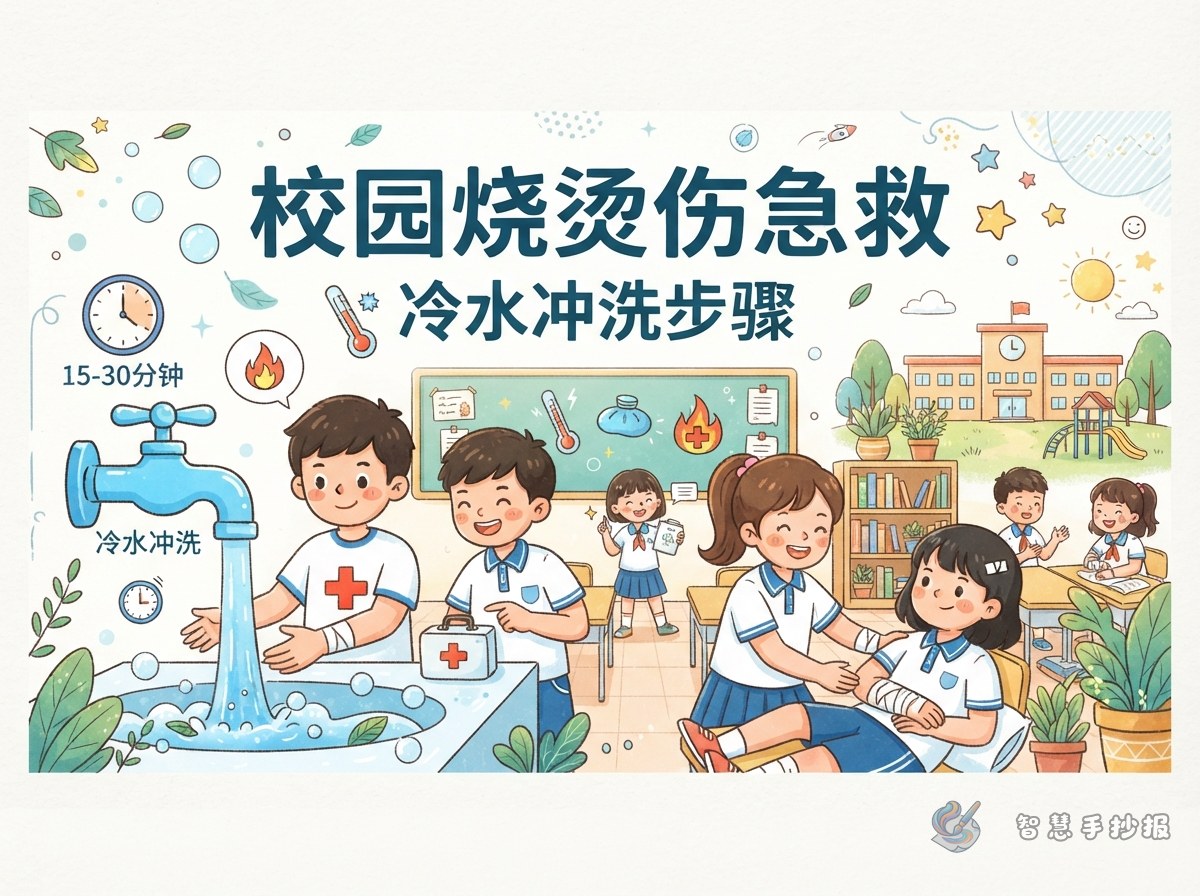
- Cool: rinse the injured area with running cool water for a period of time, keeping the flow gentle.
- Remove: carefully take away or cut around clothing; never pull clothing that sticks to the skin.
- Soak: for small, suitable areas, continued cool-water soaking helps, but do not apply ice directly.
- Cover: place clean gauze or a clean cloth gently over the wound and do not break blisters.
- Report: tell a teacher promptly so they can decide whether the school clinic or a hospital is needed.
These five steps can be drawn as a flow line or five boxes joined by arrows. Writing “tell the teacher quickly” fits the school setting better than “call an ambulance” and matches what primary students can realistically do.
Add a “Do Not Do This” Column
A poster that only lists correct steps can feel flat. Adding a small column of crossed-out wrong actions creates contrast and makes the content easier to remember.
- Do not apply toothpaste, soy sauce, cooking oil or ash to a burn.
- Do not press ice directly on the skin or blow on the wound for a long time.
- Do not tear off clothing stuck to the burn.
- Do not pop blisters by yourself.
- Do not hide the injury for fear of being scolded; reporting it is the safe choice.
Layout: Make the Steps Easy to Read
A reliable structure is headline at the top, the five-step flow in the middle, reminder columns on both sides and a slogan at the bottom. Put a large horizontal headline at the top and decorate it with a small tap or plaster shape. Arrange the five steps in a row or ring, each in a rounded box containing one keyword and one sentence.
Keep two narrow columns on the left and right for “unsafe practices” and “asking for help”. End with a bold slogan such as “Cool first, report right away”. Use fresh blue-green as the main color with a little orange as a warning accent, so the page feels connected to water while the key points stand out.
Headline and Lettering Tips
A question or chant works well, for example “Burned? What comes first?” or “Cool, remove, soak, cover, report”. Use bold lettering for the main title, a consistent colored box behind each column heading, and neat handwriting for the body text. Vary the letter sizes so the page has levels instead of one flat block of words.
A Simple Order of Work
- Draft the five steps and three warnings on scrap paper, cutting the wording as short as possible.
- Use a pencil to divide the real sheet into headline, flow, side columns and slogan areas.
- Draw the headline and step boxes first, then write the text, and finally add small illustrations and borders.
- Check spelling and the order of steps, and make sure no wrong practice has slipped into the correct list.
To save time, open the Smart Handwritten Poster mini program, choose a first aid template, adjust the text and colors, and then copy it by hand. That leaves more time for refining the content and practicing neat writing.