Turn the Poster into a Geography Card Board
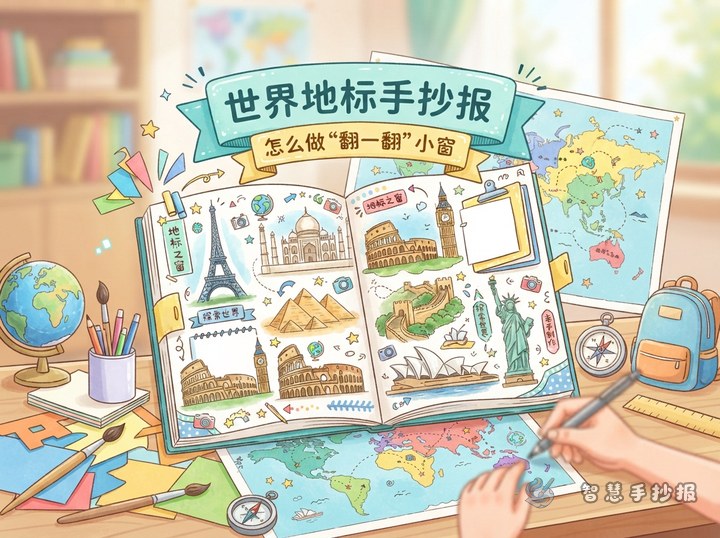
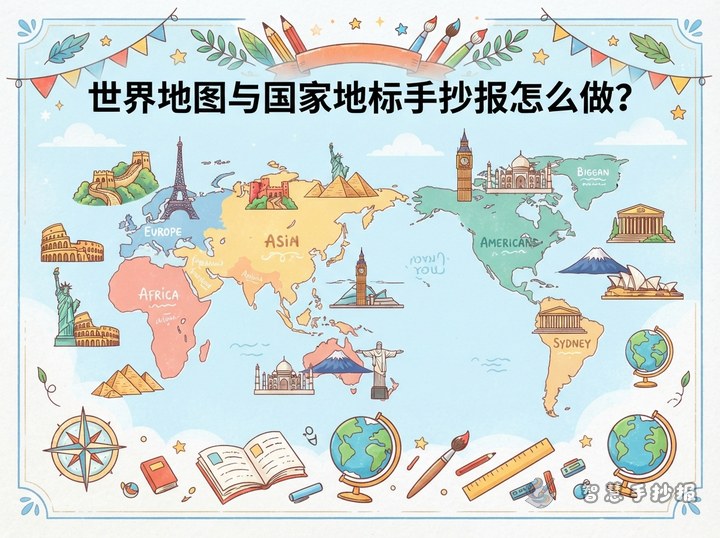
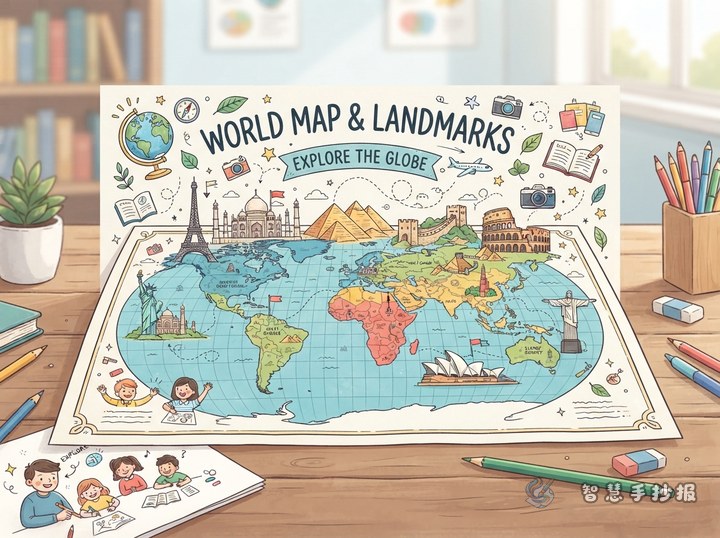
The goal is not to fill the page with as many landmarks as possible. It is to help readers understand which landmark belongs to which country and continent. Try a layout with a central world map and small country information cards around it. The map becomes the main guide, while each landmark introduces a place.
- Main map: Draw a simplified world outline and show the approximate positions of the seven continents.
- Country cards: Choose familiar countries and pair each one with a recognizable landmark and one short description.
- Antarctica corner: Antarctica has no country, so use ice, penguins, and polar research as a nature section instead of a national landmark.
Use the Seven Continents as a Reading Path
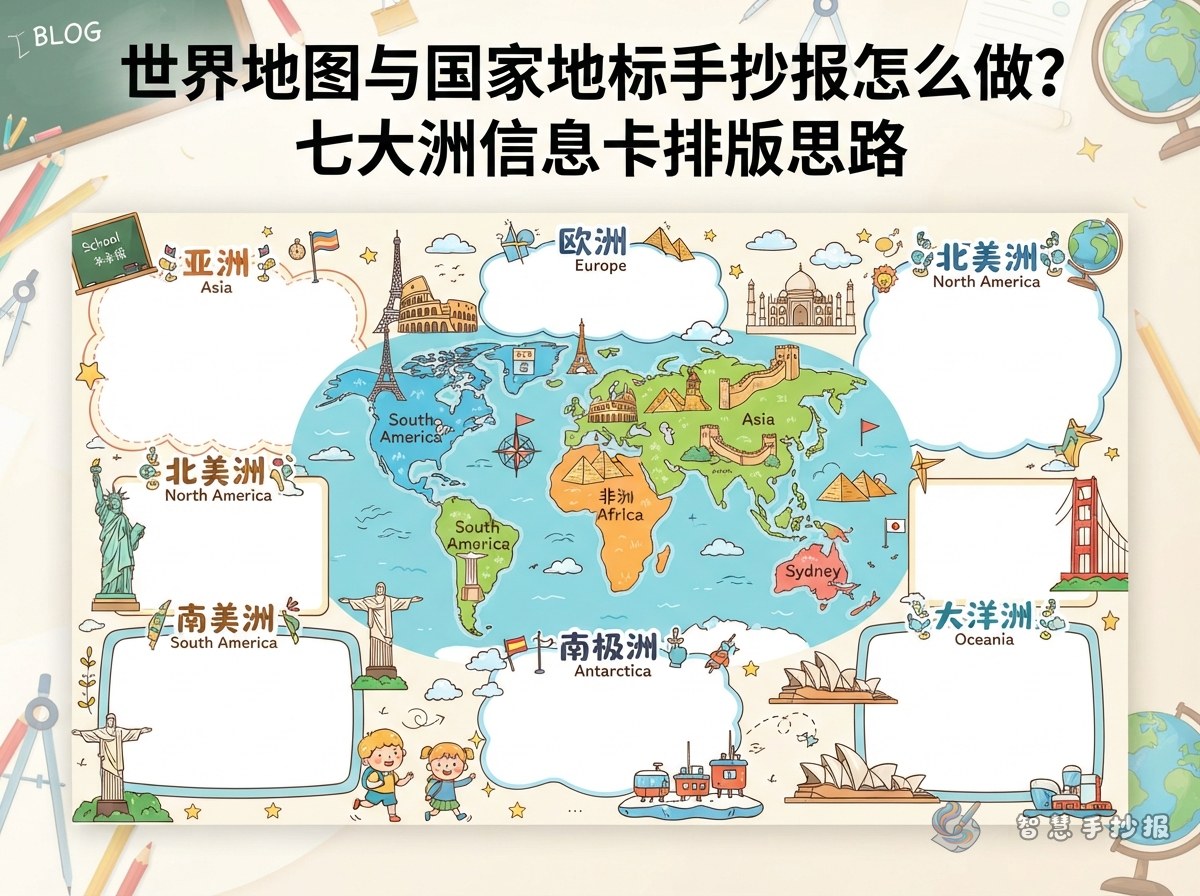
Landscape paper works well for this topic. Place the world map in the middle or slightly to the left, then arrange sections in a clear order: Asia, Europe, Africa, North America, South America, Oceania, and Antarctica. This gives the reader a natural path across the page and prevents the poster from looking like a random collection of pictures.
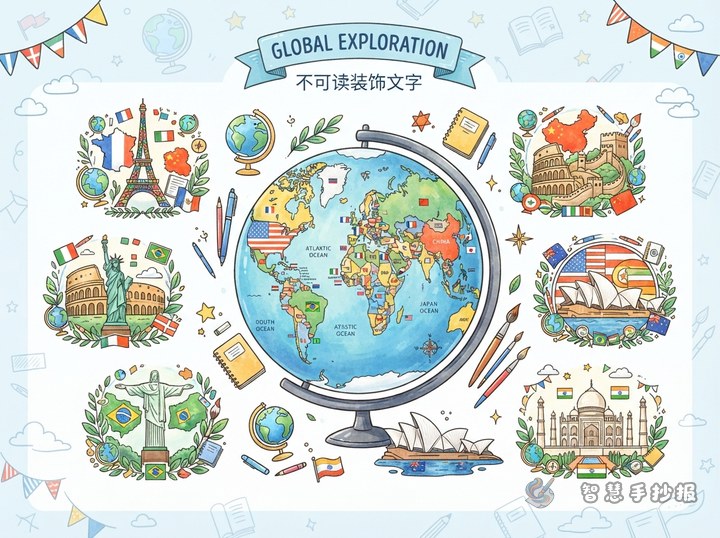
- For Asia, choose countries such as China or India, with landmarks like the Great Wall or the Taj Mahal.
- For Europe, consider France or Italy, with the Eiffel Tower or the Colosseum.
- For Africa, Egypt and the pyramids provide an easy-to-recognize example.
- For North and South America, select one or two countries and use landmarks such as the Statue of Liberty or Machu Picchu.
- For Oceania, Australia can be paired with the Sydney Opera House or Uluru.
- For Antarctica, create a polar nature section with penguins, icebergs, and cool colors.
Write Only Three Lines on Each Landmark Card
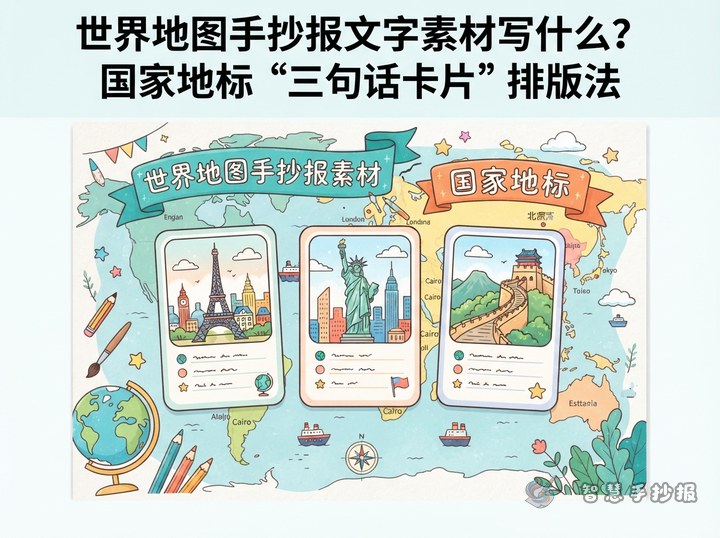
Children do not need to copy long country descriptions. Keep each card to about three lines so that it remains easy to read and leaves room for drawing.
- Line one: Write the country and continent, such as “France | Europe.”
- Line two: Name the landmark and draw its most recognizable outline.
- Line three: Add one short fact about its city, shape, history, or cultural meaning.
- Small decorations: Add a tiny flag, location dot, latitude line, or regional plant pattern.
Short sentences work best, such as “Its tall tower is a city symbol” or “This ancient structure carries memories of history.” Use only basic facts that you can confirm, rather than inventing dates or numbers just to fill the space.
Connect the Map and Cards with Color
Let color show categories instead of using bright colors everywhere. Give each continent a light color family, such as warm yellow for Asia, pale blue for Europe, and orange for Africa. Use the same color on the matching country-card borders so that readers can quickly connect each card with its area on the map.
- Place the title at the top and decorate it with a globe, compass, or simple longitude and latitude lines.
- Let the world map take up the main area, using dots or stars to mark selected countries.
- Place the information cards around the map and keep their sizes fairly similar.
- Use thin curved lines to connect map locations with cards, but avoid too many crossings.
- Add a small “What I Noticed” section at the bottom with two or three geography observations.
Follow a Simple Drawing Order
- Decide the paper direction, title position, and approximate map size.
- Sketch the map lightly in pencil and reserve space for cards and connecting lines.
- Mark the countries and make sure labels will not overlap other sections.
- Write the country names, landmark names, and short captions before adding landmark drawings.
- Color by continent, outline with a dark pen, and check that every word is easy to read.
After the sketch is ready, you can scan to enter the 智慧手抄报 WeChat Mini Program and continue arranging the title, sections, and page layout so the map, landmarks, and text work together as one clear poster.