Why a Slow-Growing Cutting Makes a Great Poster
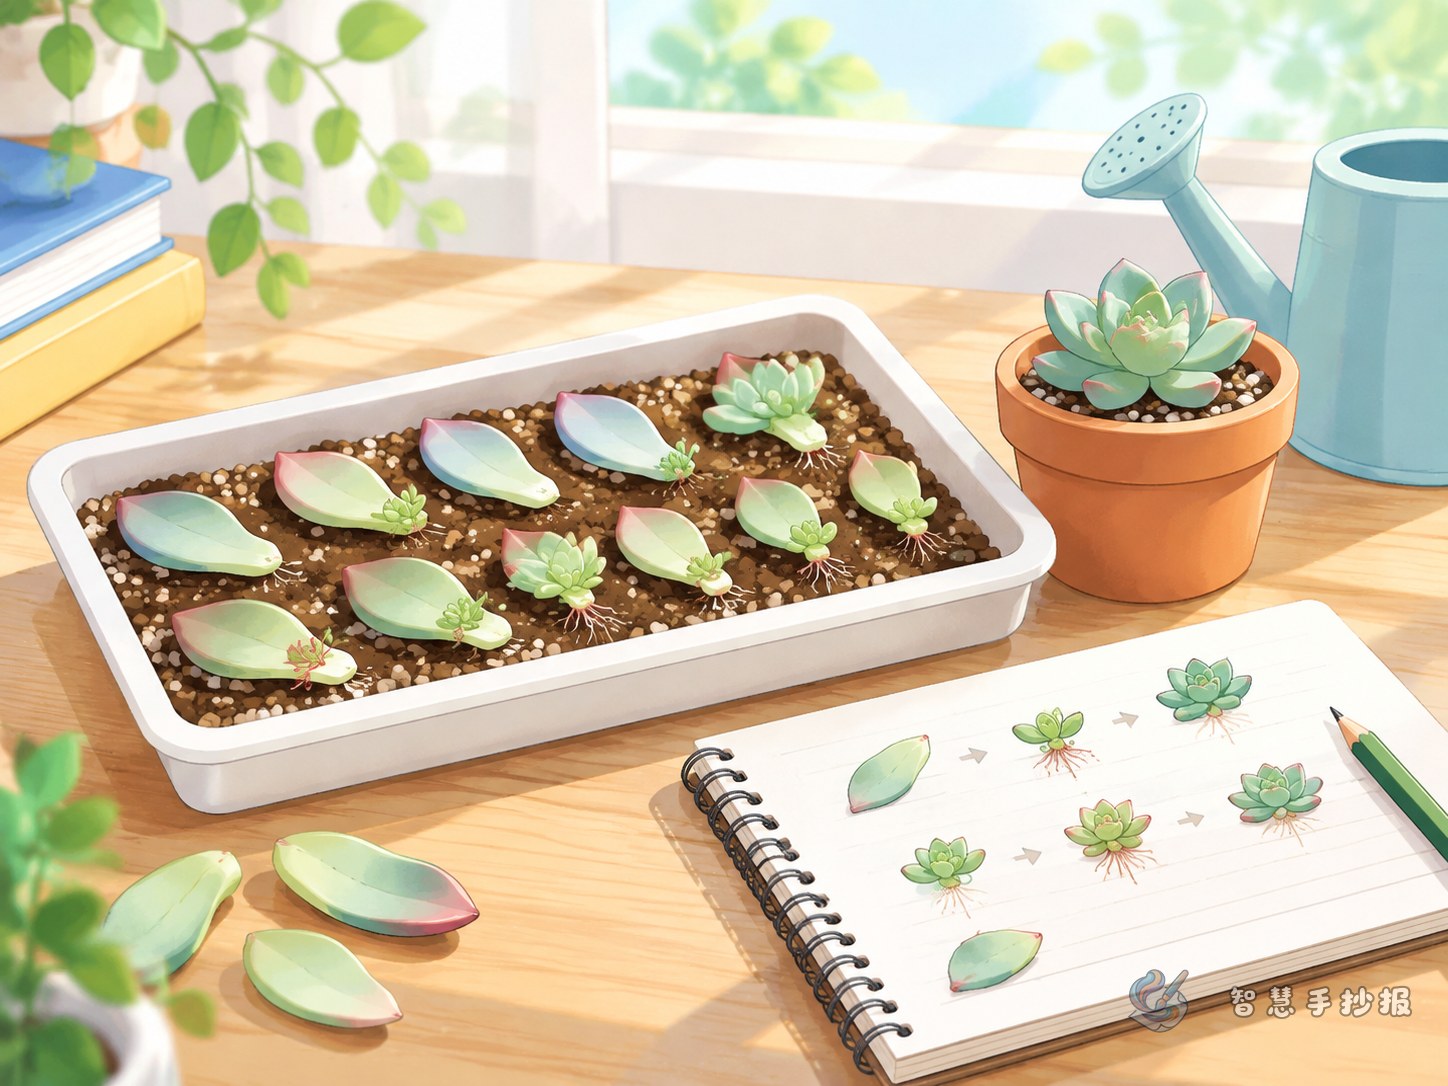
Bean sprouts and garlic shoots change overnight, but a succulent leaf cutting asks for patience. That is exactly what makes it a good subject for a poster: the story is not about speed, it is about waiting and noticing. Most days nothing seems to happen, and then one morning a few white dots appear at the base of the leaf. That moment deserves a place on the page.
The goal is not a perfect drawing of a succulent. The goal is to show how one leaf slowly becomes a small plant, so the layout needs room for time and the writing needs small, specific details.
Build the Page Around a Timeline
Because the process moves in order, a timeline keeps the whole poster organized. Try three zones:
- A narrow column on the left: a line running from top to bottom, marked with four stages: days 1 to 3, week 1, weeks 2 to 4, and after the mother leaf dries.
- The main area in the middle: one large drawing showing four leaves at different stages, from full and firm to a leaf with a tiny shoot.
- Small boxes on the right: three short sections such as "What I Noticed," "My Questions" and "Leaf Cutting Tips."
Place the title slightly left of center at the top, and leave some white space so the page does not feel crowded.
What to Write at Each Stage
Days 1 to 3: the quiet stage
Almost nothing changes, so describe the leaf itself: its color, thickness and where it sits. A sample line: "The leaf feels firm, with a slightly wrinkled edge, and it is resting on a cool windowsill."
Week 1: the cut end heals
Look closely at the broken end. Has it dried and formed a thin skin? A sample line: "The end is no longer wet, and the color has turned paler."
Weeks 2 to 4: roots and shoots
This is the part worth drawing. Note where the roots come out, whether they are white or pale pink, and whether the shoot looks like a dot or a small triangle.
After the mother leaf dries
Describe the leaf turning soft, wrinkled and finally papery, and how the young plant starts to stand on its own. Add one short personal thought here.
Sentences You Can Copy onto the Poster
- Title ideas: "A Leaf's New Journey," "Waiting for a Tiny Shoot," "My Succulent Cutting Diary."
- Sample line: "On the third quiet day, I almost thought it was asleep."
- Sample line: "Thin white roots peeked out from under the base of the leaf."
- Sample line: "The mother leaf grew thinner while the little shoot grew stronger."
- Tip line: "Lay the leaf flat on the soil instead of burying it."
Small Choices That Make the Poster Feel Real
- Write a date every time, even if the note is only one sentence.
- Use two shades of green to separate the mother leaf from the new shoot.
- Keep a small box for cuttings that did not work; that is part of observing.
- Sketch a tiny corner view of the windowsill, pot and tools.
- Leave white space instead of filling every gap with text.
If you would rather spend your time on the notes than on the layout, open the Smart Handwritten Poster WeChat mini program, choose a plant observation template and drop your records into the boxes.