Make the Route the Main Character
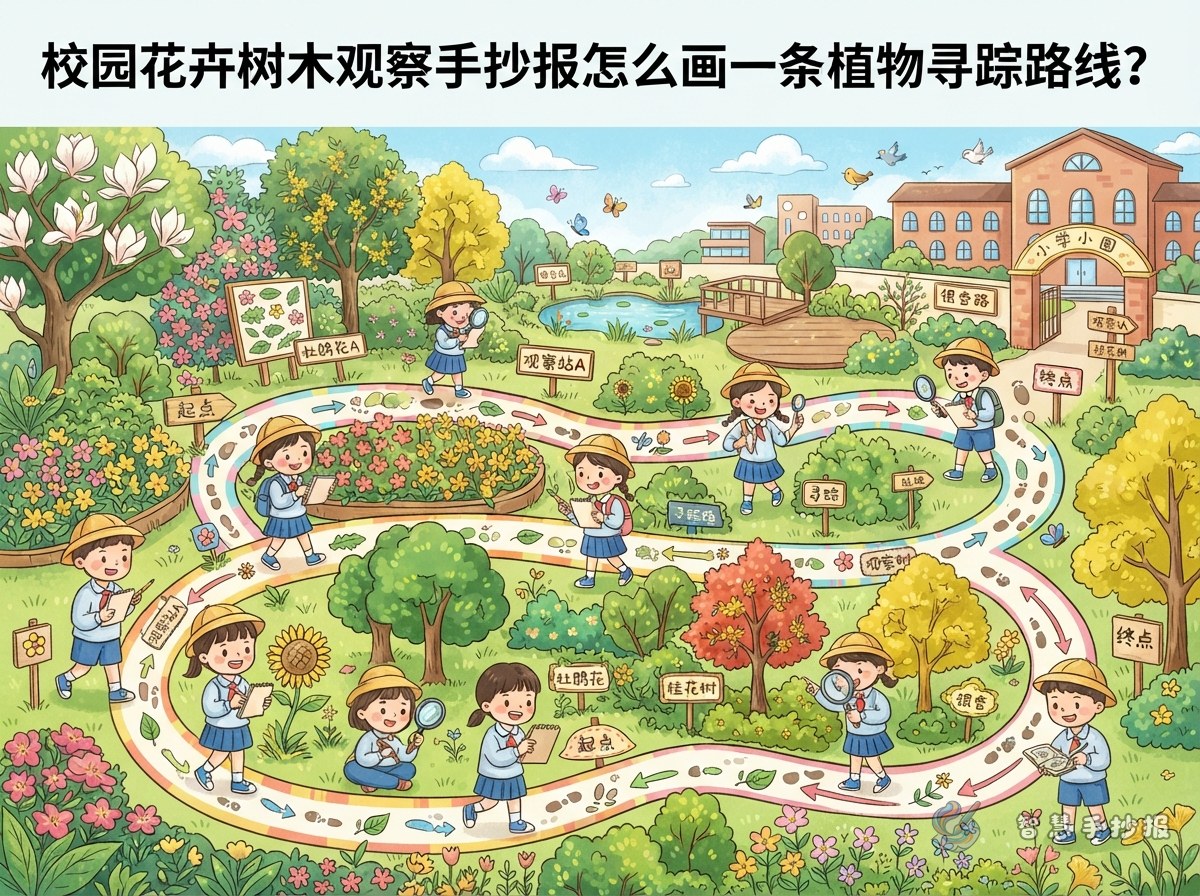
Instead of listing flowers and trees separately, turn the poster into a small observation journey with a clear starting point and several stops. The route can begin at the school gate or classroom building, pass a shady path, a flower bed, and one corner of the playground, and end at a quiet campus space. Readers can follow the arrows and discover a different observation note at every stop.
Possible theme sentence: “Follow the school path and notice how flowers add color while trees welcome each day with leaves, bark, and shade.”
Choose Four Stops with Different Views
There is no need to include every plant on campus. Choose three or four places that are easy to recognize and offer different things to observe. This keeps the poster focused and prevents repeated notes.
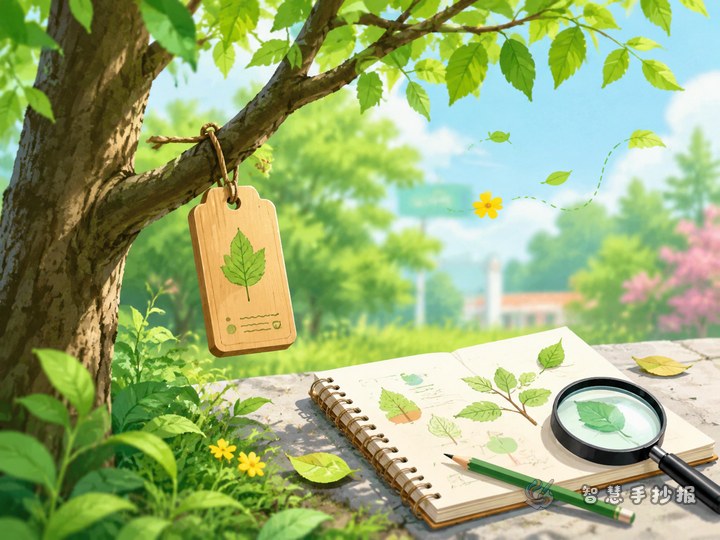
- Shady-tree stop: Note the size of the crown, the shape of the leaves, the color of the bark, and the patterns of light on the ground.
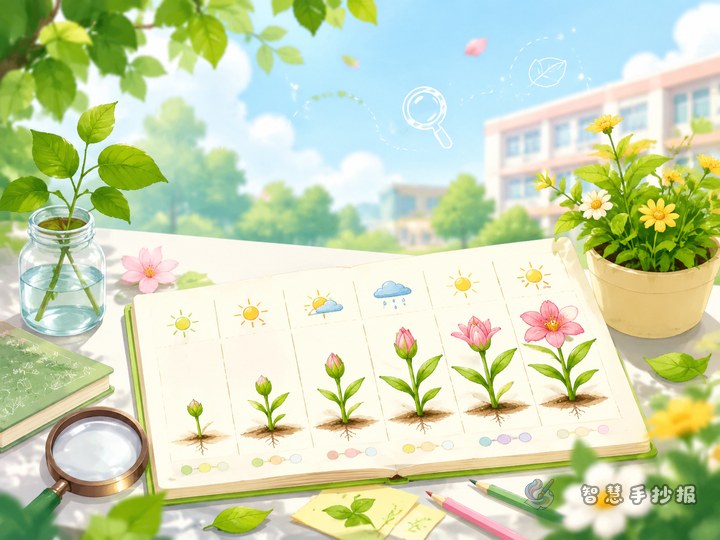
- Flower-bed stop: Observe petal color, petal arrangement, stem height, and the leaves around the flowers.
- Playground-edge stop: Write about how plants relate to an open space and how they bring shade, color, or a sense of life.
- Quiet-corner stop: Choose a plant that is easy to overlook and record one special detail plus a question you would like to explore.
If the exact plant name is unknown, write a location-based description such as “the tall tree beside the classroom building” or “the small purple flower near the bed.” Do not guess just to make the poster look complete. A true location and careful observation are valuable content too.
Turn Each Stop into an Observation Card
Begin with visible facts
Place a small card beside each stop and follow the order of place, appearance, feeling, and question. For example: “Place: north flower bed beside the playground. Appearance: bright petals and narrow leaves. Feeling: from a distance, the flowers look like a group of tiny colored stars. Question: do they open more easily in strong sunlight?” Short, specific writing leaves room for drawings.
Add one gentle care reminder
At the bottom of each card, add a line such as “Look, but do not pick; walk closer gently; do not step into the flower bed.” One or two sentences are enough to show respect for campus plants.
- Observation date: ____________
- Observation place: ____________
- Color or shape I noticed: ____________
- Something I want to learn next: ____________
Build a Map-and-Card Layout
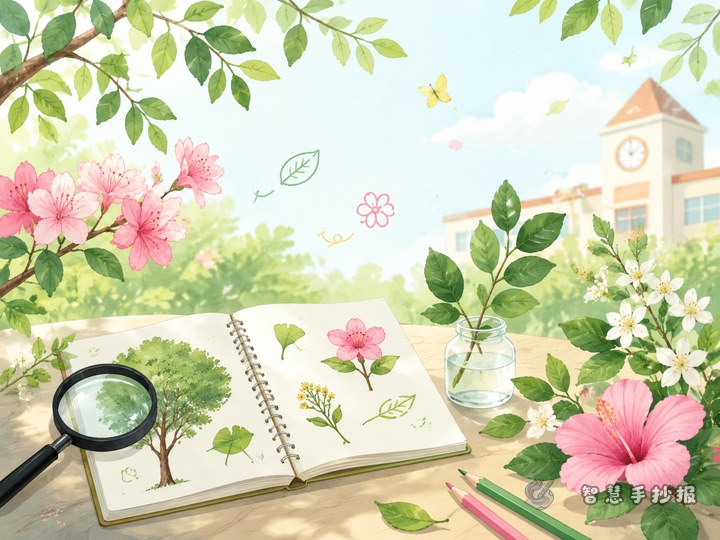
Try a central route with cards around it. Draw a winding path through the middle of the poster, mark the four stops with numbered circles or small flags, and put the title and theme sentence in the upper-left corner. The upper-right area can hold observation tips. Place two larger cards at the bottom and fill the remaining spaces with small drawings of petals, leaves, and bark textures.
Let the colors change as the route moves forward: light green at the beginning, yellow or pink near the flower bed, several greens in the shady area, and orange at the finish. Make the title more noticeable than the card text, and keep the map lines thick enough to remain clear after coloring. If a plant name is uncertain, use a number and identify its location on the card.
End with a Young Observer’s Note
A short closing paragraph can bring the theme together: “This campus walk helped me notice that flowers and trees are not just a background. They give the school color and shade, and they hide many details worth finding slowly. Next time I pass this familiar path, I will stop to observe before walking on gently.”
Sketch the route and card frames in pencil first, then add writing, drawings, and color. Finally, check that the arrows connect clearly and every stop has a note. After the draft is ready, you can continue arranging the title, route map, and columns in the 智慧手抄报 WeChat mini program.