Why Erasing Harder Does Not Solve the Problem
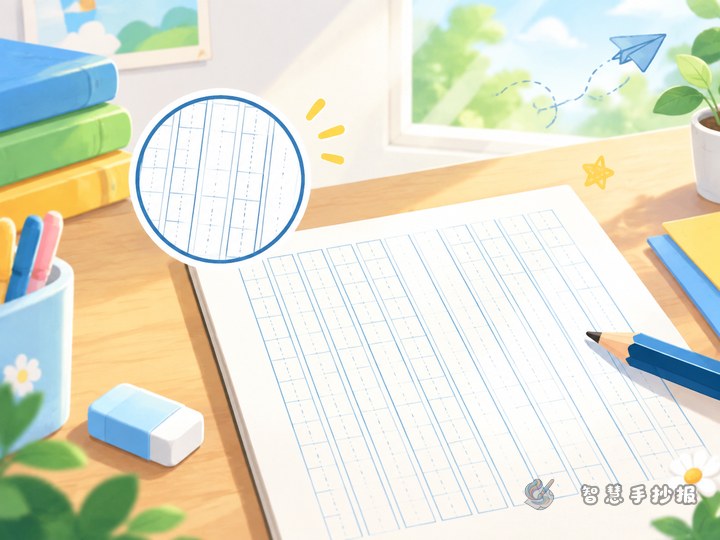
Guidelines usually become difficult to remove because of choices made before the writing begins. Soft lead deposits more graphite, while heavy pressure presses grooves into the paper. Even when the graphite disappears, those grooves may still look untidy under angled light. A dirty eraser, damp marker ink, or a graphite-covered hand can add further smudges.
Before working on the poster, test one line on the back of the sheet or on similar scrap paper. It should be easy to see at normal writing distance but nearly invisible from farther away. If it takes force to erase, it was drawn too heavily.
Use Light, Short, and Separate Guide Marks
- Keep the pressure light: Sharpen the pencil and guide it with your wrist instead of pressing the point into the paper.
- Keep lines short: Rule only the space needed for each text block rather than drawing across the whole page.
- Limit intersections: Position borders, illustrations, and text areas separately so several pencil lines do not overlap.
- Leave a small gap: Keep guidelines slightly away from finished borders to make safe erasing easier.
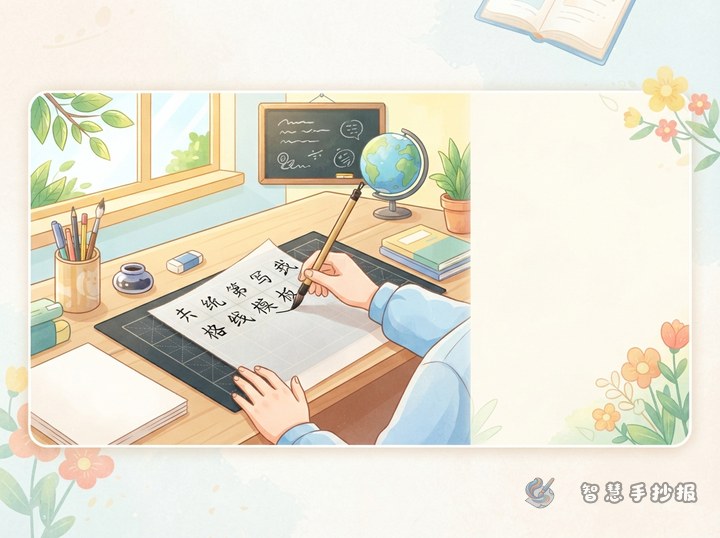
When using a ruler, let the pencil slide gently along its edge. Repeatedly tracing the same line makes it darker and can create a permanent indentation.
Plan First and Erase Last
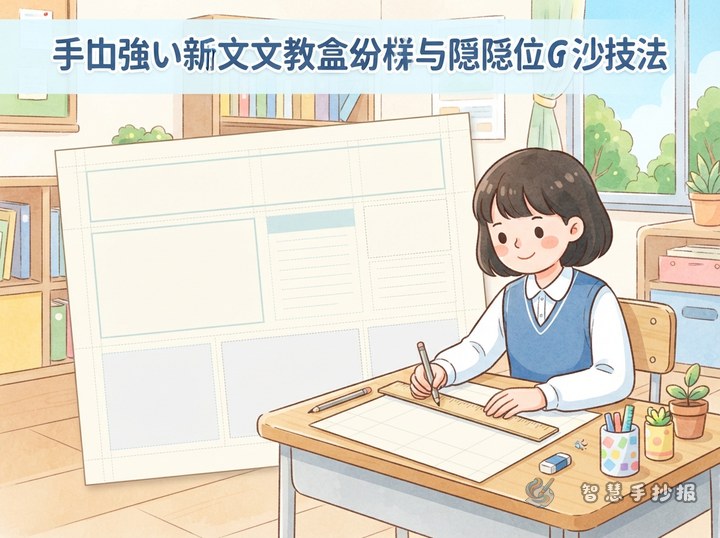
Divide the sheet into four basic areas: headline, text, illustrations, and decorations. Add only the horizontal guides needed inside the text areas. Mark the center of the headline with tiny pencil notes, test how each paragraph fits, and then write the final copy.
After outlining and coloring, wait for the ink to dry fully. Place the poster flat, hold a blank edge with one hand, and move a clean eraser in short strokes with the other. Start in pale open areas before working near dark outlines. Use the corner of the eraser around small details, then sweep away crumbs with a soft brush rather than your palm.
Short Columns Make Both Writing and Layout Neater
Reading, safety, holiday, science, and environmental posters all become easier to manage when long passages are divided into small columns. Possible headings include “Quick Facts,” “What We Can Do,” “One Important Reminder,” and “What I Learned.” Two or three brief paragraphs under each heading are usually easier to align than one crowded block.
Short Copy Ideas to Adapt
- Reading: Set aside a quiet time to read each day and carefully record the sentences you enjoy.
- Safety: Following rules is not only about limits; it protects us and the people around us.
- Environment: Saving one sheet of paper or switching off one light is a practical green action.
Adapt each sentence to the chosen topic instead of adding long passages simply to fill space. Even gaps between columns often create a cleaner result than elaborate decorative borders.
Inspect the Poster from Two Angles
- Tilt the sheet toward the light to find remaining graphite, grooves, or gray marks.
- Step back and check whether the title stands out and the columns appear balanced.
- Review punctuation, spelling, and crowded line endings before making final corrections.
- Clean graphite from the desk and your hands before finishing the corners and edges.
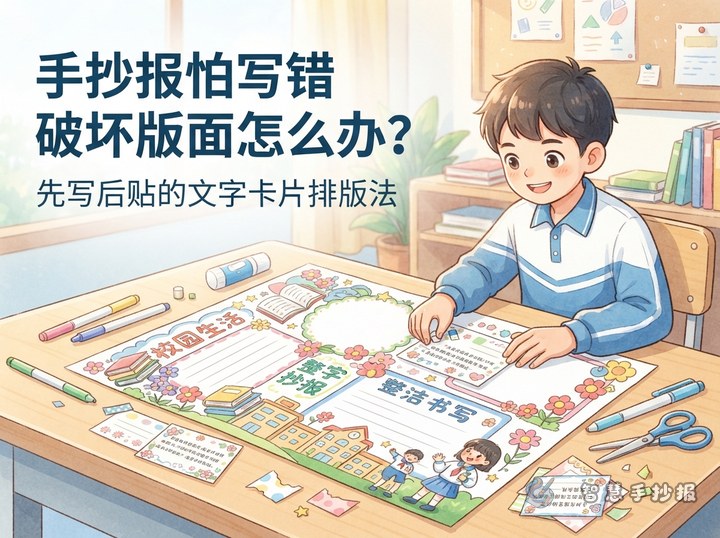
If the number of columns or their proportions is still uncertain, open the Smart Handwritten Poster WeChat Mini Program to choose a topic and layout. You can then add light guidelines, place the prepared text, and finish with a clean erasing routine.