Turn the Poster into a Moonlight Experiment Log
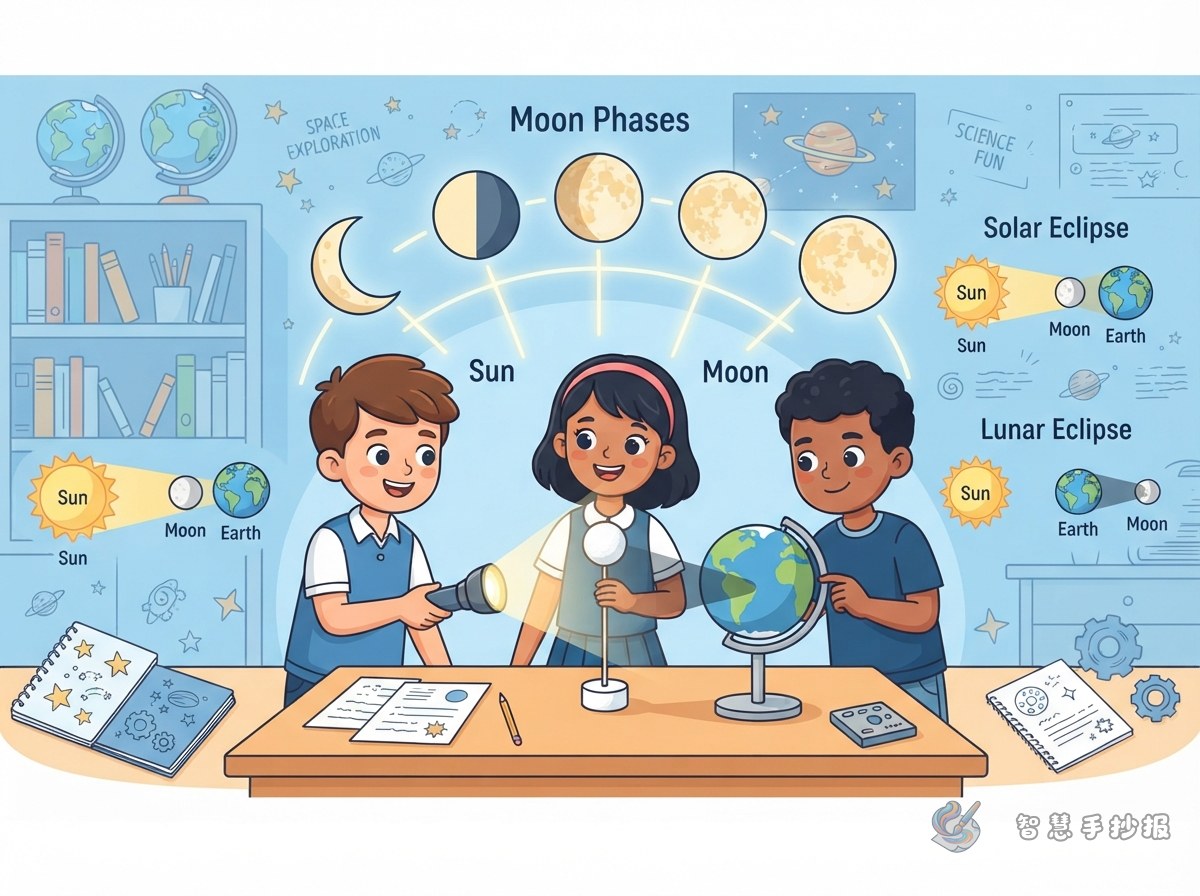
Instead of beginning with long definitions, build the poster around a simple tabletop investigation. Prepare a flashlight, a white ball, and a dark background. The flashlight represents the Sun, the ball represents the Moon, and the observer stands at a viewing point on Earth. A curved lunar path near the title can guide readers through the page.
Use Three Demonstrations as the Main Sections
Test One: Watching the Moon's Appearance Change
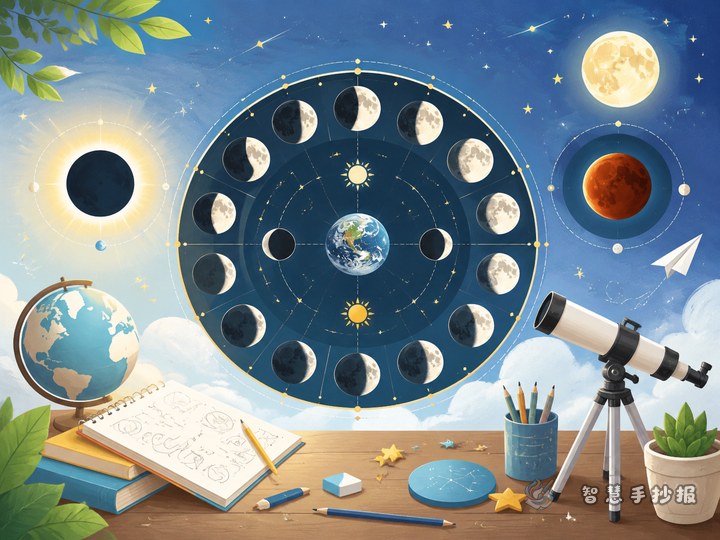
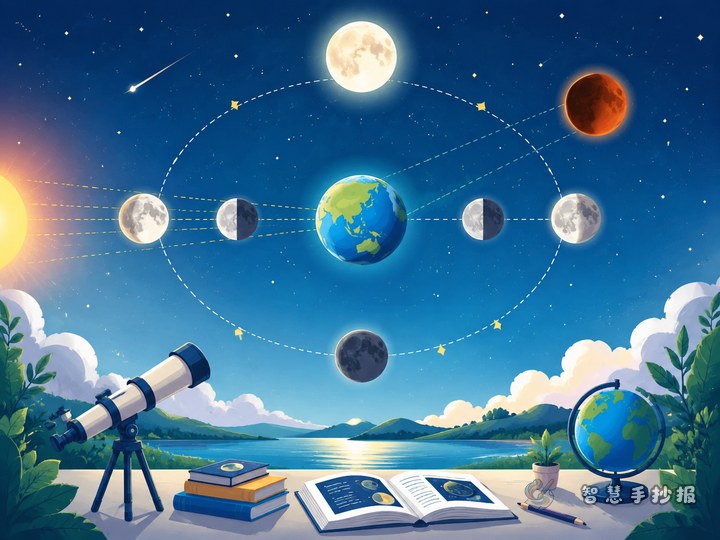
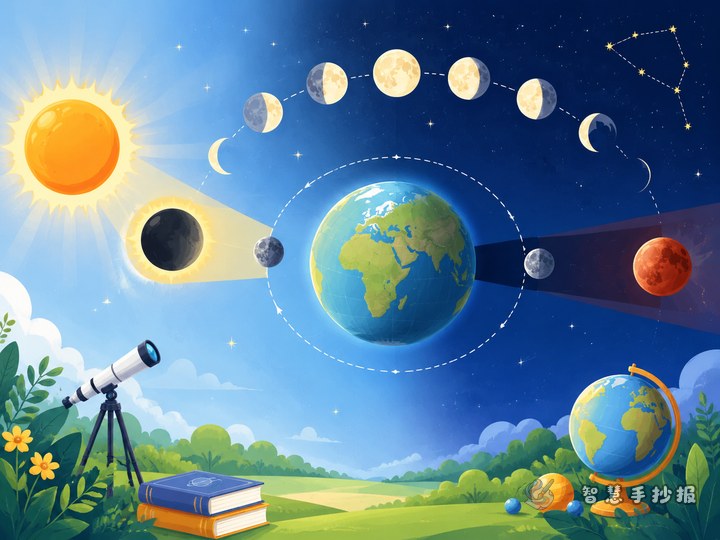
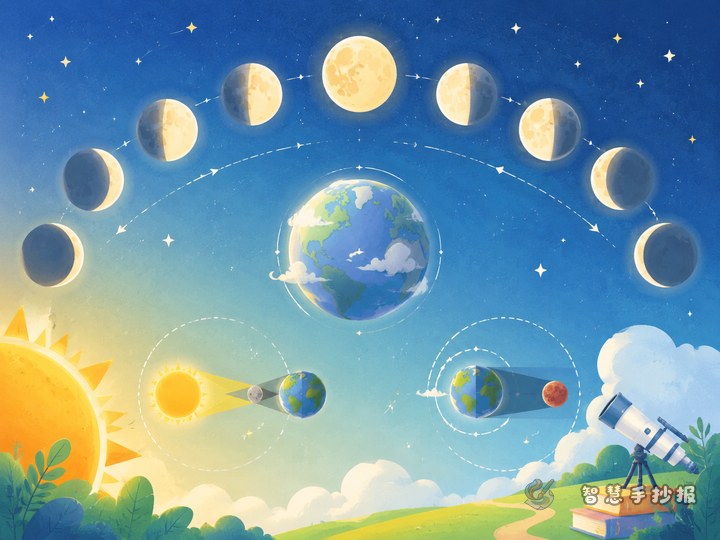
Keep the flashlight fixed and shine it on the ball. Stay in one place while slowly moving the ball around your body. Record how much of the bright side you can see. Half of the ball remains illuminated, but the visible portion changes with the viewing angle, producing phases such as new moon, first quarter, full moon, and last quarter.
Test Two: Modeling a Solar Eclipse
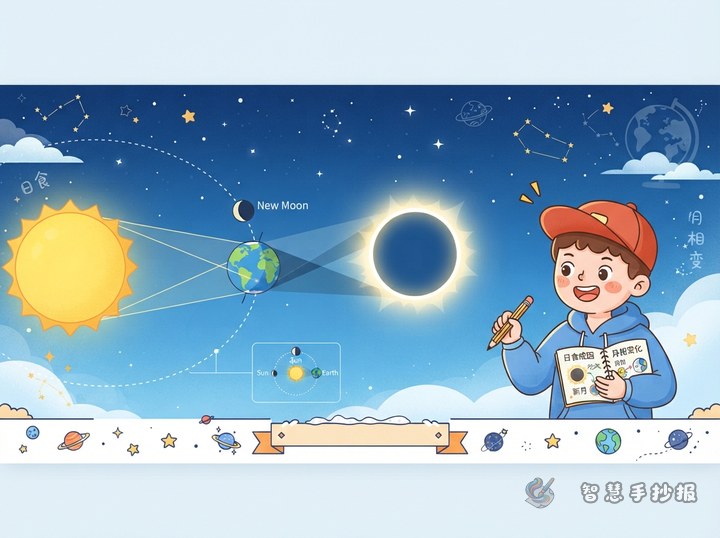
Place the ball between the flashlight and the observer so that all three are nearly aligned. The ball blocks some of the light, modeling how a solar eclipse occurs when the Moon moves between the Sun and Earth. Add a labeled “Sun—Moon—Earth” diagram and show the Moon's shadow pointing toward Earth.
Test Three: Modeling a Lunar Eclipse
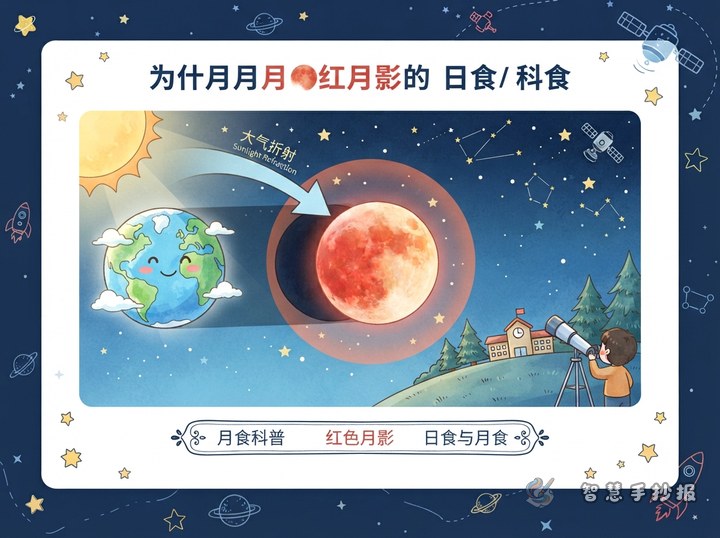
Put the observer, or a larger ball representing Earth, between the flashlight and the smaller ball. When the Moon ball enters the shadow behind Earth, the setup models a lunar eclipse. Label the order “Sun—Earth—Moon” so readers can compare it with a solar eclipse at a glance.
Short Conclusions to Write on the Poster
- Moon phases: The Moon does not make its own light; we see the part illuminated by the Sun.
- Solar eclipse: The Moon is between the Sun and Earth, and its shadow reaches part of Earth.
- Lunar eclipse: Earth is between the Sun and Moon, and the Moon moves into Earth's shadow.
- Key detail: The Moon's orbit is tilted relative to Earth's orbital plane, so eclipses do not happen at every new moon or full moon.
Build the Layout with Step-by-Step Arrows
Divide the page into three experiment panels connected by arrows. Put materials and instructions on the left, position diagrams in the center, and conclusions plus common mistakes on the right. Use orange-yellow for the Sun, blue-green for Earth, and gray for the Moon and shadows. Show moon phases with strong black-and-white contrast.
Add a small note about the model's limits: the sizes and distances of the objects are not to scale, and the activity only demonstrates lighting and alignment. Include the warning never look directly at the Sun; real eclipse viewing requires approved eye protection and adult guidance.
Run a Final Science Check
- Confirm that the object order for each eclipse is correct.
- Explain phases through lighting and viewing angle, not a change in the Moon's shape.
- Make sure light rays, shadows, and arrows point in consistent directions.
- Give every experiment picture one matching conclusion.
To test different panel arrangements, title styles, and color plans, continue designing in the Smart Handwritten Poster WeChat Mini Program, then adjust each section to fit the final sheet of paper.