Start With One Big Cut-Open Circle
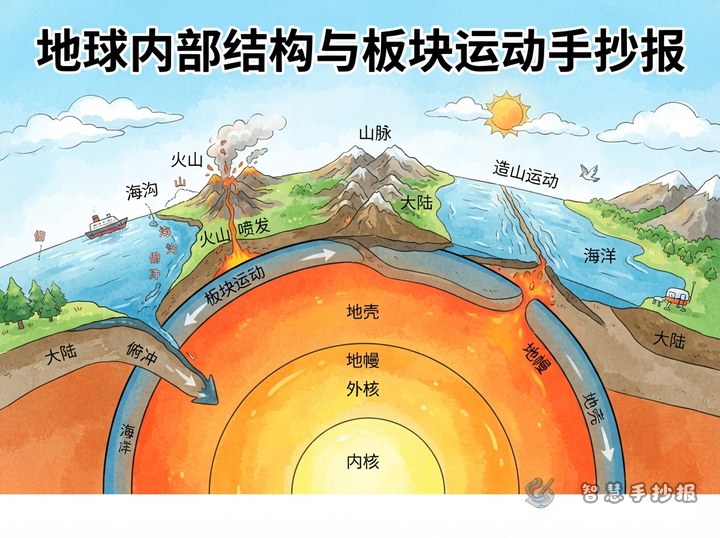
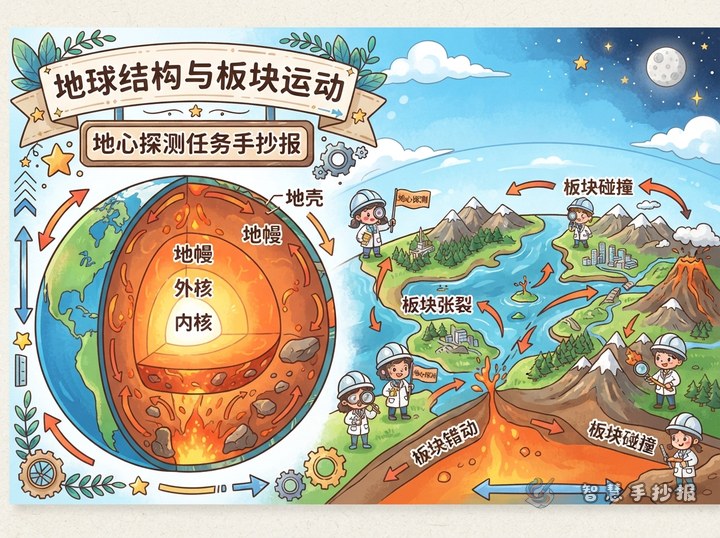
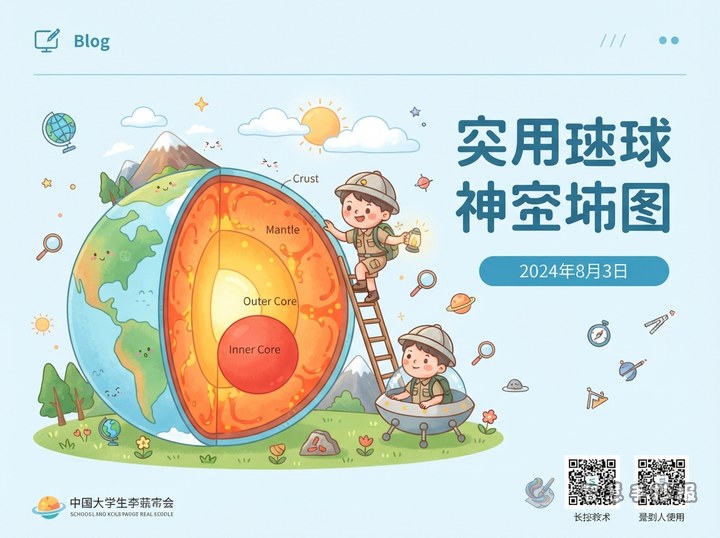
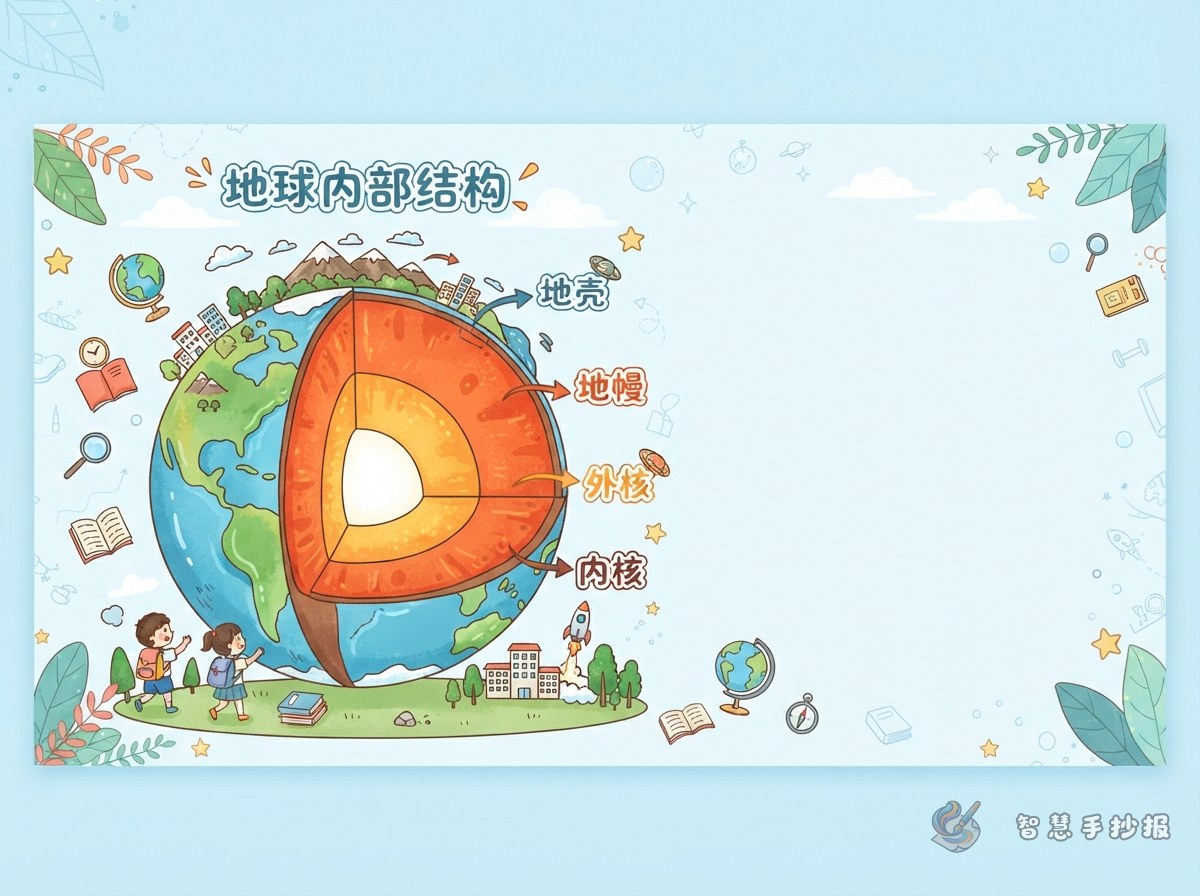
The most common mistake is drawing four rings that are almost the same size. Earth is more like a cut fruit: the crust is thin, the mantle is the thickest part, and the two cores together take up more than half the radius. So let one large circle take up a third to a half of the page.
Shift the circle slightly to one side and leave the other side for text. Sketch the circle, three curved boundary lines and a few straight guide lines in pencil before adding color.
Naming the Layers With Simple Comparisons
- Crust: the thin rocky shell we live on, under land and sea.
- Mantle: the thickest layer, hot rock that flows very slowly like thick syrup.
- Outer core: extremely hot liquid metal, linked to Earth's magnetic field.
- Inner core: the center, very hot but solid because of enormous pressure.
Words like thickest, liquid and solid help memory more than long explanations.
Color and Line Choices That Keep Layers Clear
Move from cool to warm as you go inward, and outline each boundary with a thin dark line. If drawing is hard, paint four color strips, cut them into wedges and glue them onto the circle.
Three Zones for the Page Layout
- Main picture: the cross section with four labels.
- Knowledge boxes: three or four short facts in colored frames.
- Fun corner: one curious question, such as what would happen if we dug through Earth.
Put the title in the top white space and add an arrow pointing down to the planet.
Title Ideas and Border Details
Try titles like "Cut Earth Open" or "Journey to the Center" instead of a plain description. Rock textures, small volcanoes and wavy strata lines make good borders. Two main colors plus one accent color are enough. If time is short, the Smart Handwritten Poster mini program offers ready-made Earth section layouts you can fill in by hand.