Build the Poster Around a Paper Makeover Journey
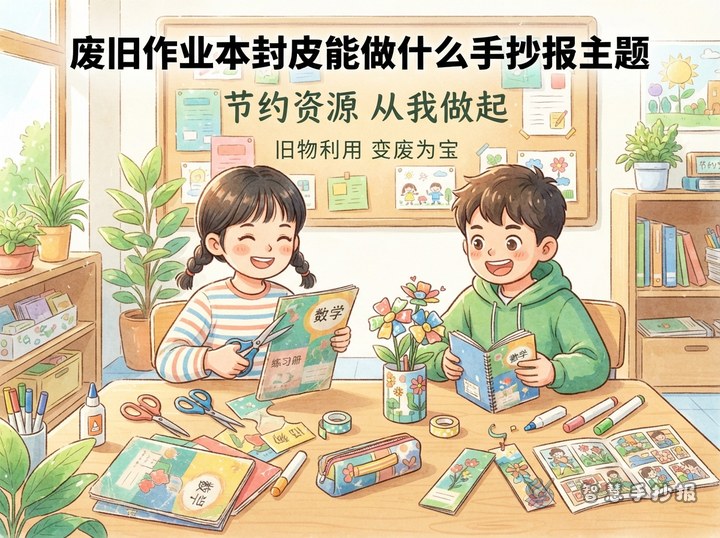
Use A New Job for Old Test Papers as the central idea. Show four connected steps: check the paper, cover or remove personal information, sort and trim it, and turn it into useful school supplies. Arrows between the steps will make the reuse process easy to follow.
Choose Three Action-Focused Sections
Which Sheets Can Be Saved?
- Clean worksheets with a blank back can become scratch paper.
- Thicker sheets can be cut into bookmarks, subject labels, or study cards.
- Ask a teacher or parent before reusing school papers, and avoid pages containing personal information.
What Can Old Test Papers Become?
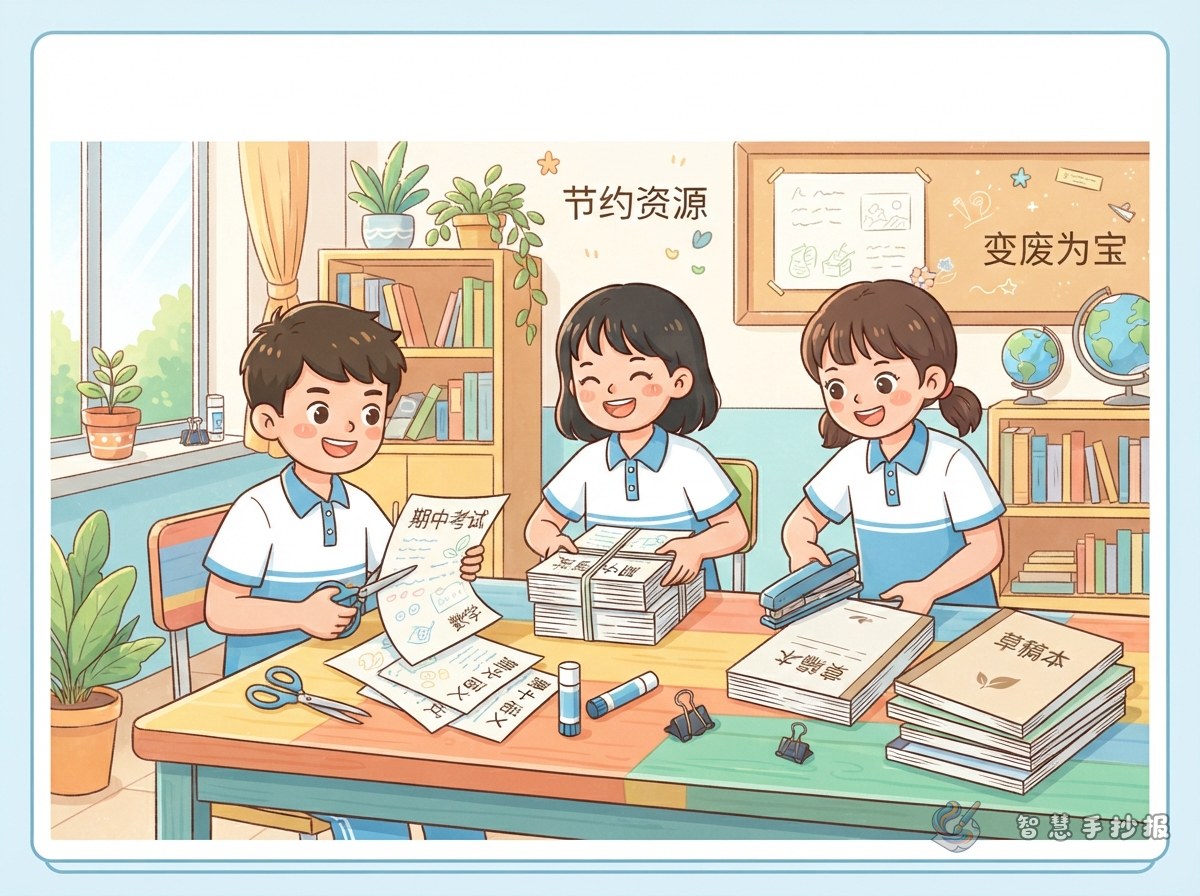
- Trim sheets to the same size and clip them together as a scratch pad.
- Cut strips for vocabulary cards, formula cards, or reading notes.
- Turn small offcuts into labels instead of taking a new sheet.
A Classroom Paper-Saving Promise
Add short rules such as “Use the blank side before taking new paper,” “Take only what you need,” and “Sort reusable paper before recycling it.” These promises turn the poster into a practical classroom reminder.
Short Lines Ready for the Page
Main message: An old test paper is not useless; it is learning material waiting for a new task.
Call to action: Start with one blank-backed sheet and make paper saving an everyday school habit.
Safety reminder: Check every page before reuse, protect personal information, and keep materials clean.
Closing line: Waste one sheet less and create one more chance to use it.
Show a Clear Before-and-After Layout
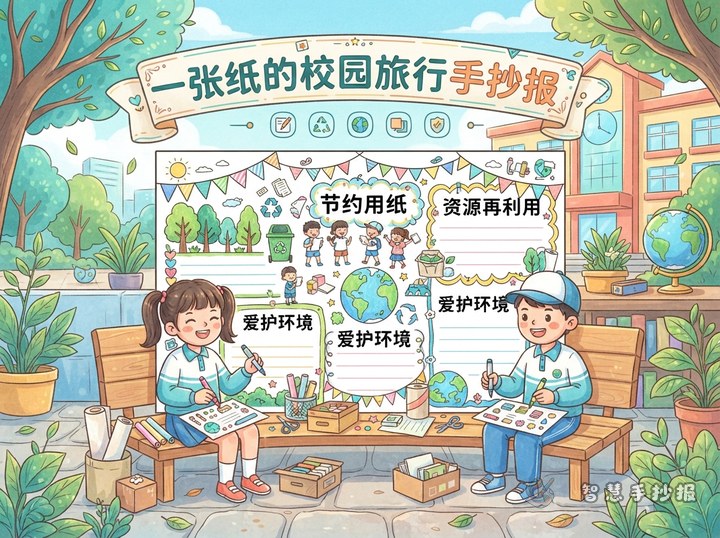
Divide the page into two main areas. On the left, draw loose test papers and the checking and trimming steps. On the right, show the finished scratch pad, study cards, and bookmarks. Place the title at the top and connect both sides with a curved arrow. Green, light blue, and natural paper tones work well, while a little orange can highlight key words.
Finish with Care
- Mark the sections in pencil before adding illustrations so there is enough room for text.
- Use old papers as the subject of the poster rather than attaching a complete test paper to the page.
- Cutting and binding should be done with guidance from a teacher or parent.
- After planning the content, open the Smart Handwritten Newspaper WeChat Mini Program to choose a layout, organize the text, and continue making the poster.