Find the Cause Before Changing Your Supplies
Markers release enough ink to travel through absorbent paper fibers. Thin sheets, long pauses with the tip on the page, and repeated strokes over one spot can all create dark patches on the back. Before starting the handwritten poster, draw a short line and a small block with each color on a corner or spare sheet. Wait briefly, check the reverse, and adjust the paper or coloring method if needed.
Build a Paper and Tool Combination That Works
Look for a smooth, moderately heavy sheet
When a design needs several marker colors, smooth drawing paper or light cardstock is usually more reliable than ordinary printer paper. Printer paper works better with pencils, colored pencils, and limited fineliner details. Extremely rigid card is not always necessary because younger students may find it difficult to erase or carry.
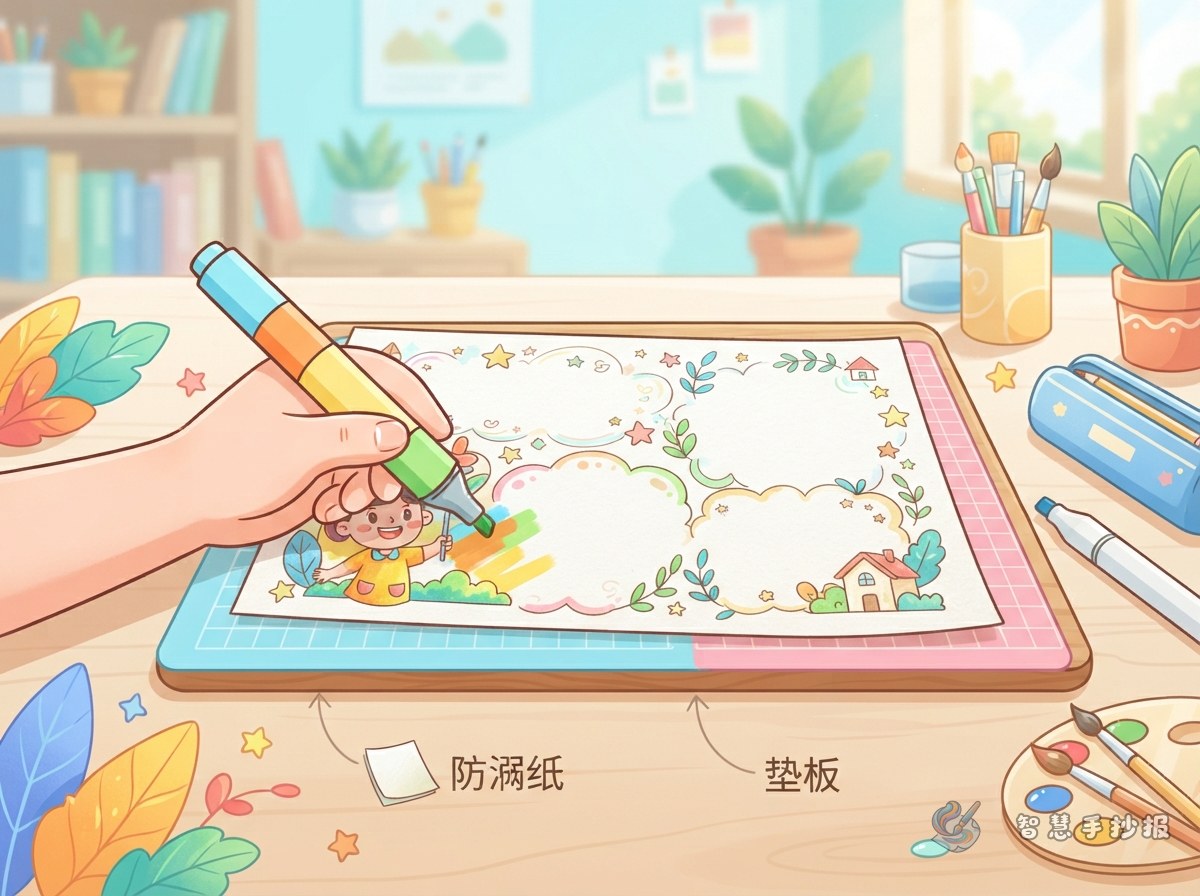
Protect the page with a clean backing layer
Place two or three waste sheets beneath the poster to absorb ink that passes through. A flat plastic board can also protect the table. Check the backing after completing a dark area and replace it when stained, preventing old ink from transferring to the poster.
Give each art tool a specific job
- Fineliner: Use it for section frames, illustration outlines, and small decorative details.
- Marker: Save it for the main heading, small shapes, and strong visual accents.
- Colored pencil: Choose it for pale backgrounds, soft shadows, and gradual color changes.
- Crayon or oil pastel: Use it for broad blocks of color, but keep it away from areas that still need writing.
Plan the Layout Around Low-Ink Areas
A practical arrangement places the heading across the top, two reading columns in the middle, and a reminder box along the bottom. Limit the heading to one or two marker colors and keep the article sections mostly white. Thin rules and pale icons can separate columns without soaking the page. Place the darkest decorations near corners and edges rather than repeatedly coloring the center.
For a poster about caring for school supplies, useful sections include Tool Facts, Steps for Safe Use, Common Mistakes, and Clean-Up Reminders. Small drawings of a pencil cup, palette, paper stack, or tidy desk support the theme without crowding the written content.
Short Text Ideas Ready for the Poster
- Test first: Try every color on a spare piece of the same paper before coloring the final page.
- Coloring reminder: Use light pressure, keep moving in one direction, and add darker color only after the first layer dries.
- Desk protection: Put clean backing sheets under the poster and replace them after working with dark colors.
- Tool care: Close marker caps immediately and return pens to the case so their tips do not dry out.
A Cleaner Order of Work
- Lightly divide the page into heading, writing, and illustration areas with a pencil.
- Write the main text first and check that each section has enough open space.
- Outline frames and drawings, let the ink dry, and then erase visible pencil lines.
- Begin with pale colors and small areas before adding dark accents to the heading.
- Inspect the back and the protective sheets, then add only the decorations the layout needs.
If the column sizes or color plan are still uncertain, continue in the 智慧手抄报 WeChat Mini Program to choose a suitable topic and layout, then adapt the design to the paper and art supplies available at home.