Let the Assignment Decide the Paper Size
Bigger paper is not automatically better. Before choosing a sheet, check whether the teacher has specified the size, orientation, or completion time. Then estimate how many sections, paragraphs, and illustrations the poster will contain.
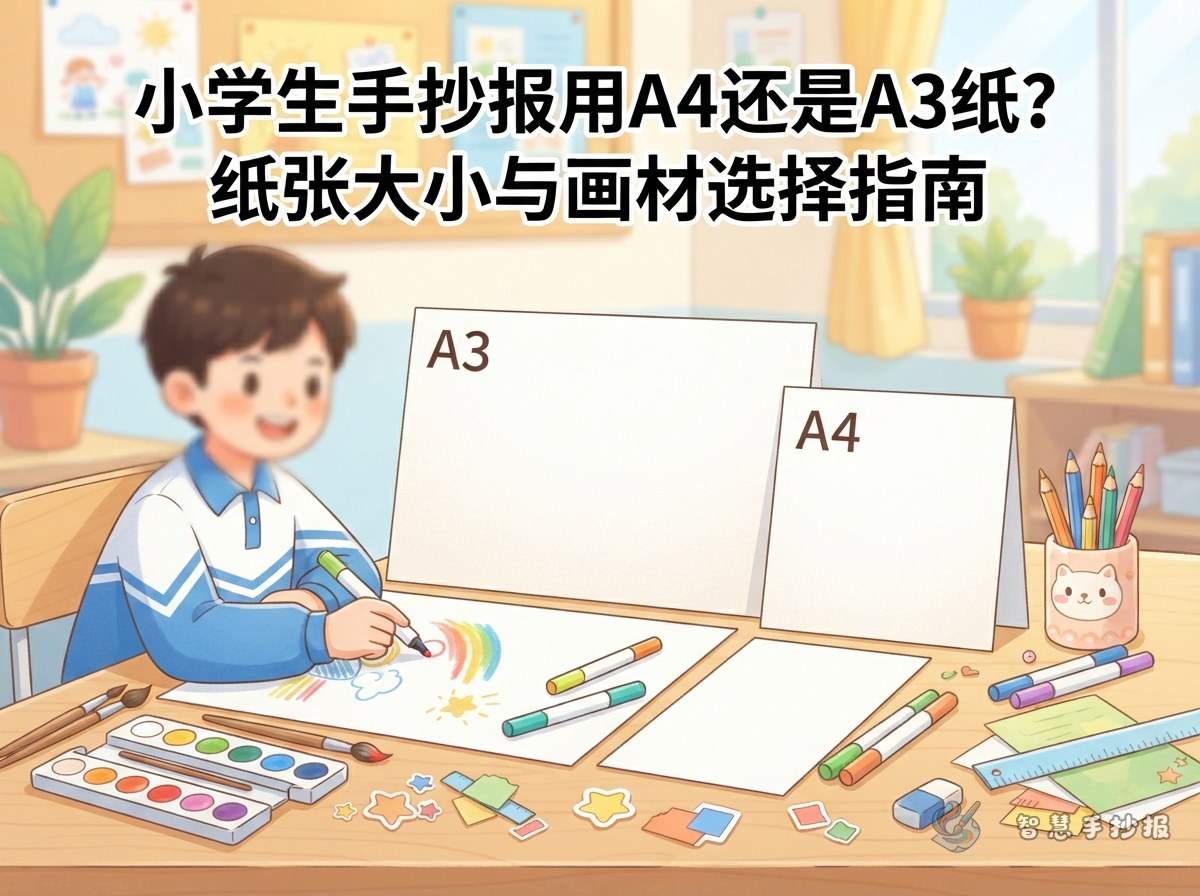
- A4 paper: Best for two to four short sections, lower-grade practice, and individual assignments that need to be finished quickly. It also fits easily into a school bag.
- A3 paper: Useful for four to six sections, holiday or science themes, larger artwork, and posters intended for classroom display.
- Group projects: A3 usually provides enough room for two or more students to divide the writing and drawing areas without crowding each other.
Draft the text on scrap paper first. If the letters must become very small to fit an A4 page, shorten the material or move to A3.
Match Paper Type to the Coloring Method
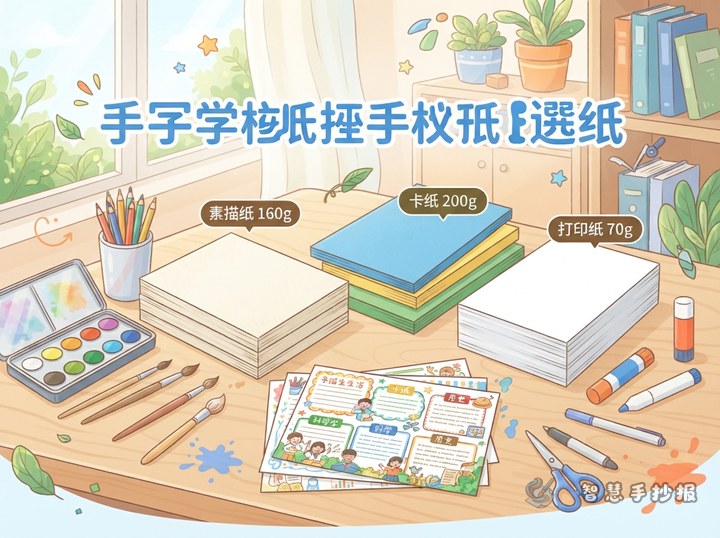
Ordinary printer paper is affordable and easy to find. It works with pencils, colored pencils, and small areas of water-based color, but repeated erasing or heavy coloring can wrinkle it. Smooth drawing paper with medium thickness is more durable and is a dependable choice for most elementary school posters.
Markers create bright colors but may bleed through thin paper. Test them on a spare piece of the same paper and protect the desk with an extra sheet. Light-colored cardstock is suitable for display, provided the writing contrasts clearly with the background. Dark paper requires special opaque pens and is less practical for a text-heavy assignment.
Build a Small but Useful Supply Kit
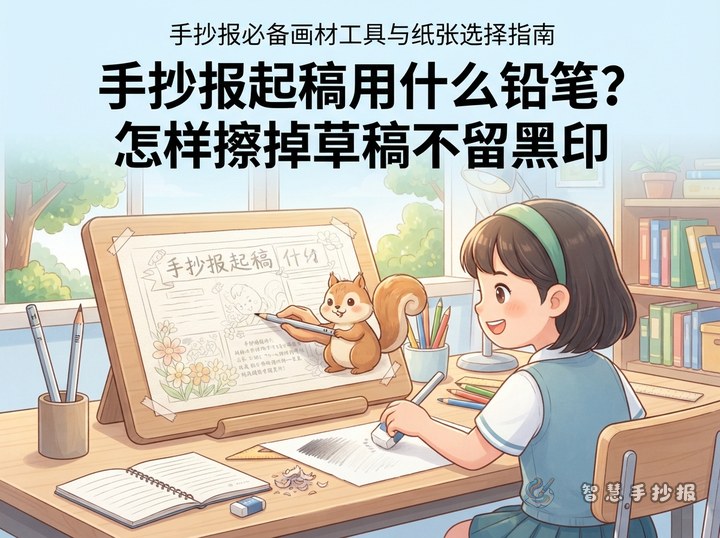
- For drafting: Use an HB pencil, a soft eraser, and a ruler to mark the border, title, and section positions.
- For writing: Choose a black gel pen or fine-tip liner for body text. A thicker tip can add emphasis to the title.
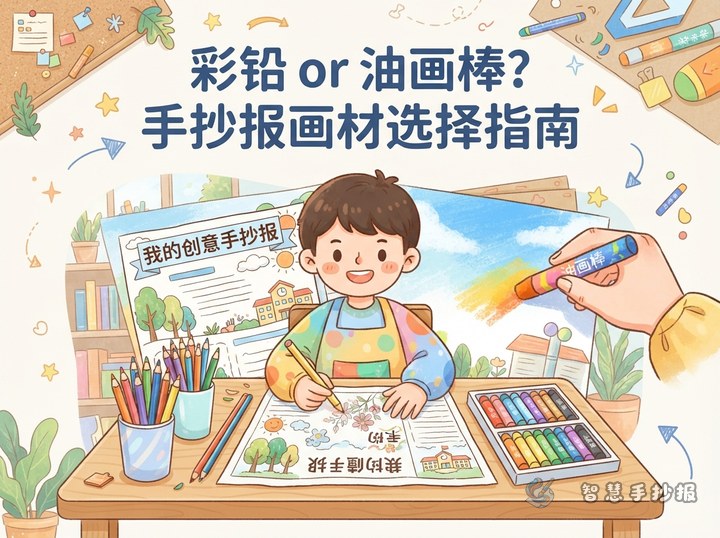
- For coloring: Colored pencils offer control and soft shading, colored pens suit borders and headings, and markers work best for limited blocks of color on thicker paper.
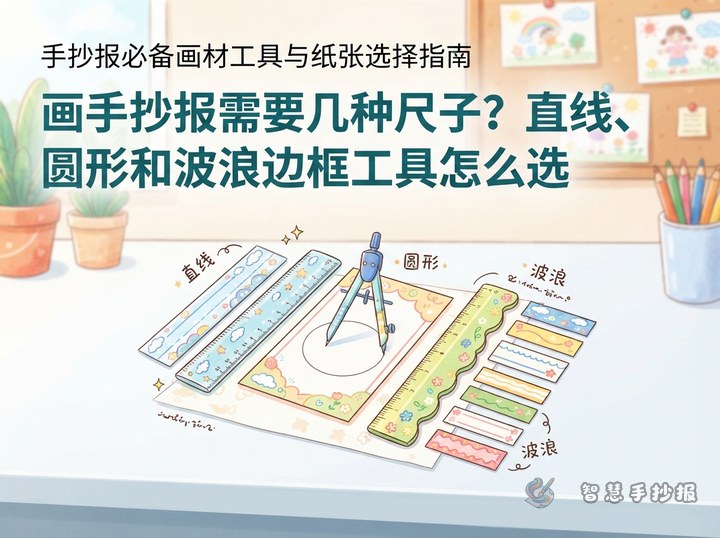
- For shapes: A circle template helps with badges, planets, and speech bubbles. Scissors and glue should be used only when collage work is allowed.
Two or three main colors are enough for one poster. Too many colors can weaken the visual hierarchy and add unnecessary coloring time.
Plan Sections That Fit the Page
A Simple A4 Arrangement
Place the title across the top and divide the lower area into three sections. Possible headings include “Quick Facts,” “What I Can Do,” and “Helpful Reminder.” Give each section one short paragraph and add one or two small illustrations. Keep the border narrow so it does not take space away from the text.
An A3 Display Arrangement
Position the title near the upper center, then arrange sections such as “Background,” “Key Ideas,” “Practical Actions,” “Mini Quiz,” and “Our Message” around it. A main illustration can occupy roughly one quarter of the page, leaving the remaining space for readable writing and light decoration.
Keep all written material connected to one clear theme. An environmental poster might include sorting tips, ways to save supplies, and a short action statement. A safety poster could present essential rules, a situation quiz, and self-protection reminders. Each section should answer one small question.
Run a Final Test Before Inking
- Sketch the title, border, and columns lightly in pencil before using a black pen.
- Place the longest paragraph in the widest section and reserve narrow boxes for slogans or short facts.
- Test whether the eraser smudges the paper and whether colored ink bleeds through.
- Write the main text before adding illustrations, then outline and color at the end.
- Check that the title stands out, the body text is readable, and the edges have enough open space.
Once the theme and paper size are settled, students and parents can continue in the Smart Handwritten Poster WeChat Mini Program to organize sections, explore layouts, and turn the selected materials into a clear, balanced poster.