Why a Plant Name Card Earns Its Space
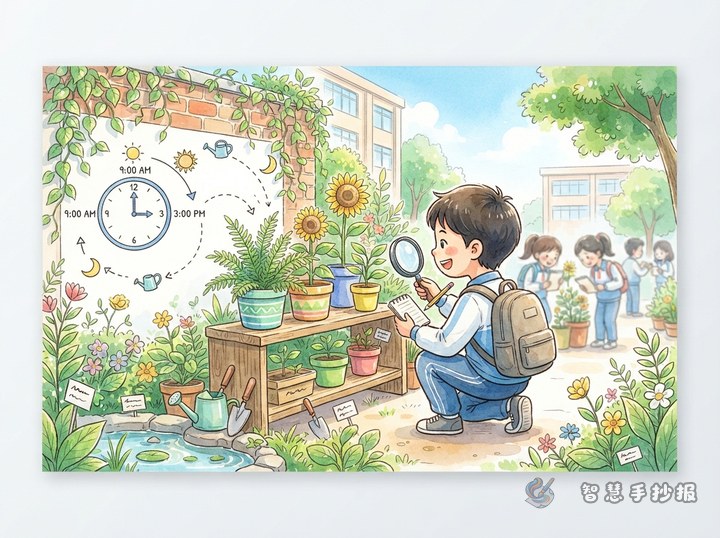
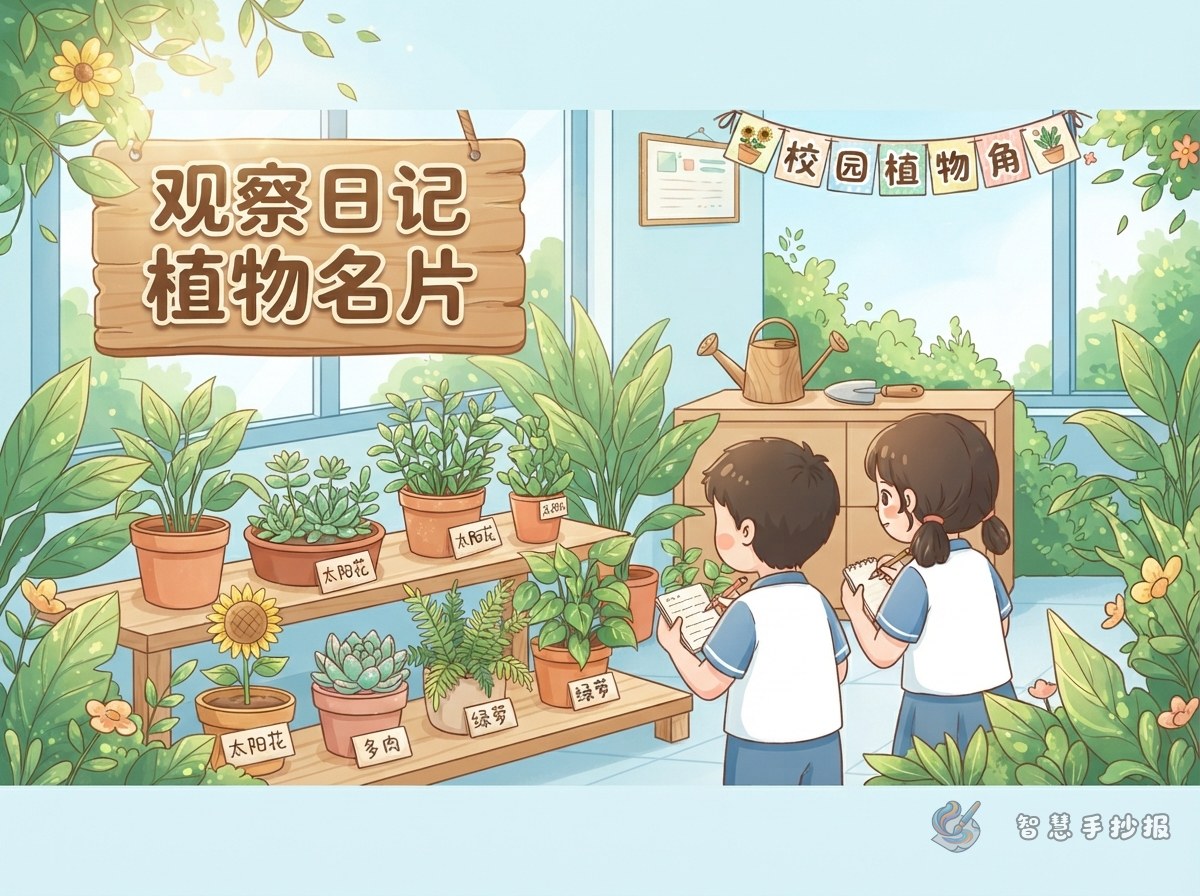
Many observation newspapers are filled with diary lines from top to bottom, yet a reader still cannot tell which pot is being described. A name card solves that by gathering the name, position and appearance in one small block, so anyone can match the writing to the right plant at a glance.
Cards also help the layout. They take up little room but fill a whole section, and they sit comfortably next to a diary column, a hand-drawn sketch or the main heading, giving the page a clear order instead of a wall of text.
The Lines Every Card Needs
Start with the basics
- The plant's common name, with a scientific name in brackets if you are sure of it
- Where it stands, for example the third pot from the left on the classroom windowsill
- The observer's name and the date, so the teacher can check it quickly
Describe this particular plant
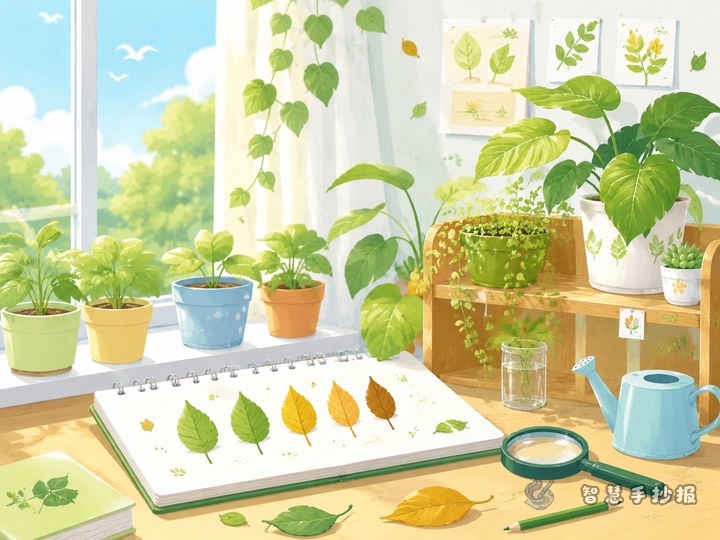
- Leaves: shape, colour, smooth or slightly toothed edges
- Stem: thick or thin, colour, any fuzz or small thorns
- Flowers and fruit: open or not, how many, what colour, any scent
Add one line of care advice
A single sentence you worked out yourself is enough, such as watering every two days once the soil dries, keeping it near the window for sunlight, or noting that soft leaves mean it needs water. Readers often value this line more than a long description.
From Rough Notes to Readable Sentences
Notes scribbled during observation are usually messy, and copying them straight onto the sheet looks untidy. Rebuild each sentence in the order plant, place, appearance, my feeling, and it immediately reads better.
- The leaves feel a bit thick becomes the leaves are thick and curve like a small spoon
- It grows by the window becomes it lives at the outer edge of the windowsill and gets morning sun
- There is one more leaf today becomes one new pale leaf appeared this week, lighter than the older ones
Avoid vague words such as pretty or cute. Replace them with one concrete shape, colour or movement so the reader can picture the plant.
Placing the Cards, Diary and Drawings
- Sketch the outer frame lightly and leave a strip at the top for the main title, class and name.
- Give the upper middle of the page to the name cards, framed with a rectangle or a leaf-shaped border and set in slightly larger writing.
- Put the observation diary below or beside the cards, divided by lines, with one entry per day or per discovery.
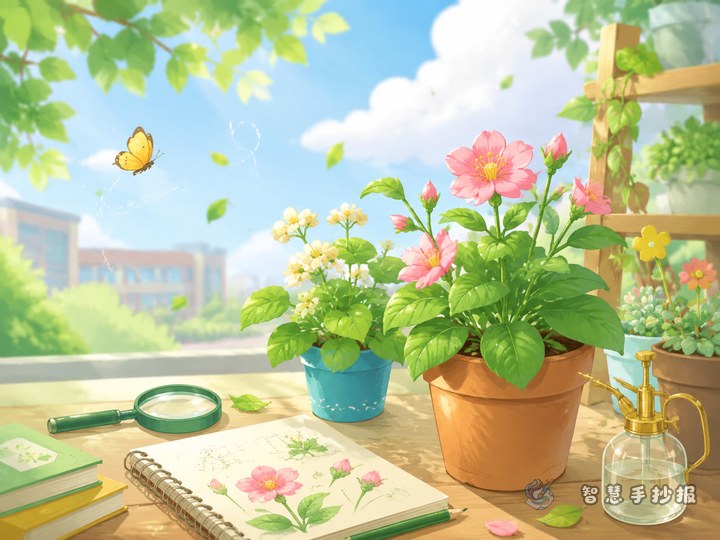
- Use the leftover corners for small drawings of plant parts only, such as one veined leaf, a bud or a tiny insect resting on a stem.
- Check spacing at the end, leaving a margin around each card so the page does not feel crowded.
Green with pale yellow is a safe colour pair. Keep the background light and the writing dark so the card text stays readable from a distance.
Small Details That Make the Page Look Finished
- Write card text in straight, even lines, even if it takes a little longer.
- Keep date formats consistent within a section, using either 5 March or 3.5 throughout.
- Avoid very dark borders, which can overpower the writing inside them.
- Lay everything out on scrap paper first, and you will need far fewer redos.
If you are unsure how large to draw the frame or where the cards should sit, open the Smart Handwritten Newspaper mini program, choose a plant corner layout, type in your card text, and copy the arrangement onto paper instead of starting from a blank sheet.