Start with a Robot Body Map
Instead of drawing a robot as one complicated machine, treat it as a simple “body map” with clear sections. Draw a friendly robot in the center of the page, then connect its parts with colorful lines and short explanations. This gives the poster a technology theme while helping readers understand its structure at a glance.
Build the poster around five ideas: sensing, control, power, action, and protection. Together, they show how a robot gathers information, makes decisions, gets energy, carries out movement, and stays stable.
Draw Five Clear Structure Zones
- Sensing zone: Draw a camera or distance sensor near the head or front of the robot. Write that it helps the robot notice light, sound, distance, and obstacles.
- Control zone: Place a small circuit board or control box inside the body. Explain that it receives information and sends instructions.
- Power zone: Use a battery, motor, and gear symbols to show where movement energy comes from.
- Action zone: Draw wheels, joints, or a tool head to show how the robot moves, turns, or operates equipment.
- Protection zone: Add a shell, frame, and base with a note explaining that they support the structure and protect inner parts.
Keep each label to one or two sentences. Try not to cross the arrows. Put the part name inside a label box and its function underneath so the page remains easy to read.
Short Text You Can Add
A Mini Robot Parts Dictionary
- Sensor: Collects information about the surrounding environment.
- Controller: Examines the information and plans the next action.
- Motor: Changes electrical energy into turning or moving power.
- Actuator: Carries out actions such as walking, turning, or operating a tool.
- Shell and frame: Protect the parts and keep the whole robot steady.
A Small Automation Observation
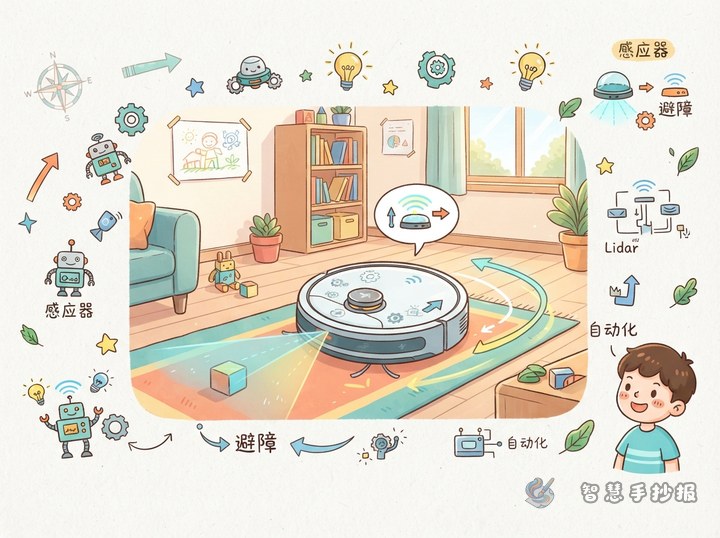
Add a small example in one corner: when a robot vacuum detects an obstacle, it uses information from its sensors to change direction. Three small drawings—seeing the obstacle, turning, and moving on—are enough to show that the robot’s parts work together.
Make the Layout Feel Like a Working Machine
Try a “large center picture with information cards around it” layout. Put the robot body map in the middle, a parts dictionary in the upper-left corner, part functions in the upper-right, the automation example in the lower-left, and “My Discovery” or “My Future Robot” in the lower-right. Write “Robot Body Map” across the top and decorate it with gears, wires, and tiny screws.
Use only a few main colors. Blue can represent information and control, orange can show power, green can suggest safety and protection, and purple can add a futuristic feeling. Use dark blue or black for outlines and writing so the headings stand out clearly.
Three Easy Finishing Tips
- Use a pencil to plan the robot and columns first, then add arrows and decorations.
- Make part names larger than the explanations, and highlight important words with color blocks.
- Design the robot freely, but avoid too many tiny details so there is enough room for text and connecting lines.
After sketching, you can continue organizing the theme, columns, and layout in the WeChat mini program 智慧手抄报 and turn the idea into a clear, attractive robot structure poster.