Turn a Hardness Challenge Into the Backbone of Your Poster
Many rock posters turn into a plain list of stone types, which reads like a textbook page. Try a different angle: imagine you are a mineral hardness tester, and let one small experiment hold the whole page together. The topic stays scientific, but the reader can see at a glance what the poster is about.
Once the main idea is set, the content follows a clear route: understand hardness, learn the scale, run the tests, then record the results.
Making the Mohs Scale Look Interesting
The Mohs scale rates how well a mineral resists scratching, from 1 to 10, with higher numbers meaning harder minerals. Draw it as a staircase that rises from left to right, and write one example mineral on each step.
- Level 1, talc: feels slippery, a fingernail leaves a mark.
- Level 2, gypsum: a fingernail can scratch it.
- Level 3, calcite: a copper coin or key can scratch it.
- Level 4, fluorite: a knife scratches it fairly easily.
- Level 5, apatite: a knife scratches it with some effort.
- Level 6, orthoclase: a knife barely scratches it.
- Level 7, quartz: an ordinary knife cannot scratch it, and it can scratch glass.
- Levels 8 to 10, topaz, corundum and diamond: harder still.
If space is tight, stop at level 7, which already covers the minerals students meet most often.
Three Simple Tests That Make the Page Hands-On
Numbered steps are easier to read than long paragraphs and fit neatly into a small poster column.
- Fingernail test: gently drag a fingernail across the stone and look for a white line. This matches soft minerals near level 2.
- Coin or copper key test: check whether a clear scratch appears, which points to minerals near level 3.
- Knife test: with adult supervision, use the back of a knife or a blunt tip, scratch lightly and keep fingers away from the edge.
One reminder worth printing on the poster: test only plain stones you collected yourself, never someone else's collection or public property.
Layout Idea: Build a Little Lab Bench
Here is a three-block layout that avoids clutter:
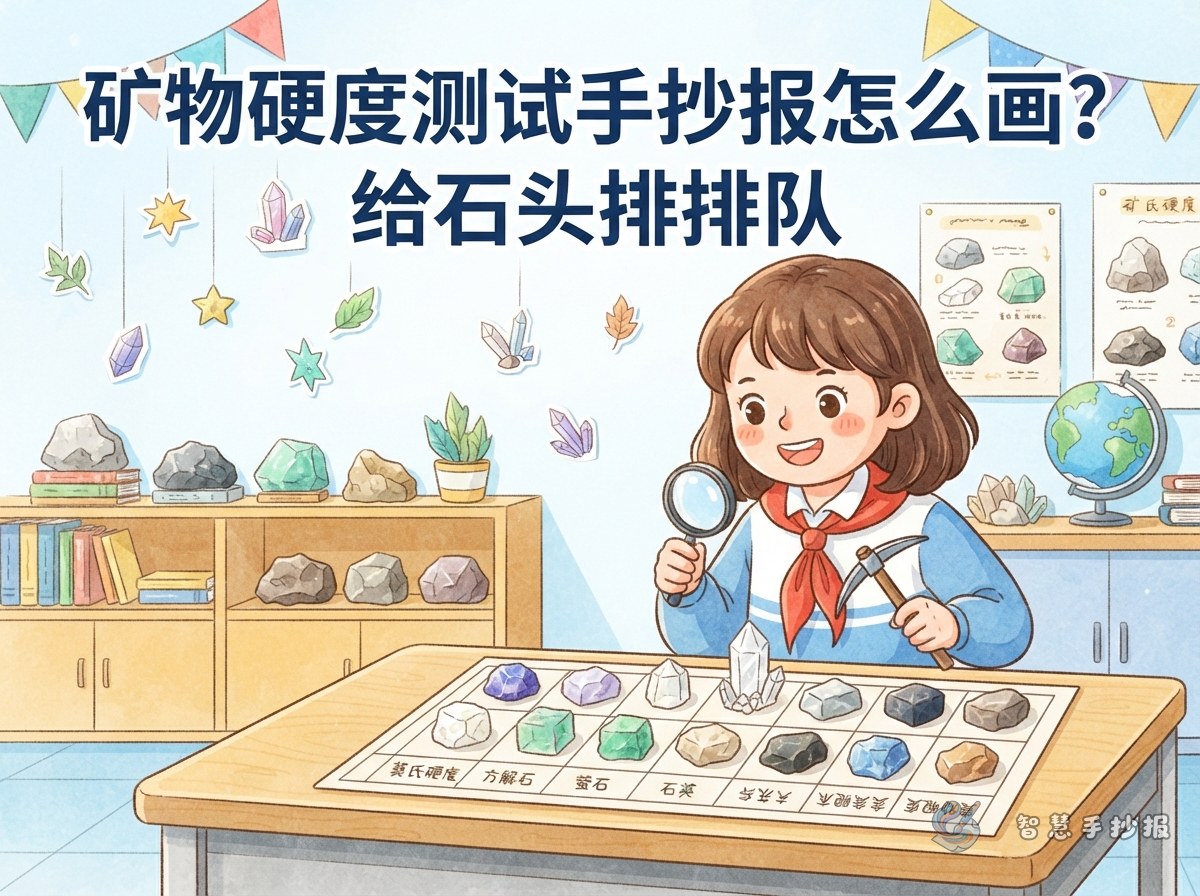
- Left column: the hardness staircase, with a small colour card for each level.
- Centre area: the main title, the test steps and the results table.
- Right corner: a short 'what I found' box with two or three sentences about the hardest and softest stones.
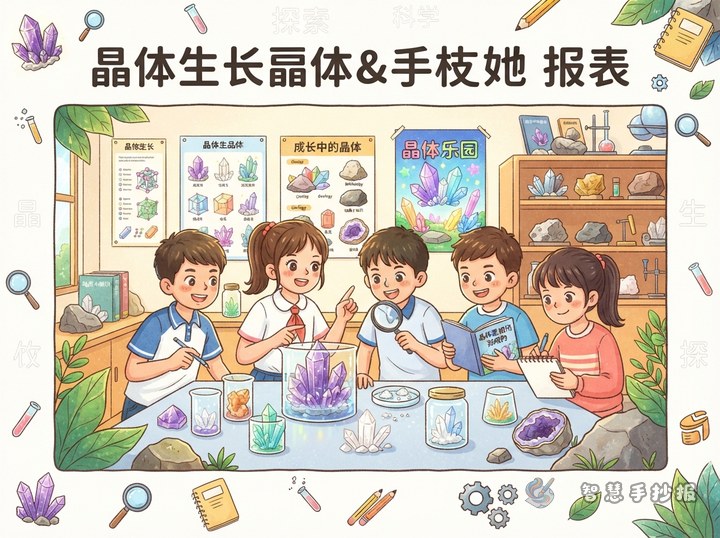
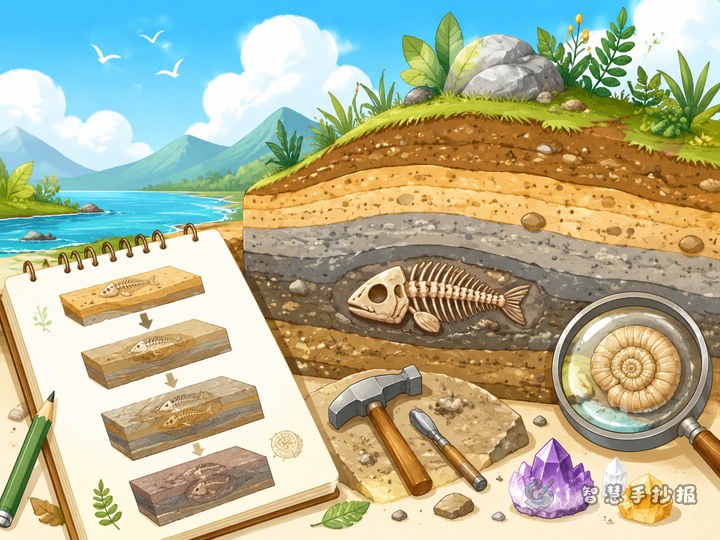
For decoration, sketch a magnifying glass, a small hammer, a rock hammer, a cut-away rock section or a few crystal shapes. Keep the palette grey, brown and blue-green, then add one or two bright gem colours so the page does not look dull.
A Simple Results Table
A table is always popular on a poster. Four columns work well: stone name or number, what it looks like, which tool was used, and the test result. Younger students can write 'very soft, soft, a bit hard, very hard' instead of numbers.
Titles, Slogans and Text to Fill the Page
Give the poster a lively main title such as 'Stone Hardness Challenge', 'Line Up Your Stones' or 'Which Stone Is the Tough One'. Use a subtitle to explain the topic, for example 'A Mini File on the Mohs Scale' or 'One Small Hardness Test'. A good closing line is: soft or hard is not good or bad, it is just each stone's own character.
If you want a more polished page, open the WeChat mini program for 智慧手抄报 and pick a geology or science-experiment style template. Place the hardness staircase, the table and the conclusion in separate columns, then print or copy it onto paper instead of starting from a blank sheet.