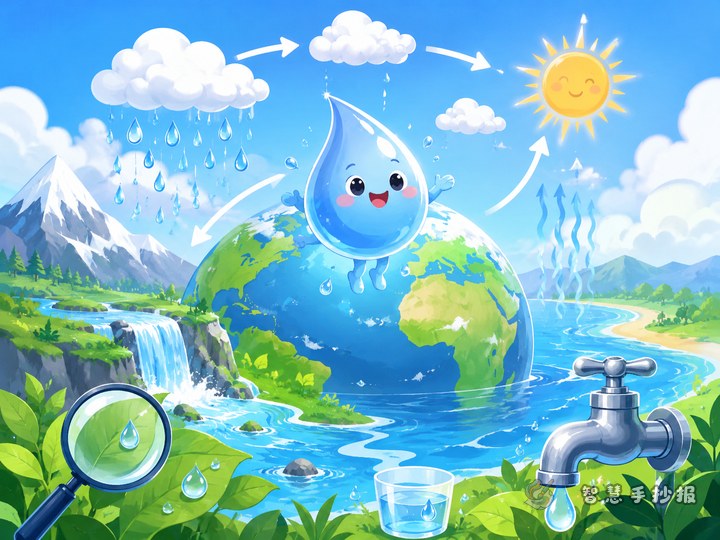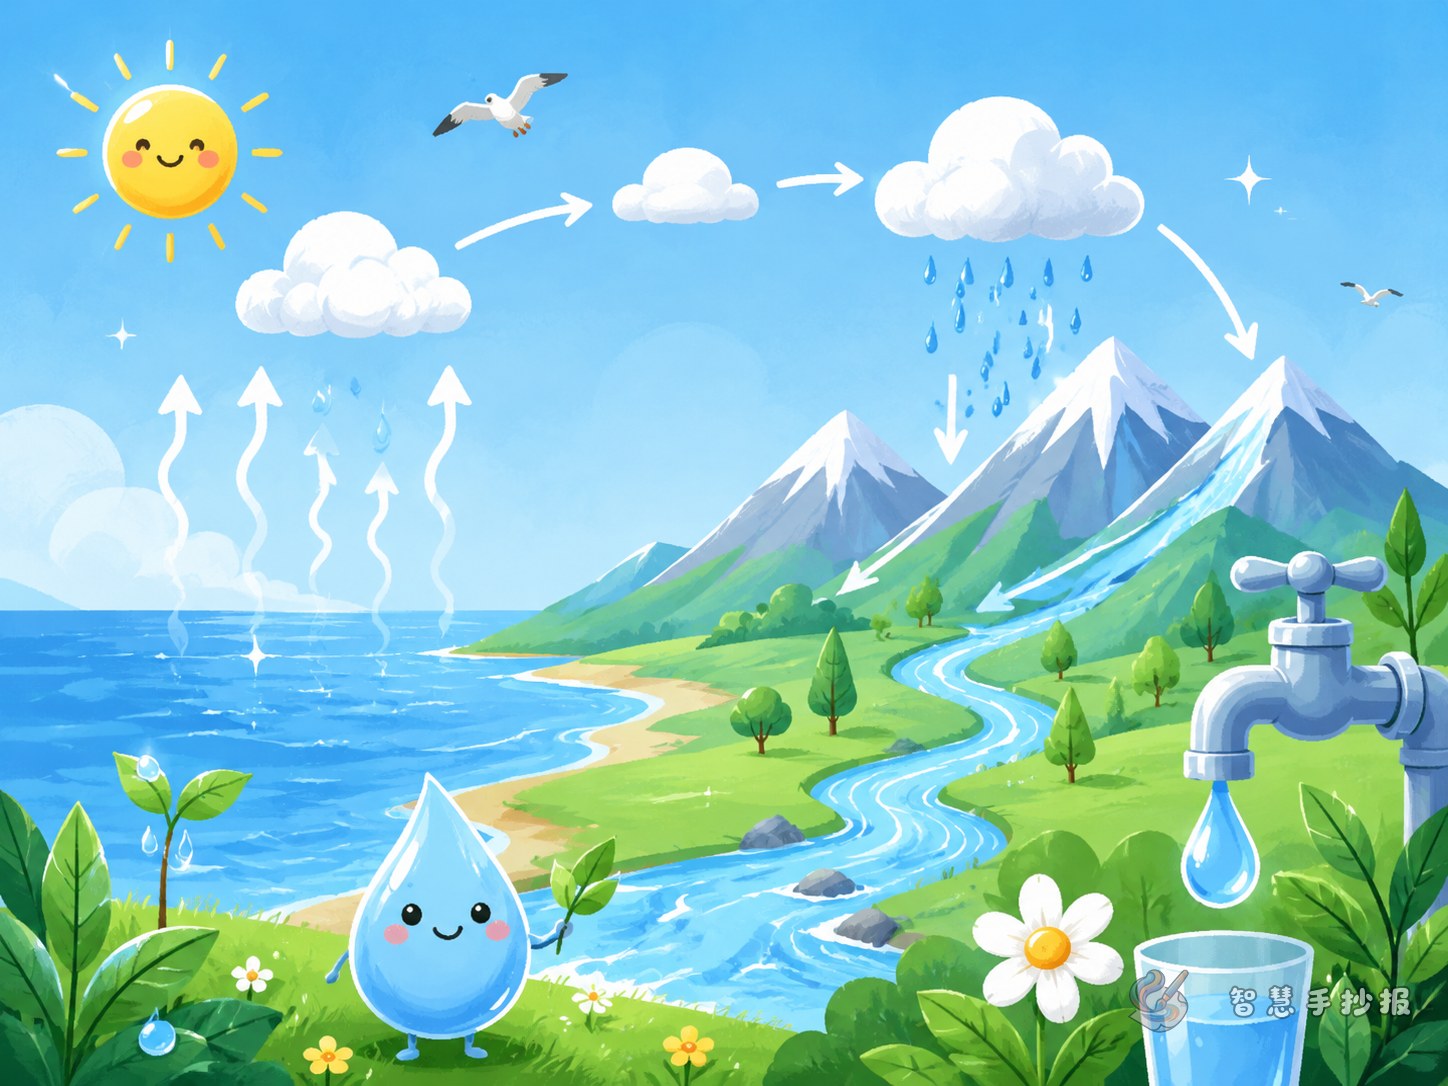
Start with one clear story: the journey of a drop of water
If you are not sure what to write on a water cycle poster, imagine the whole page as the travel diary of one drop of water. It rises from lakes, rivers, oceans, and the ground through evaporation, cools in the sky and forms clouds through condensation, falls back as rain or snow through precipitation, and then returns to rivers, lakes, or underground water through collection. Once this journey is clear, the poster already has a strong main idea.
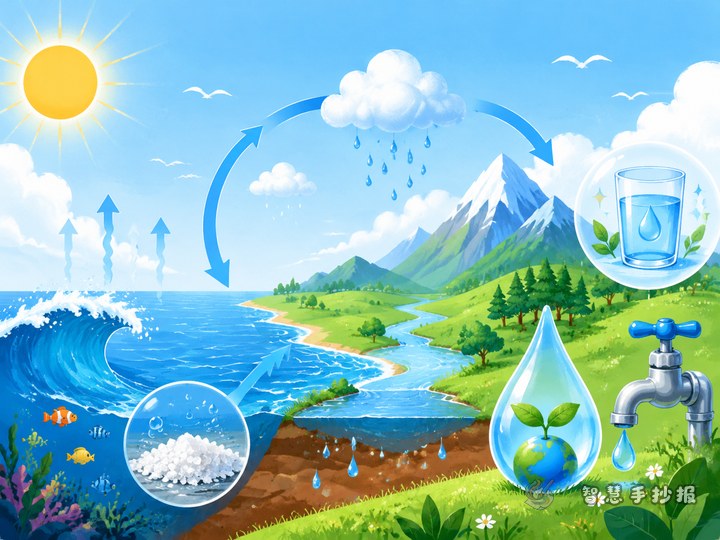
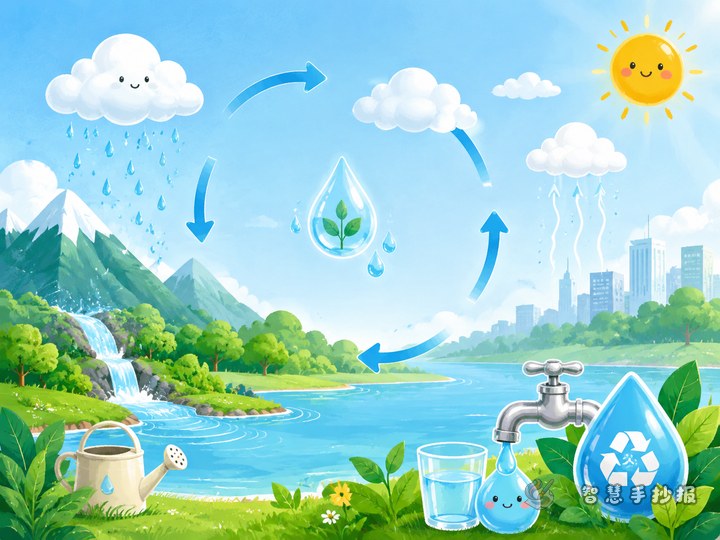
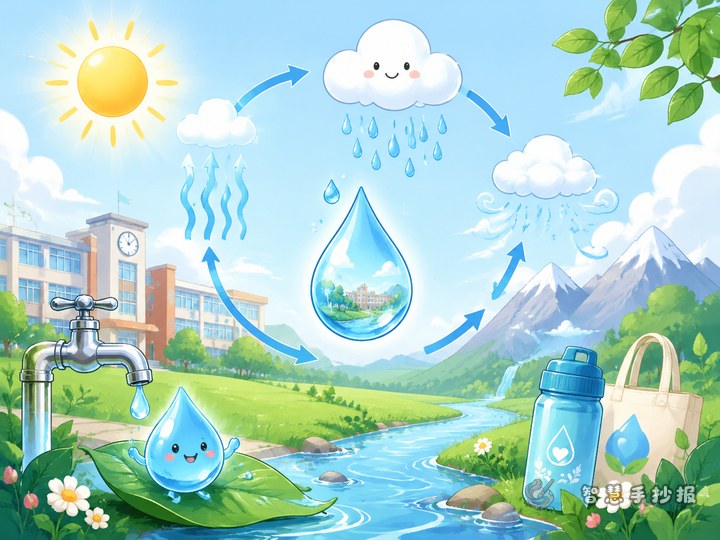
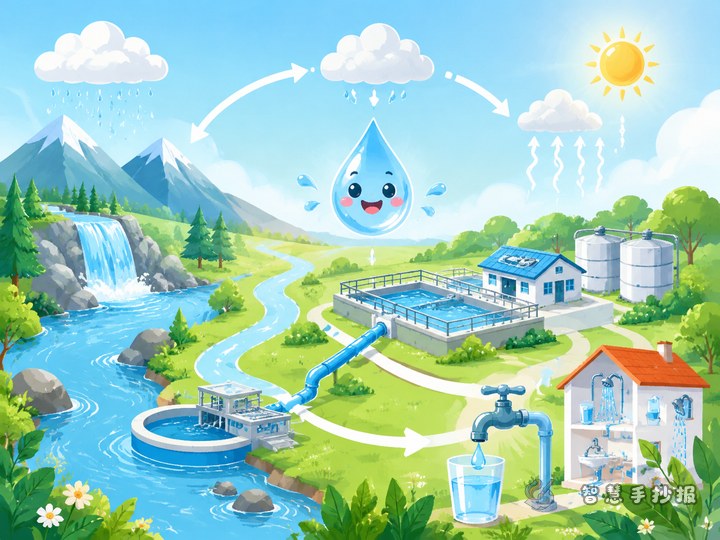
The center of the page is a great place for a simple diagram with arrows linking evaporation, condensation, precipitation, and collection. A visual diagram makes the topic much easier to understand at a glance.
Text sections students can use directly
1. What is the water cycle?
The water cycle is the natural movement of water through the environment. Water changes place and form again and again, moving from the ground to the air and then back to the ground.
2. Four easy steps of the water cycle
- Evaporation: The sun heats water on Earth, and some of it turns into water vapor and rises.
- Condensation: Water vapor cools in the sky and becomes tiny droplets that form clouds.
- Precipitation: When the droplets grow larger and heavier, they fall as rain, snow, or hail.
- Collection: Water returns to rivers, lakes, the ground, or underground areas.
3. Why should we learn about it?
Learning about the water cycle helps students understand where rain comes from and why water resources should be protected. It also shows that clean fresh water should never be wasted.
Make the water-saving part practical
Instead of only writing “Save water,” add real examples from daily life. That makes the poster feel more useful and more connected to school and home.
- Turn off the tap while brushing your teeth.
- Use water from washing vegetables to water plants when possible.
- Tell an adult if you notice a leaking faucet.
- Use only the amount of water you need when washing hands.
- Protect shared drinking and washing facilities at school.
These examples make the poster feel active rather than empty.
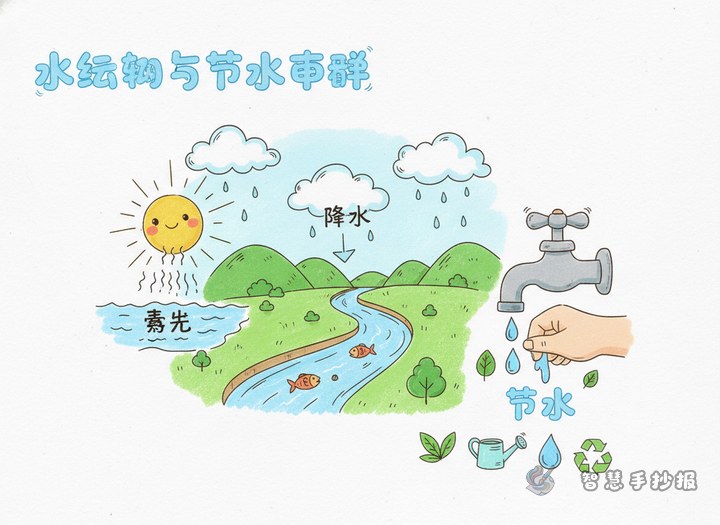
A layout that looks organized
This theme works well with a center diagram and side sections around it. It helps readers follow the idea naturally.
- Top: Add the title with cloud or wave decorations.
- Center: Draw the water cycle diagram as the main visual focus.
- Left side: Write the science facts and the four steps.
- Right side: Add water-saving actions and short advice.
- Bottom: Place slogans, promises, or a short conclusion.
Blue and green are the easiest color choices for a clean and fresh look. Small drawings like a sun, clouds, raindrops, rivers, taps, and plants can make the page more lively.
Short slogan ideas
- Save every drop, protect our future.
- Learn the water cycle, value water more.
- Saving water starts with small actions.
- Water keeps moving, and good habits should too.
- Let clean water stay in our lives.
If there is still space on the page, students can add a small box called “What I Can Do” and write a personal promise about saving water.
Final check before finishing
Before turning in the poster, check three things: whether the water cycle steps are in the right order, whether the water-saving tips are realistic, and whether the page looks clean and easy to read. If the facts are correct, the wording is short, and the sections are clear, the poster is already in good shape. For further layout and design ideas, you can continue creating in the Zhihui Shouchaobao WeChat mini program.